All products featured are independently chosen by us. However, SoundGuys may receive a commission on orders placed through its retail links. See our ethics statement.
Uploading podcasts to Spotify: Everything you need to know
Published onApril 25, 2025
Are you a whizz in the kitchen, an esteemed academic, or an undiscovered comedic mastermind? If so, you may have already considered uploading podcasts to Spotify. After all, they are one of the fastest-growing media formats around. While best known for music streaming, Spotify is the second-most-popular podcast streaming platform after YouTube. In particular, the platform has made sharing knowledge and expertise much easier in recent years. The Spotify for Creators app has simplified the process, allowing podcasters to natively host and upload their shows directly to Spotify instead of using aggregator partners. With that in mind, here’s everything you need to know about uploading podcasts to Spotify.
How do I upload my podcast to Spotify?
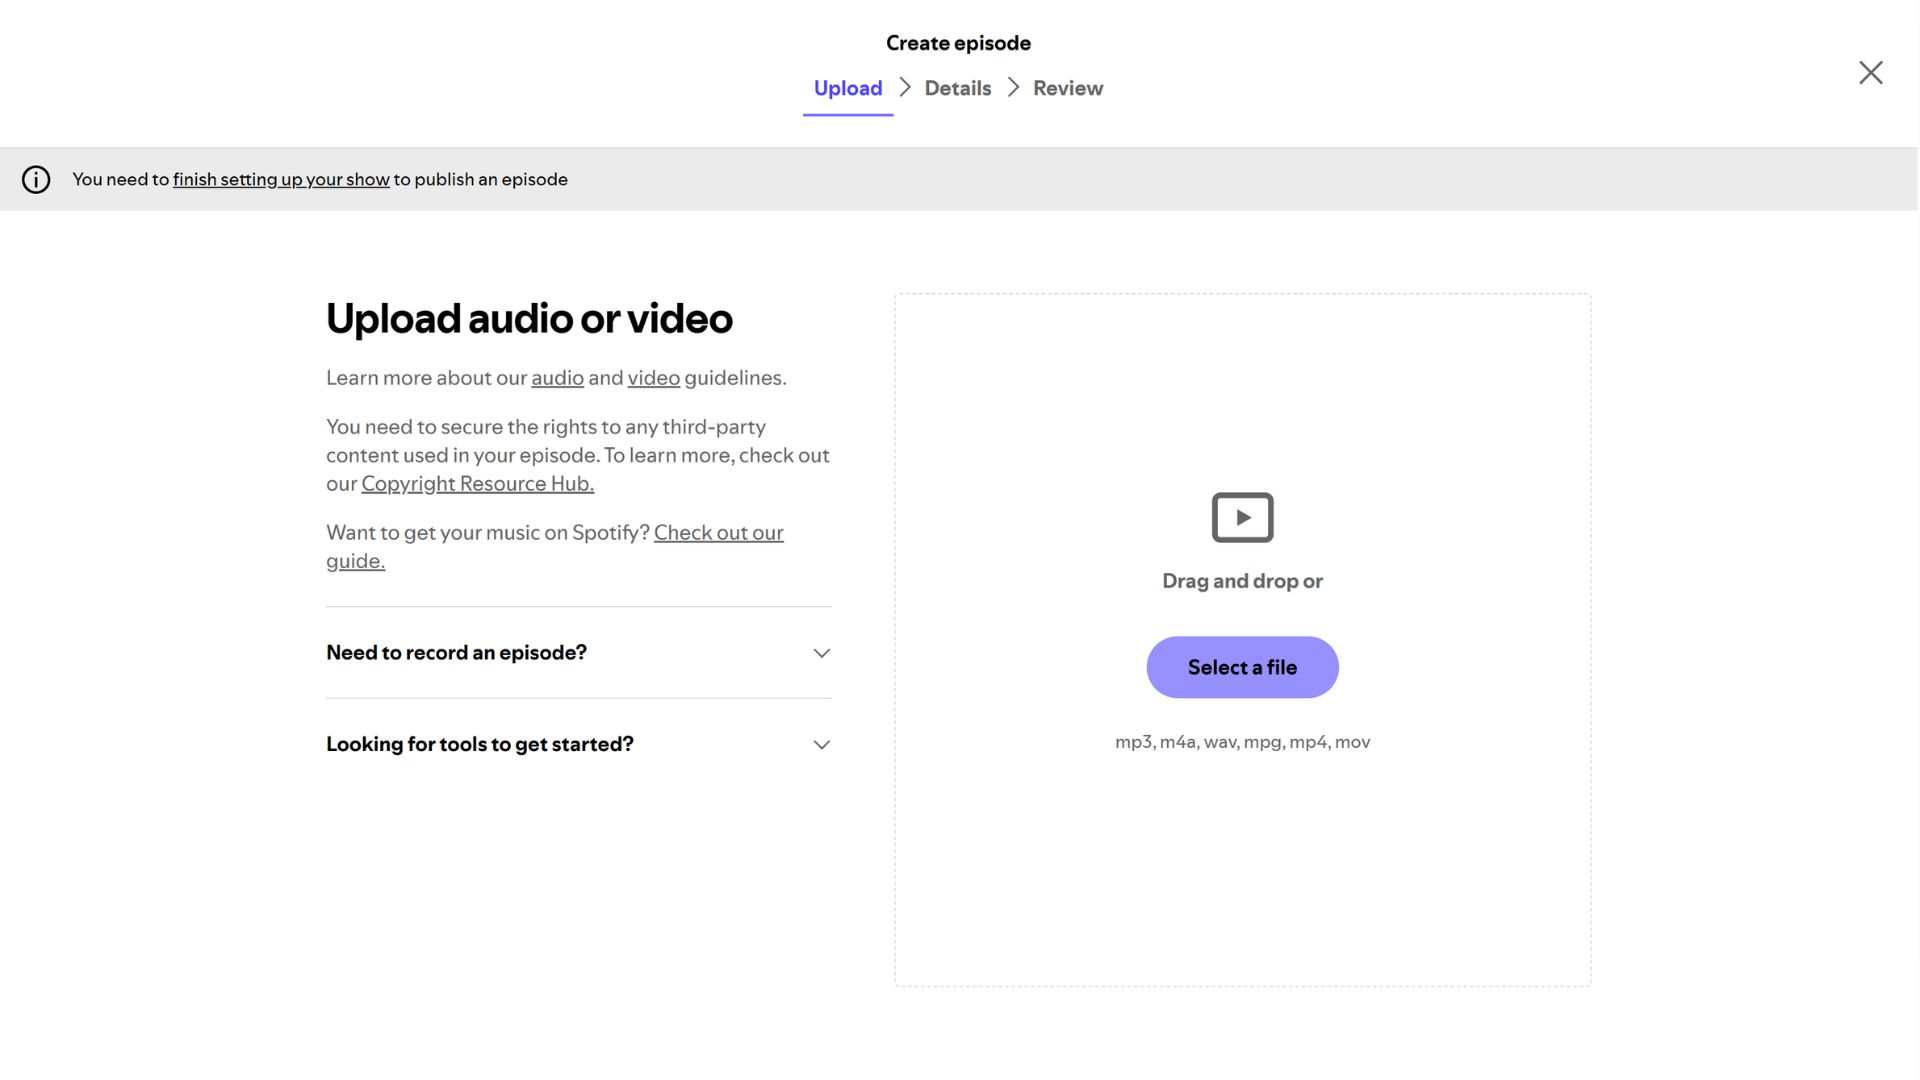
There are a few different ways to upload your podcast to Spotify. However, before you click submit, you must ensure your content complies with Spotify’s rules and requirements. For example, it is against Spotify’s terms of service to upload audio that belongs to someone else. Likewise, while there is no file size limit, audio-only content must be uploaded as MP3, M4A, or WAV. When uploading MP3 files, Spotify recommends keeping embedded artwork, ID3v2 tags, and other metadata as small as possible. You can upload audio-only podcasts using the Spotify for Creators web app by clicking New episode and selecting the audio file you wish to upload. It can also be done on the mobile app by tapping Podcast, then +, and finally Select a file.
You can also upload video podcasts to Spotify via the Spotify for Creators web app. To do this, log in to your account, click New episode, and choose Select a file. You can schedule your release if you don’t want your video to go live immediately. Alternatively, you can save it as a draft on the web app and publish it later using the Spotify for Creators mobile app. Like audio-only content, it is against Spotify’s terms of service to upload video content owned by someone else. There is no file size limit, and Spotify currently supports MOV, MPG, and MP4 video files. However, the duration of your uploaded file cannot exceed 12 hours. Those encoding their videos must also ensure they contain only one video track and one audio track.
Uploading from an aggregator
While you can upload your shows directly to Spotify for Creators, many podcasters use third-party hosting services like Transistor and Buzzsprout. Submitting your shows to Spotify from these platforms differs from one to the other. However, the process is usually straightforward and should follow these simple principles:
- Create an account with your chosen aggregator
- Upload your show and all relevant information to your third-party hosting service
- Once uploaded, select the show and navigate to the Distribution tab
- Select the Spotify icon and press Activate
- When prompted, read and accept Spotify’s terms of service to submit your show
- Your podcast should be visible on Spotify within one hour
You may need to contact your aggregator to authorize your show on Spotify if you host with Art19, Ausha, Cast Plus, or Zencast.
Claiming a podcast through Spotify for Creators
Alternatively, you can claim your podcast through Spotify for Creators by submitting your show’s RSS feed link:
- Create a Spotify account and log in to Spotify for Creators
- Select Find an existing show
- If your show is hosted with Megaphone, select Megaphone by Spotify
- Otherwise, select Somewhere else
- Paste your RSS feed URL into the RSS feed link box
- Select Next
- Click Send code and verify your podcast via email
- Fill out your podcast’s details
- Review your submission and click Submit
- Your podcast should be visible on Spotify within one hour
Hosting your show with Spotify for Creators
The process is even simpler if you are already hosting your show with Spotify for Creators:
- Log in to Spotify for Creators
- Select Find an existing show
- Click Spotify for Creators
- Search the podcast name or associated email address and verify the podcast you want to upload
- Click Send code and verify your podcast via email
- Select Finish
- Your podcast will automatically be published to Spotify
How to set up a podcast page on Spotify?
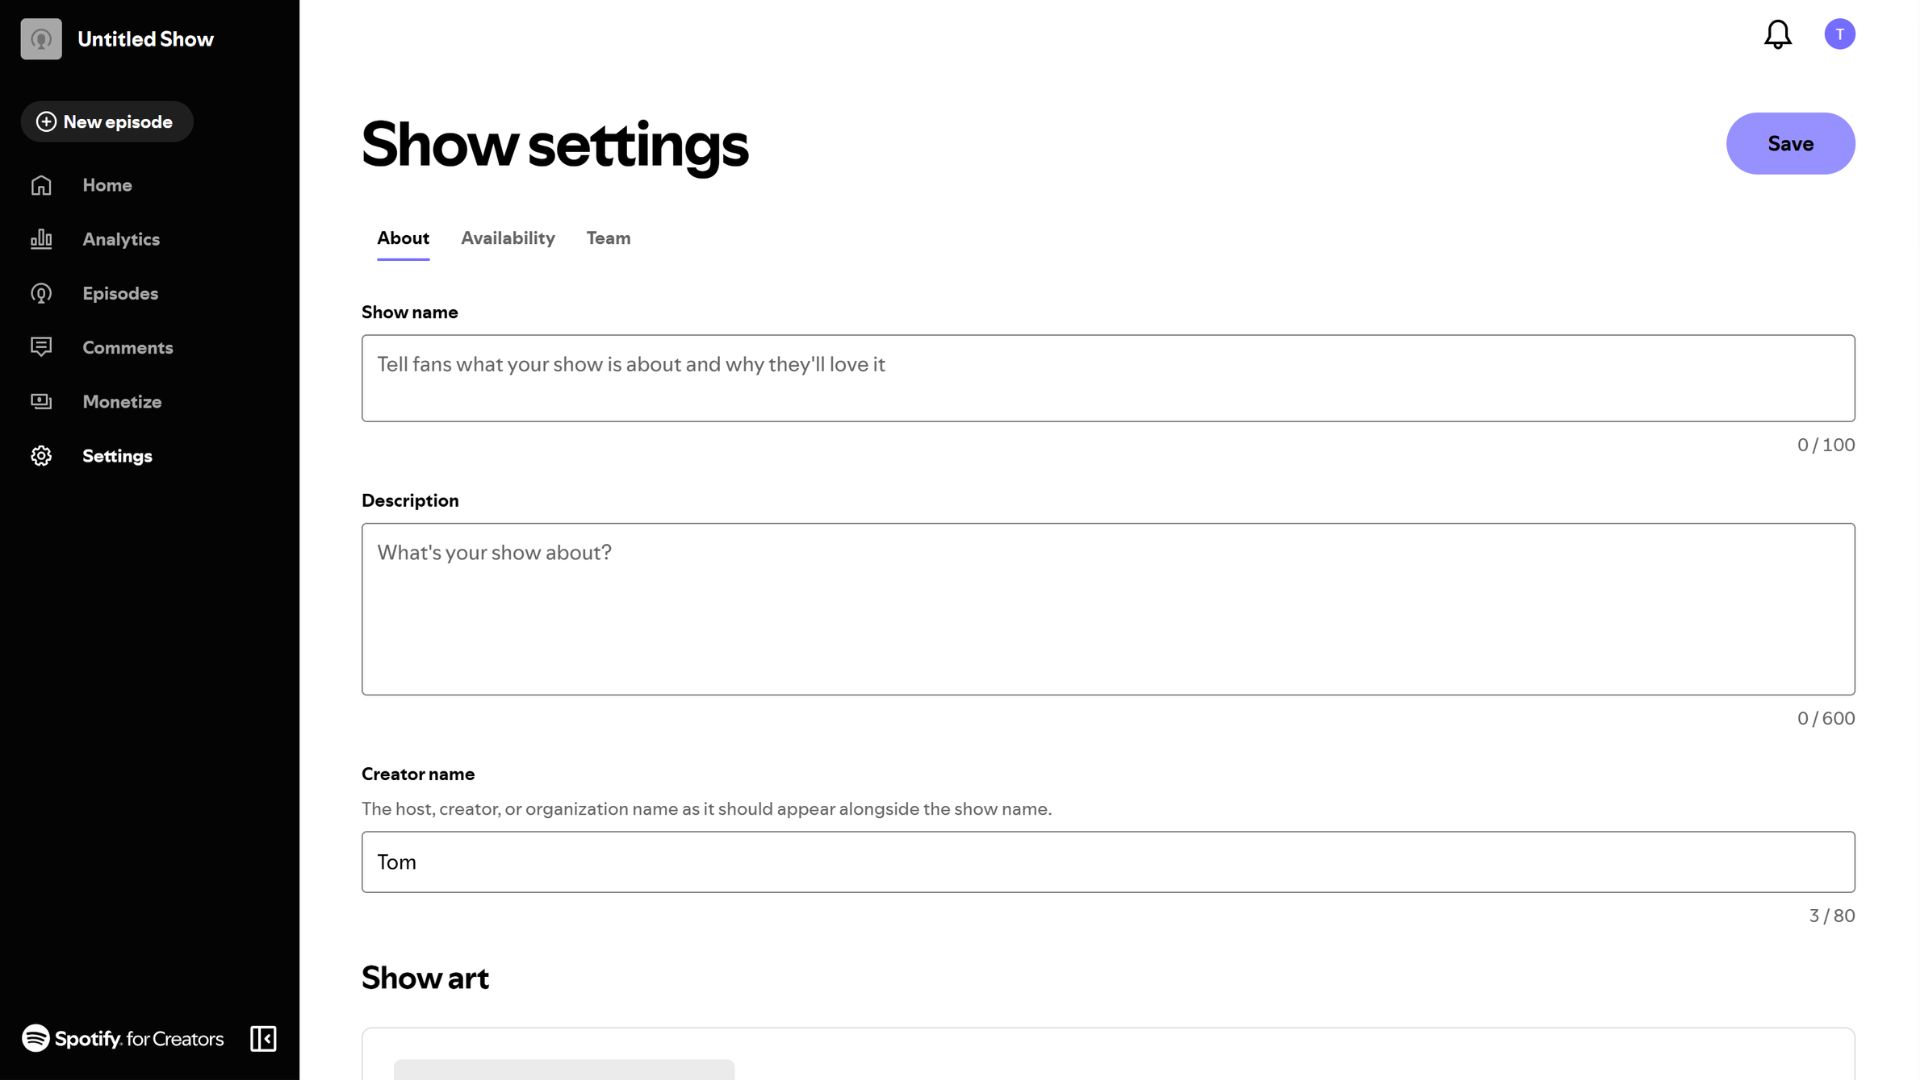
You need a Spotify account to set up a podcast page on Spotify. However, if you already have a Spotify subscription, you can create a Spotify for Creators profile with your existing account details. Here, you can select Create a new show if you’re launching a new podcast or posting videos on other platforms and want to add them to Spotify.
Once selected, you’ll see the Spotify for Creators home screen. This is where you can manage your podcast episodes, view analytics, and monetize your content through the Spotify Partner Program. Navigating to Settings from the bottom of the left-side panel opens the podcast page settings menu. Once selected, you’ll find a form to fill out the show name, description, and creator name. You can also upload cover art and social media handles, and select your podcast category, language, and host recommendations.
Spotify for Creators has many tools to make your podcast stand out and help monitor engagement.
You can tailor the information for each episode you upload to Spotify for Creators. For example, you can input unique titles, write captivating descriptions, and select thumbnails for video podcasts. If your episode features adult content or expletives, you can let Spotify know by toggling the 18+ only and Explicit content sliders, respectively. There’s also a slider to let Spotify know if your show contains promotional material like adverts, sponsorship, or endorsements.
One very cool feature of Spotify for Creators is that you can add a poll to your podcast episodes. This appears under the show’s description in Spotify and is handy for understanding your audience’s tastes and preferences. Similarly, you can enable comments on your episodes to let your fans engage with each other. Otherwise, there are sections for adding season and episode numbers, cover art, and content type. The last dictates whether the uploaded episode will appear as full-length, trailer, or bonus content.
What is Spotify for Podcasters and Spotify for Creators?
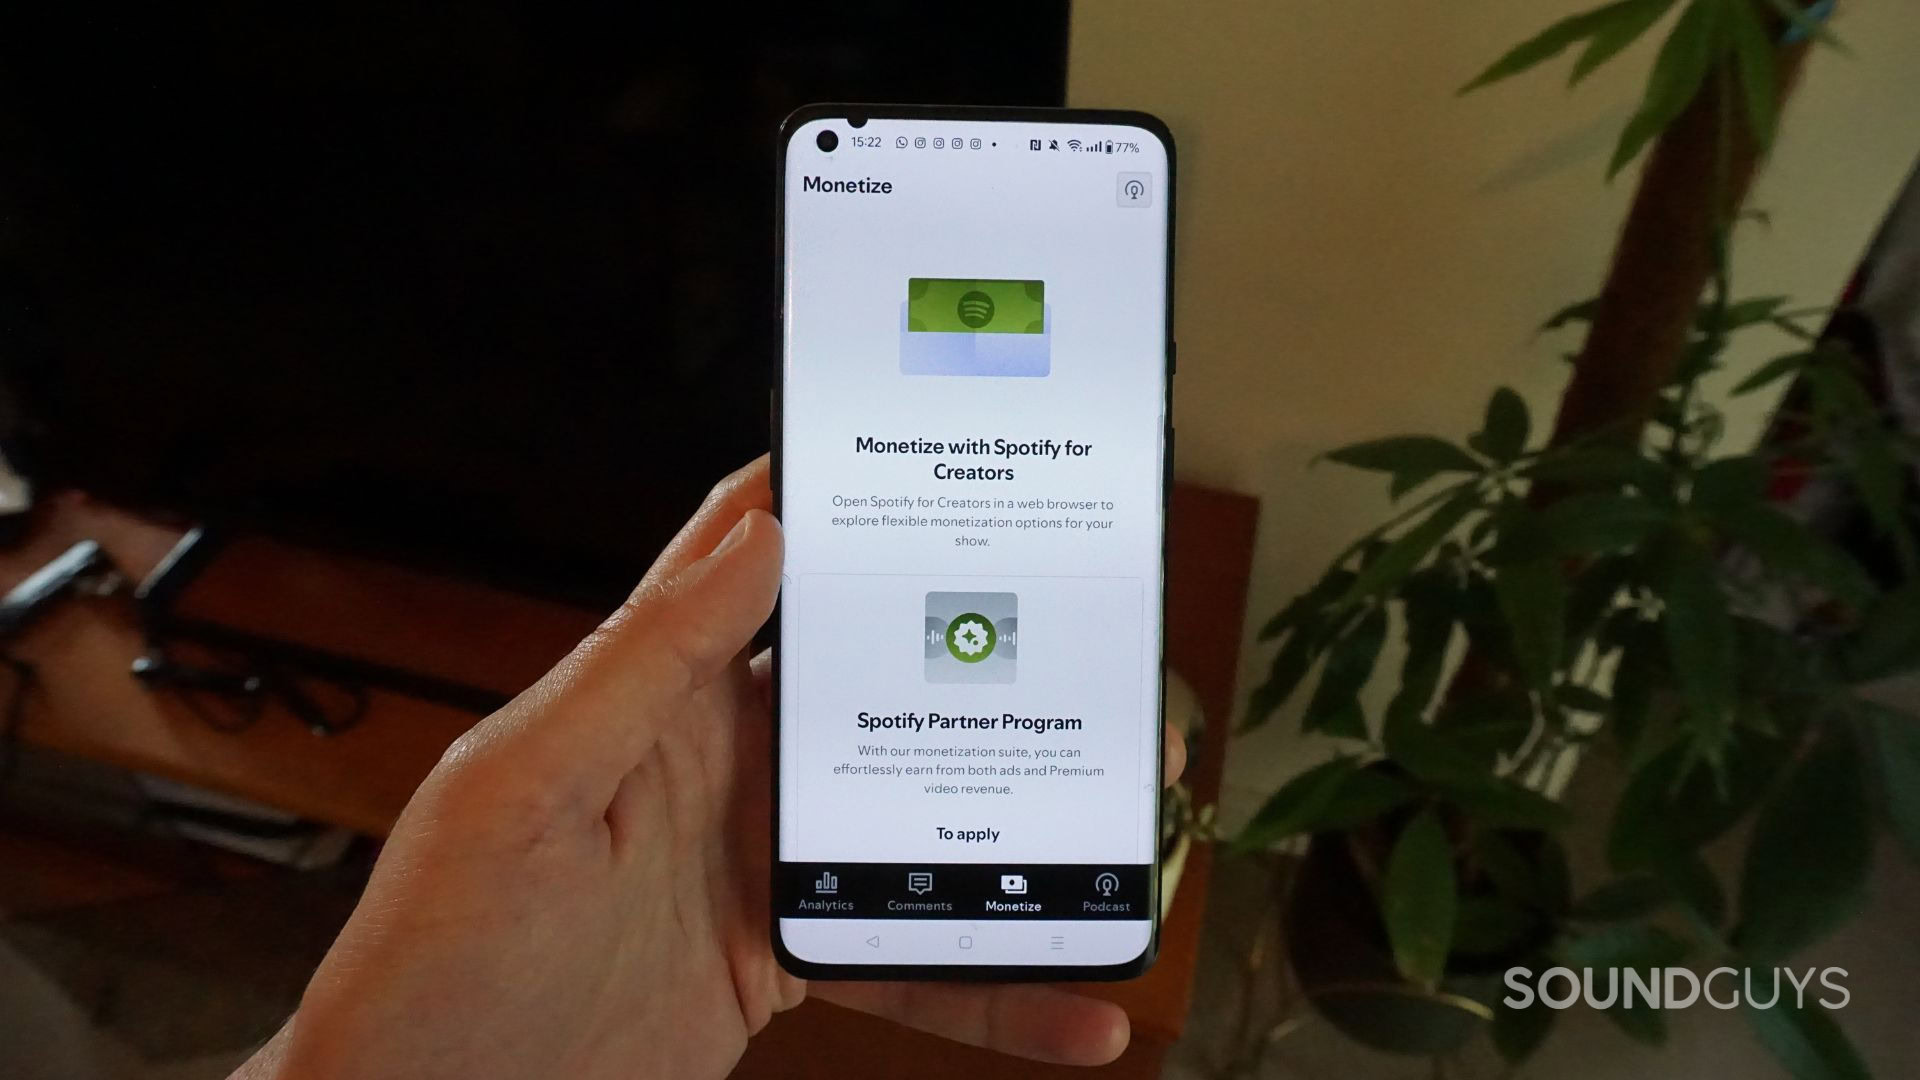
Spotify for Podcasters launched in 2018 and has seen many changes since then. For example, the app was originally limited to only supporting Spotify analytics and could not host or distribute podcasts. However, in 2023, Spotify for Podcasters merged with Anchor to deliver a dashboard for creating, managing, and monitoring shows. This merger also introduced Q&A and poll functionality for all podcasts, whether hosted on Spotify for Podcasters or not.
However, in its drive to promote more video content, Spotify rebranded Spotify for Podcasters to Spotify for Creators in November 2024. While many primary functions remain the same, Spotify updated the platform to include monetization for video podcasts. Likewise, creators can add custom thumbnails, short-form clips, and chapters to their videos. Spotify also improved the analytics dashboard in the Spotify for Creators web and mobile apps. This gives podcasters the tools to track follower growth, streaming numbers, and conversion rates. There are also many more ways to customize your show’s presence on Spotify, and eligible video podcasters can offer their content specifically to Spotify Premium subscribers. Rather than being paid by ad revenue, these podcasters get paid based on engagement.
How do I remove a podcast from Spotify?
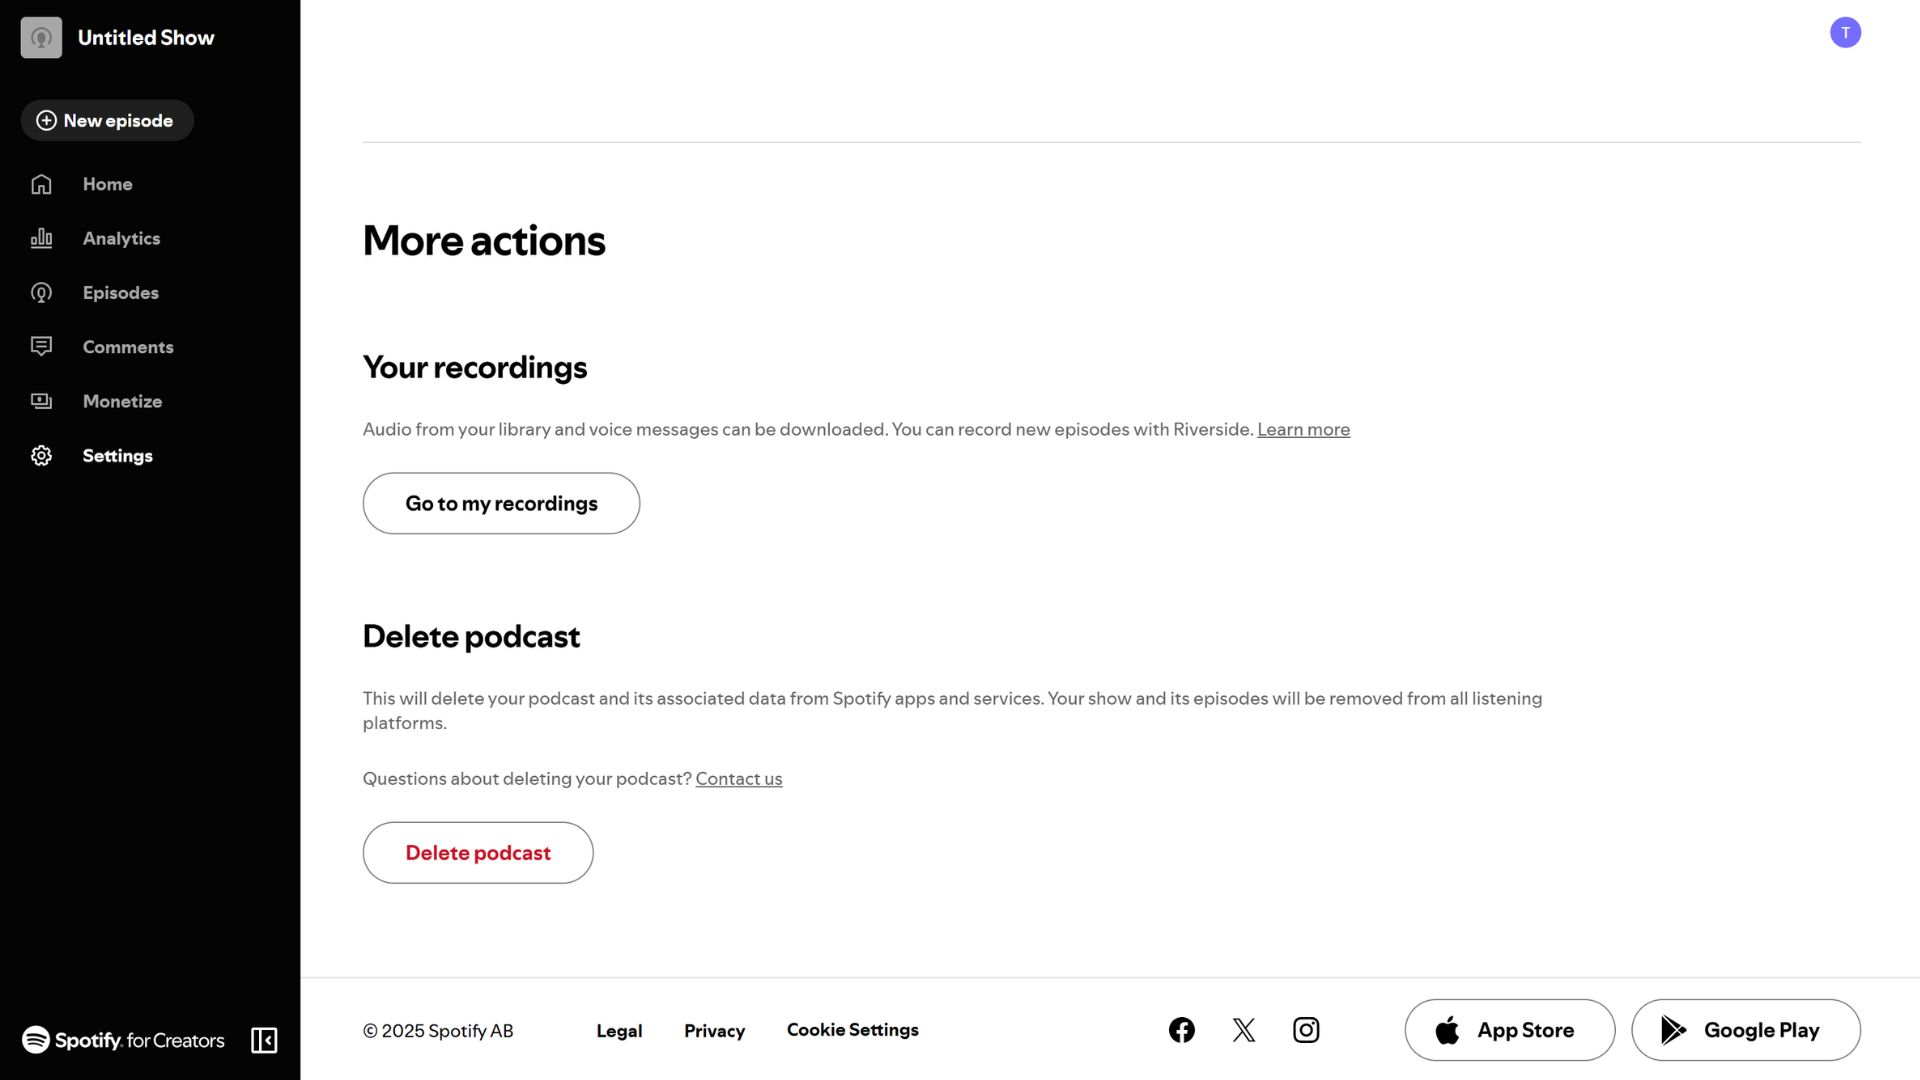
There are a few different ways to remove a podcast from Spotify. For example, if your show is hosted with Spotify, you must delete your account to remove your show entirely. This will delete your podcast and all associated data from Spotify apps and services. Likewise, your show and its episodes will be removed from all podcast listening platforms. You can follow these steps to remove a podcast hosted with Spotify:
- Log in to your Spotify for Creators account
- Open the Settings menu from the left-side panel
- Navigate to the bottom of the page and select Delete podcast
- Confirm by selecting Delete podcast
It is worth noting that this can take up to 10 business days to finalize, and Spotify will email you when your podcast has been fully deleted. You will then lose access to your Spotify for Creators account and must sign up again if ever you want to upload another podcast or show. If you uploaded your show through Spotify for Creators and want Spotify to take it down, you can send your RSS feed and podcast link to customer support.
Moving your show to another host
You must contact your aggregator directly if your show is hosted with a third party. However, those wanting to move their show from Spotify for Creators to another host should redirect their RSS feed before deleting their account. This can be done by doing the following:
- Sign up with your new host
- Import your podcast episodes to your new host
- Redirect your Spotify for Creators RSS feed to your new feed
If desired, you can complete a 301 redirect to ensure that your listeners on Spotify and other platforms continue to receive new episodes after you’ve moved:
- Log in to your Spotify for Creators account
- On the web app, select Settings
- On the mobile app, tap the three lines in the top-right corner
- Find Redirect your podcast
- Paste your new RSS feed into the box
- Select Redirect
You cannot redirect your feed from the Spotify for Creators mobile app. Similarly, you must navigate to the Monetize tab in Spotify for Creators to disable monetization from Subscriptions.
How do I record a high-quality podcast for Spotify?
Before you do anything, consider how best to treat your recording environment. While you do not need a professional recording studio, ensuring your space is noise- and echo-free is worth it. This saves time in post-production by eliminating impossible-to-kill sounds, preventing you from spending hours editing out interstitial noise. You can do this by picking the quietest room in your house and laying rugs, carpets, and curtains over the walls and windows. You should also close any air gaps and record away from windows, doors, fans, and appliances. Those with extra cash can treat their room with bass traps, acoustic foam tiles, and diffusers.
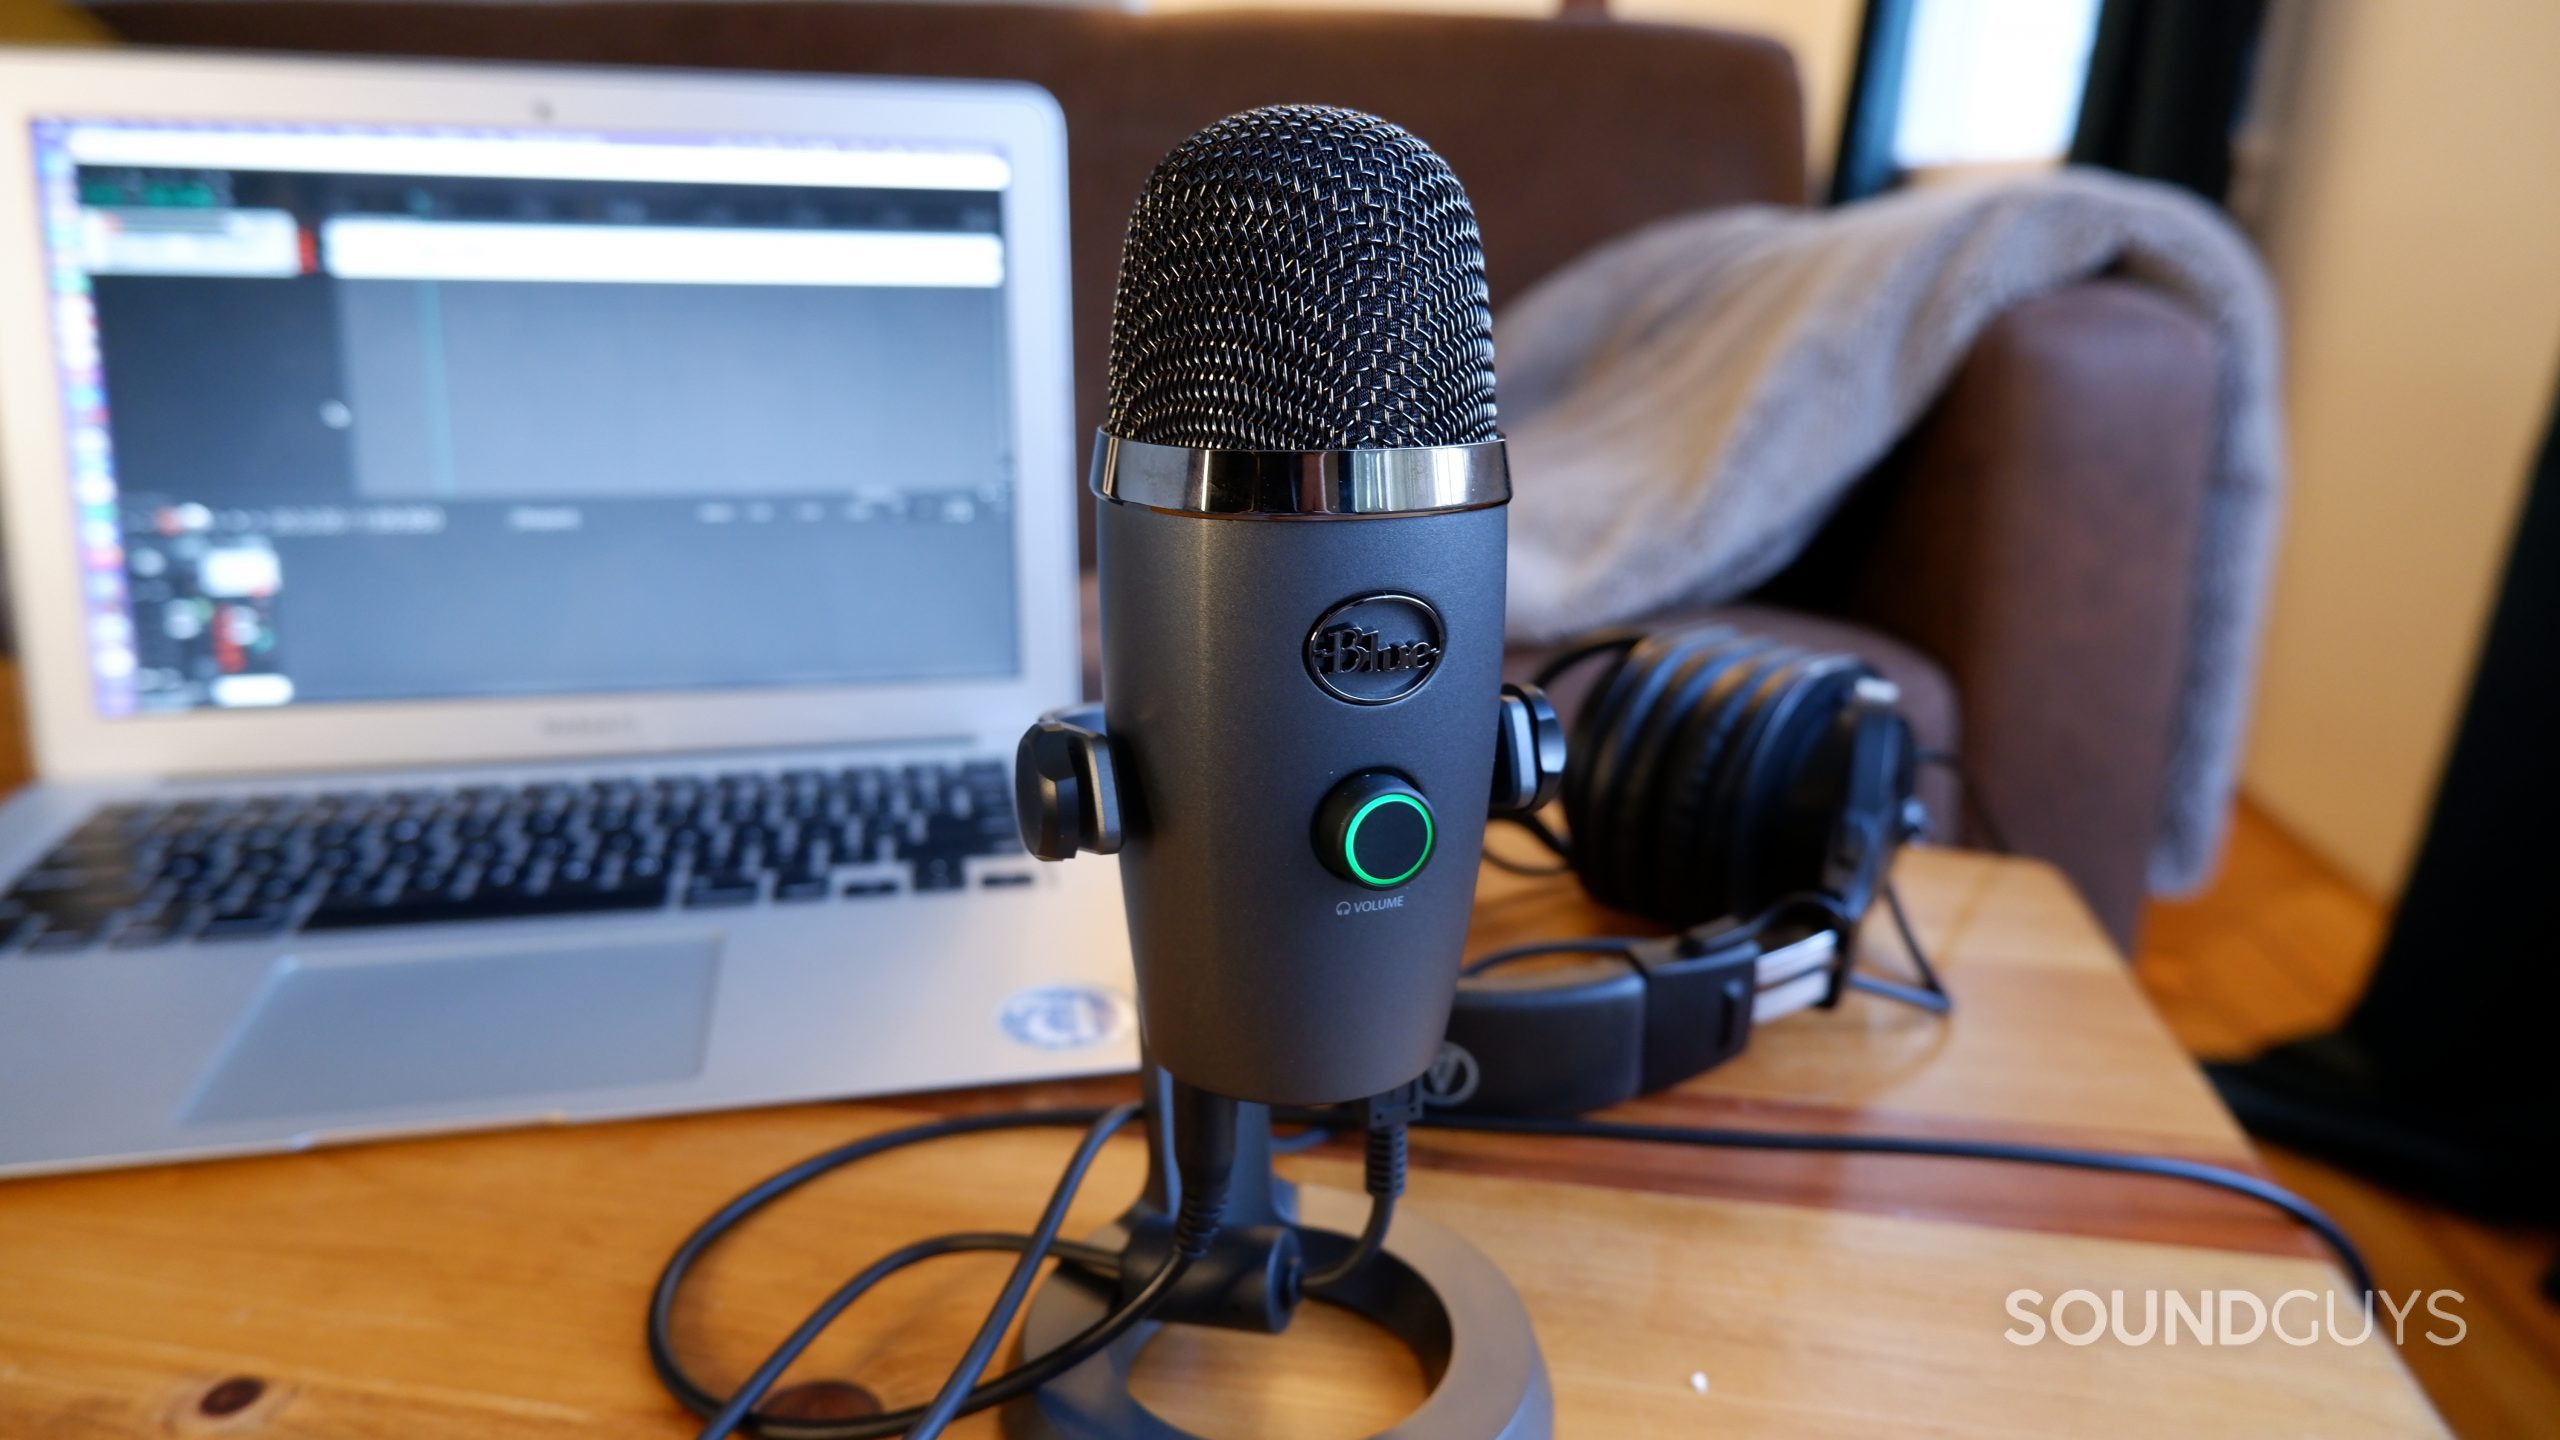
Next, you’ll want to purchase a microphone suitable for your needs. While there is a dizzying amount of choice, the most important considerations are your budget, required polar pattern, and connectivity. For example, if you live in a noisy environment, you should consider purchasing a dynamic microphone. Cardioid microphones like the Rode NT1 ($269 at Amazon) are also a good option, as they reject sounds directly behind the microphone. If your recording environment is well-treated, you could choose a condenser microphone and receive better-quality audio. Likewise, an omnidirectional microphone like the Blue Yeti X ($139 at Amazon) captures multiple voices well. This supports USB connectivity, which is handy if you don’t own an audio interface. However, XLR microphones tend to record in better quality and are more versatile for recording multiple people.
A decent microphone and well-treated room go a long way to achieving high-quality audio.
Positioning your microphone 3-8 inches away at a 45-degree angle towards your mouth can help achieve a more pleasing result. If you have the budget, you should consider purchasing a microphone arm to keep your mic in place. This will deliver a more consistent voice recording than holding your mic by hand. You could also invest in a pop filter to dampen harsh “P” and “B” sounds. All microphones are different, so learning when to lean in for intimacy and draw back for emphasis can take patience and practice.
The final considerations revolve around recording software and editing. There are many digital audio workstations (DAWs) to choose from. Free software like Audacity is fine enough for simple recordings, but is less suitable if you need to layer effects on top of the original file. On the other hand, industry leaders like Reaper, Pro Tools, and Audition have built-in de-noising, compressors, de-essers, EQ filters, and crossfade tools. Used correctly, these can vastly enhance the quality of your voice recordings and give your podcasts a more professional sound. You can read our full guide on how to edit your voice here.
FAQs about uploading podcasts to Spotify
Unlike music, Spotify does not typically pay podcasters on a per-stream basis. Instead, podcasters primarily earn money from listener contributions, advertisements, and sponsorships on a cost per thousand impressions (CPM) basis.
The Spotify for Podcasters app was rebranded as Spotify for Creators in November 2024. If you can’t log in, check that your username and password are entered correctly. You can use Spotify’s password reset if you can’t remember your details. You may also have trouble if your old Spotify for Podcasters account uses Anchor account details. To regain access:
- Log in to Spotify for Creators or create an account.
- Select your avatar/the 3 lines in the top-right corner, then Add a new show.
- On mobile, tap the arrow at the bottom of the screen to see this option.
- Select Find an existing show, then Spotify for Creators.
- Search for your podcast’s name or the email address on your Anchor account.
- Check your emails and enter the code to regain access to your podcast.