All products featured are independently chosen by us. However, SoundGuys may receive a commission on orders placed through its retail links. See our ethics statement.
Neat Bumblebee II USB Microphone review
Published onMarch 7, 2022
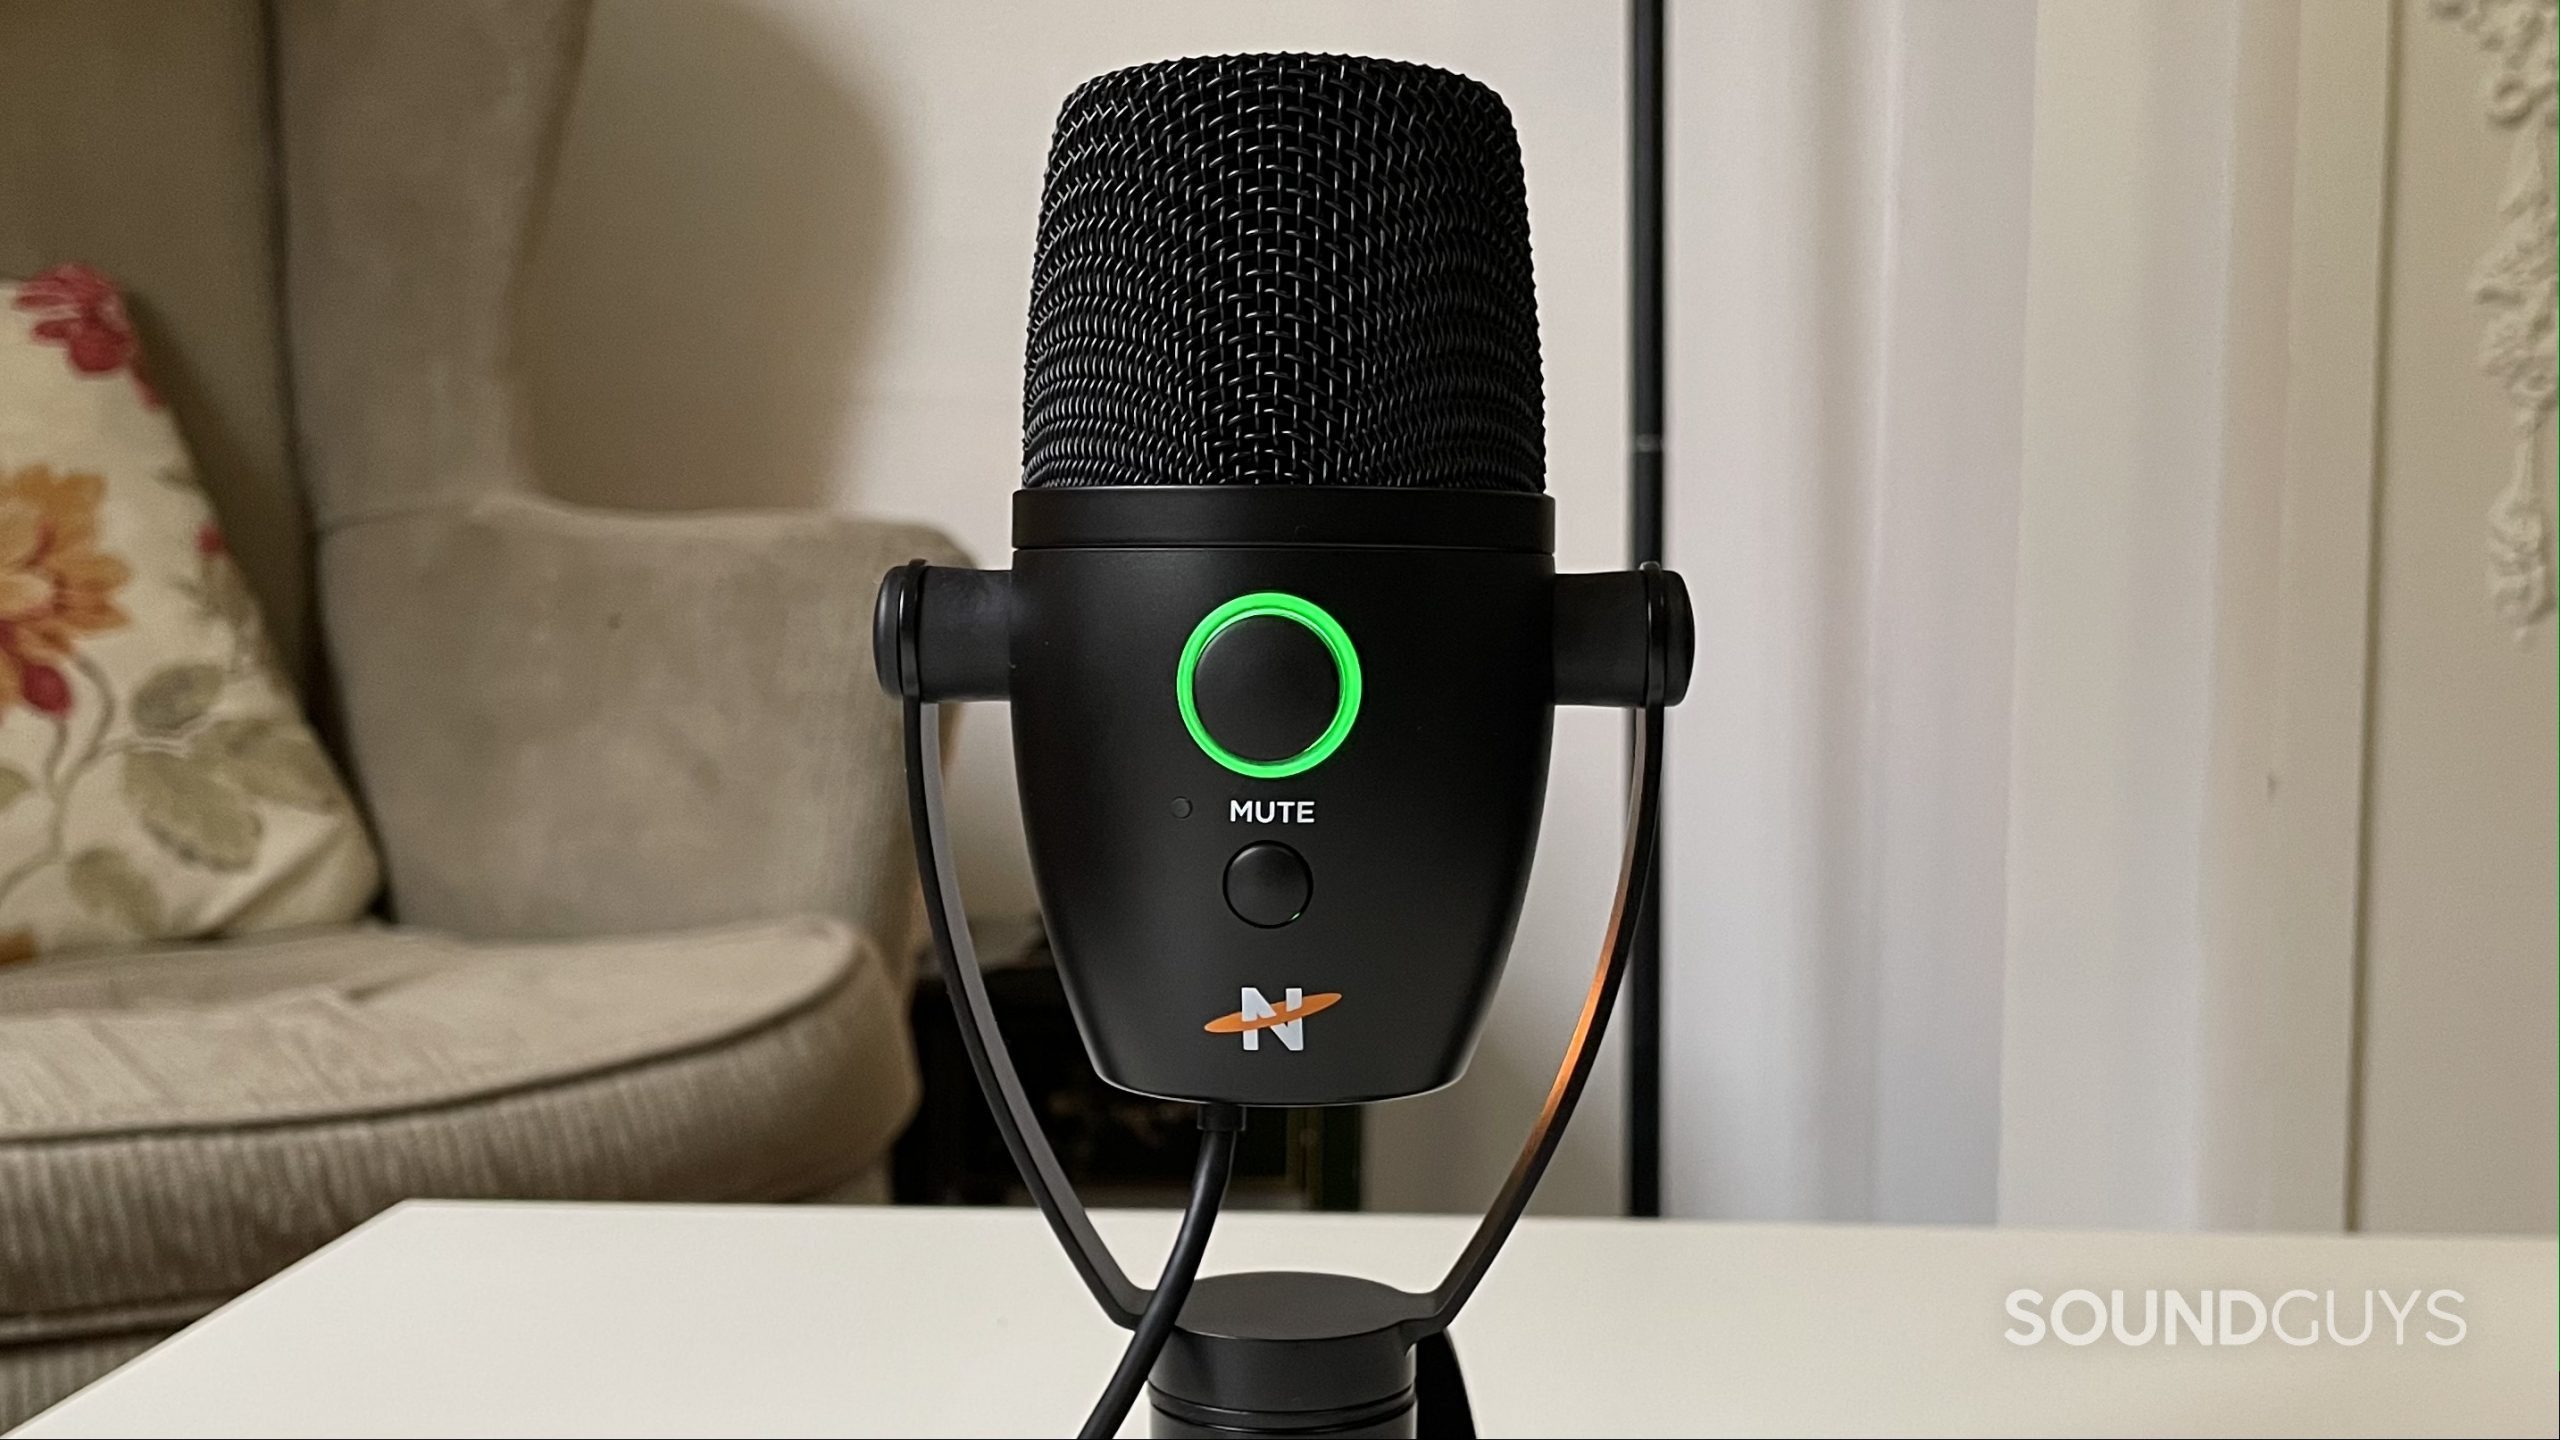
The Neat Bumblebee II has a pretty unassuming look. It’s small and doesn’t have overly flashy logos or unnecessary LEDs, but this desktop USB microphone is more versatile than it looks. It has all the form and function you need to record your sweet guitar licks one day, and lead your company’s big annual video meeting the next. Let’s dive in and see what the Neat Bumblebee II is really all about.
Editor’s note: this Neat Bumblebee II review was updated on March 17, 2022, to add a section comparing it to the Neat King Bee II.
Who is the Neat Bumblebee II for?
- Gamers will appreciate the Turtle Beach-owned Neat’s microphone for its distraction-free onboard controls.
- Podcasters who want to find an affordable mic that records crisp audio should consider the Neat Bumblebee II.
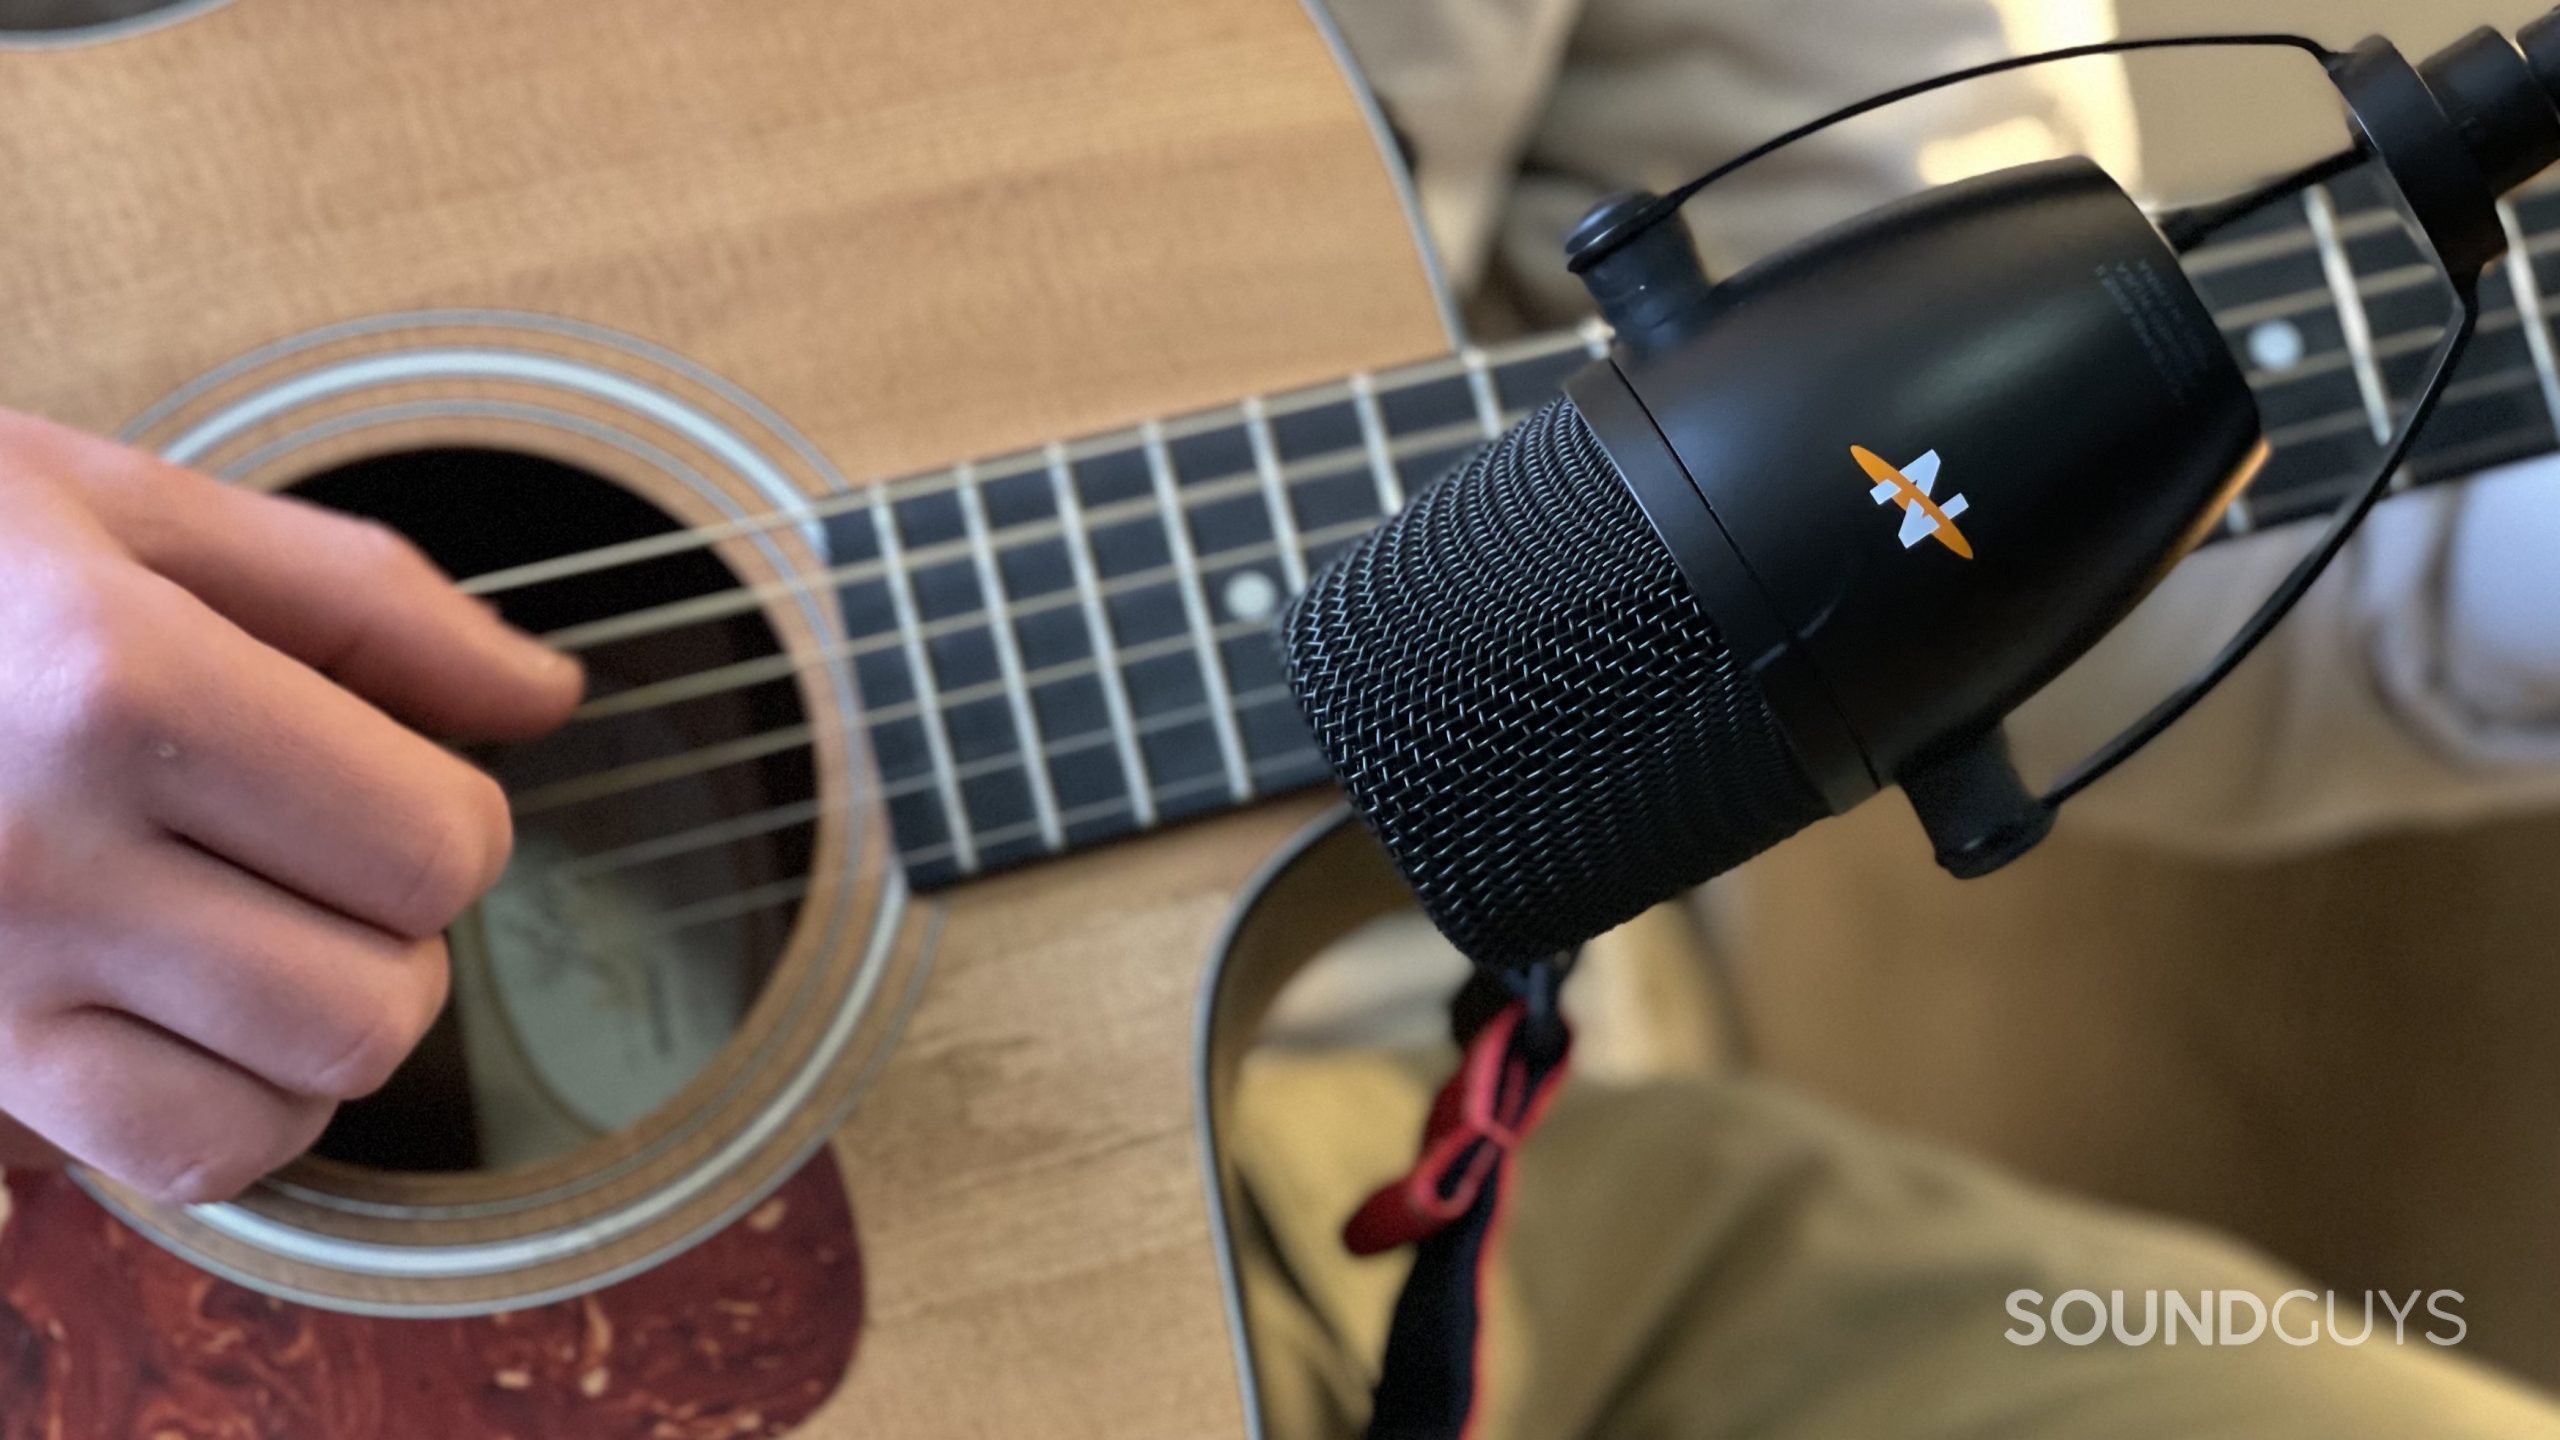
- Singers and musicians alike can take advantage of this cardioid mic’s 24-bit/96kHz audio to make high-quality recordings.
How is the Neat Bumblebee II built?
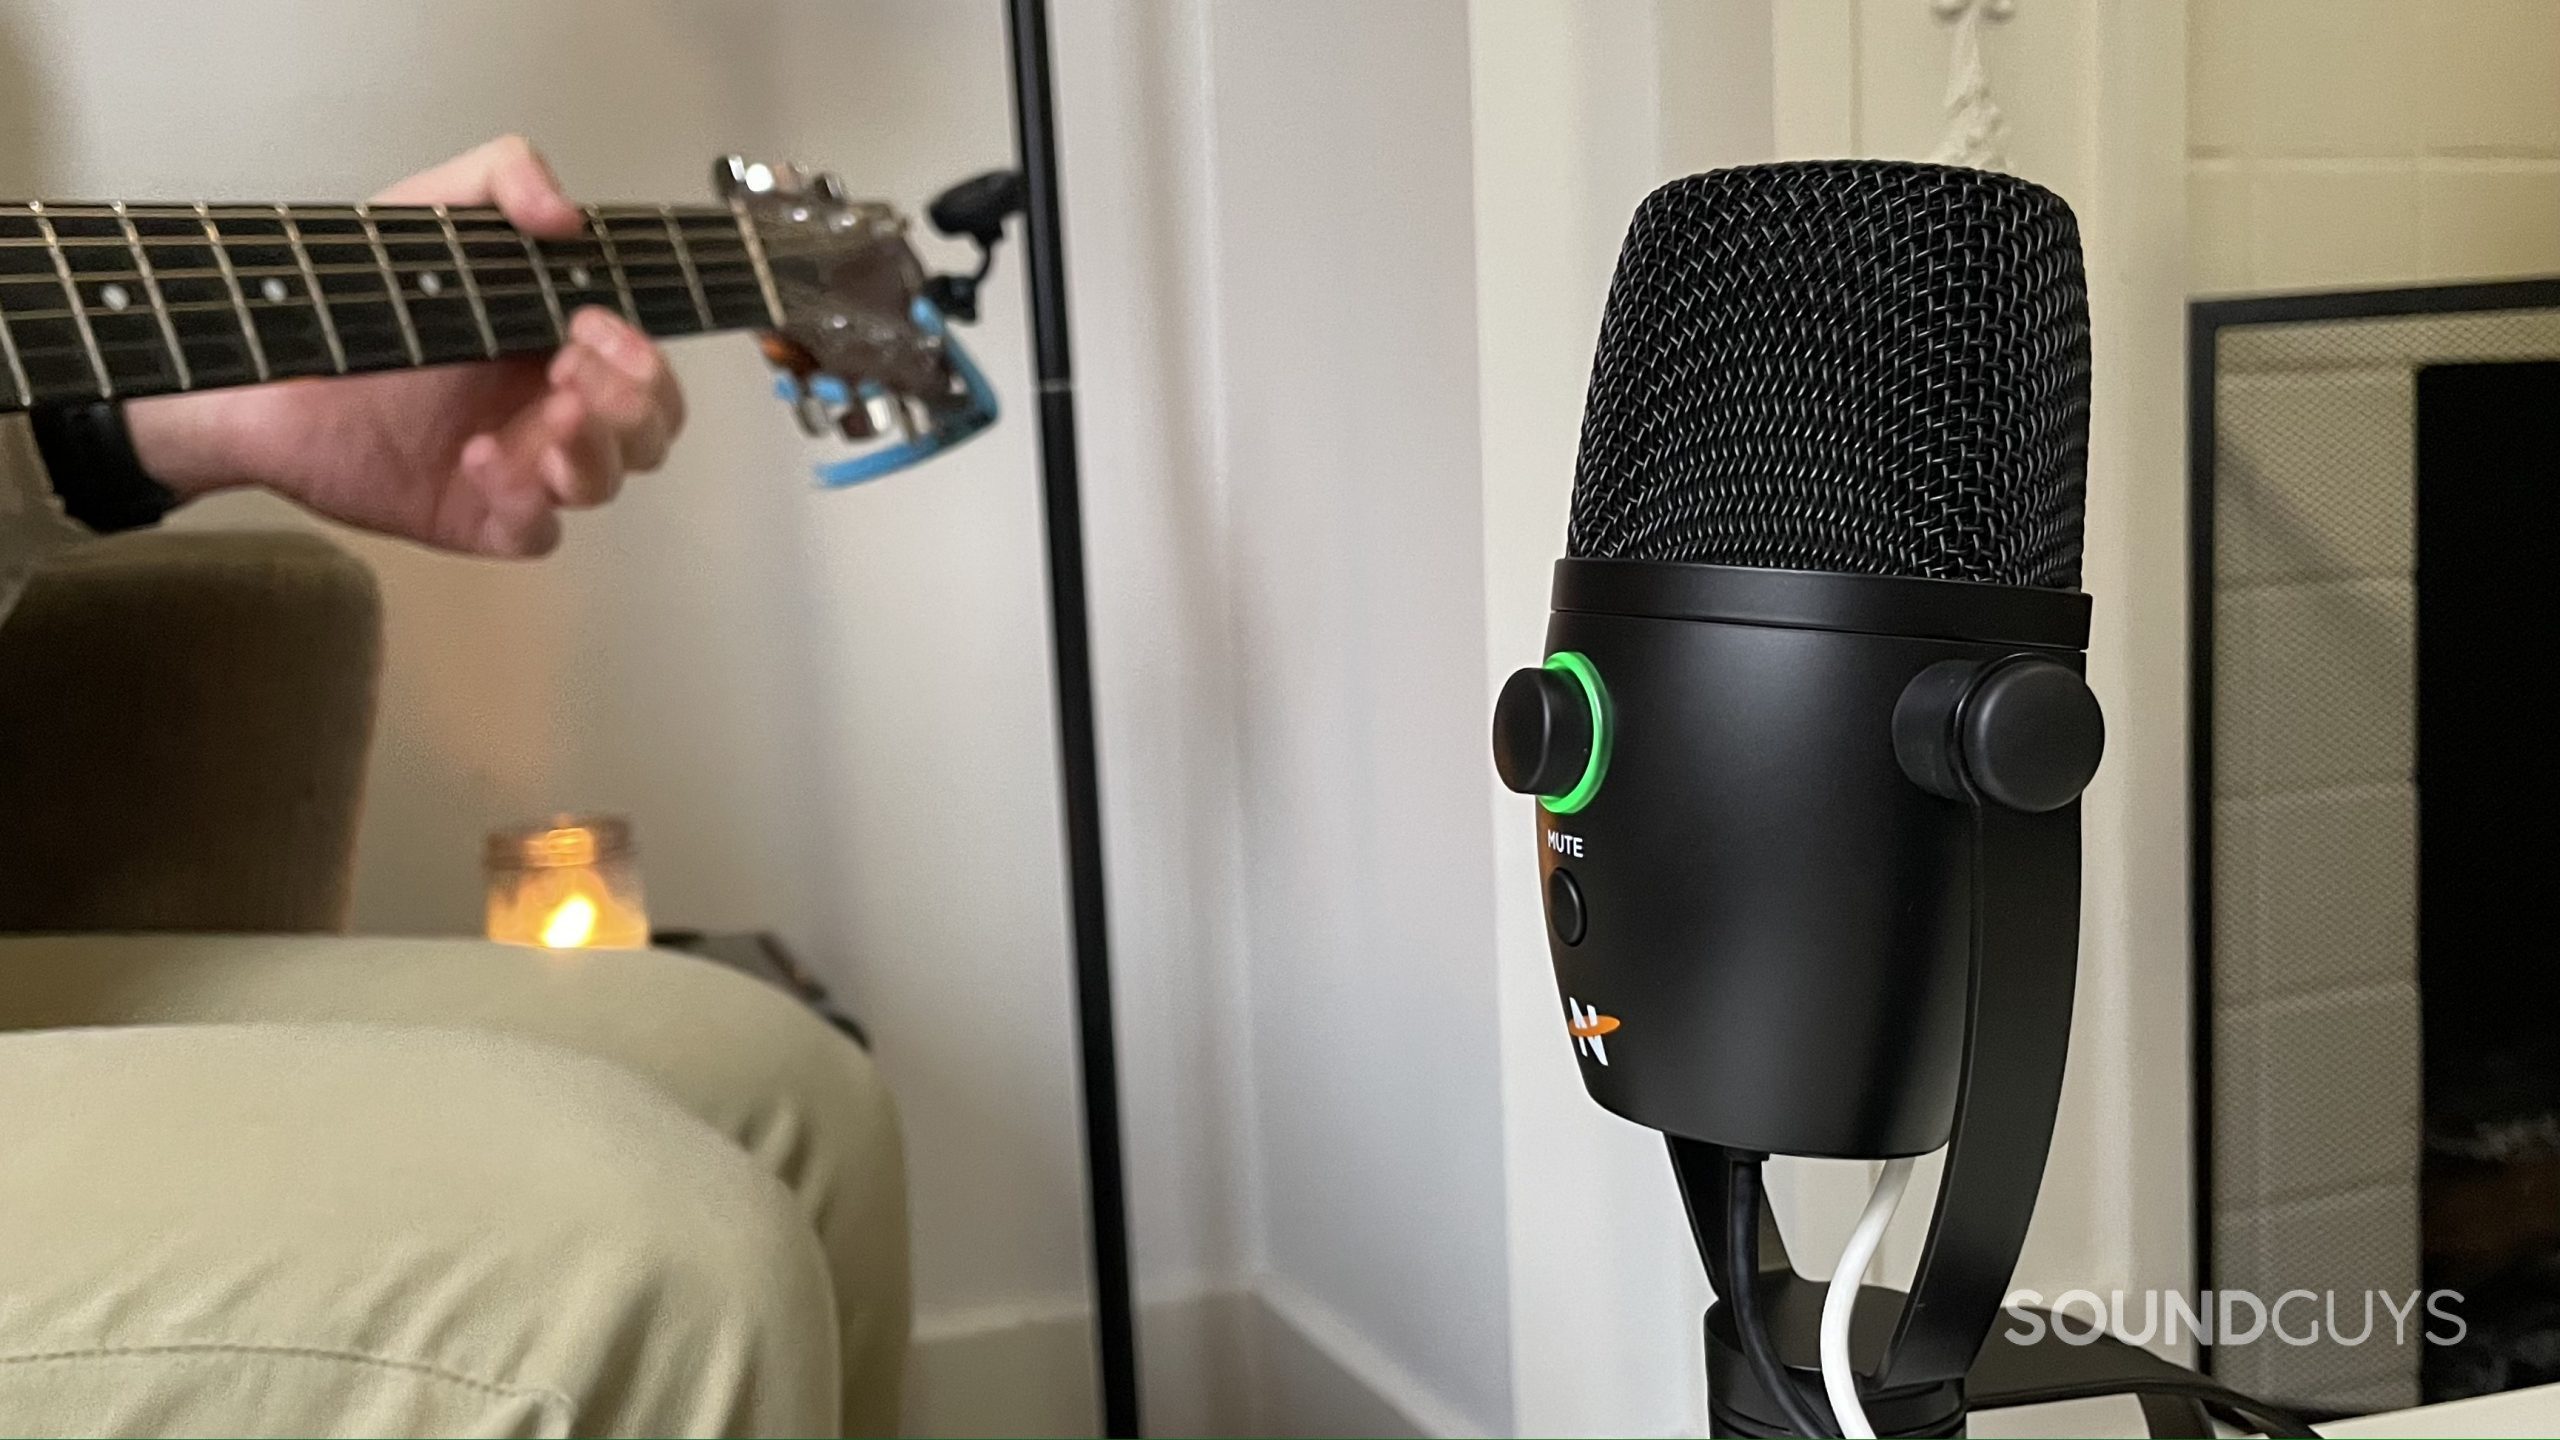
The Neat Bumblebee II is a small and lightweight USB condenser microphone, weighing in at just 400g. Though it is light, it feels durable enough that I’m not concerned about damaging it through daily use. The Bumblebee II comes installed onto a desktop stand with an adjustable yoke. The desktop stand is a little short, but thanks to the yoke mount you can tilt the microphone capsule up towards your face. Neat provides a 5/8-inch threaded adapter, so you can mount it onto any standard mic stand—just unscrew the yoke from the desktop stand. The package also includes a USB cable for connecting the mic and a quick start guide.
Start here: What type of microphone do I need?
The quick start guide goes above and beyond compared to other user guides for consumer microphones. It’s written in a very accessible way, and even defines niche terms like “zero-latency monitoring” for non-tech geeks. The guide includes a frequency response chart for the microphone and a chart that displays its cardioid polar pattern. However, what really makes the guide helpful is its inclusion of a “how to use it” section. This section features tips and tricks for where to place the mic depending on what style of speech or what kind of instrument you are recording. For example, it advises you to speak into the Bumblebee II with it 4-6 inches away from your face, but to move closer to the mic for more intimate vocal applications.
Though you can’t use a USB microphone for every instrument under the sun, the Bumblebee II’s instructions address how to maximize the sound quality when using it with many different kinds of instruments, from hand drums to saxophones to acoustic guitars.
What’s it like to use the Neat Bumblebee II?
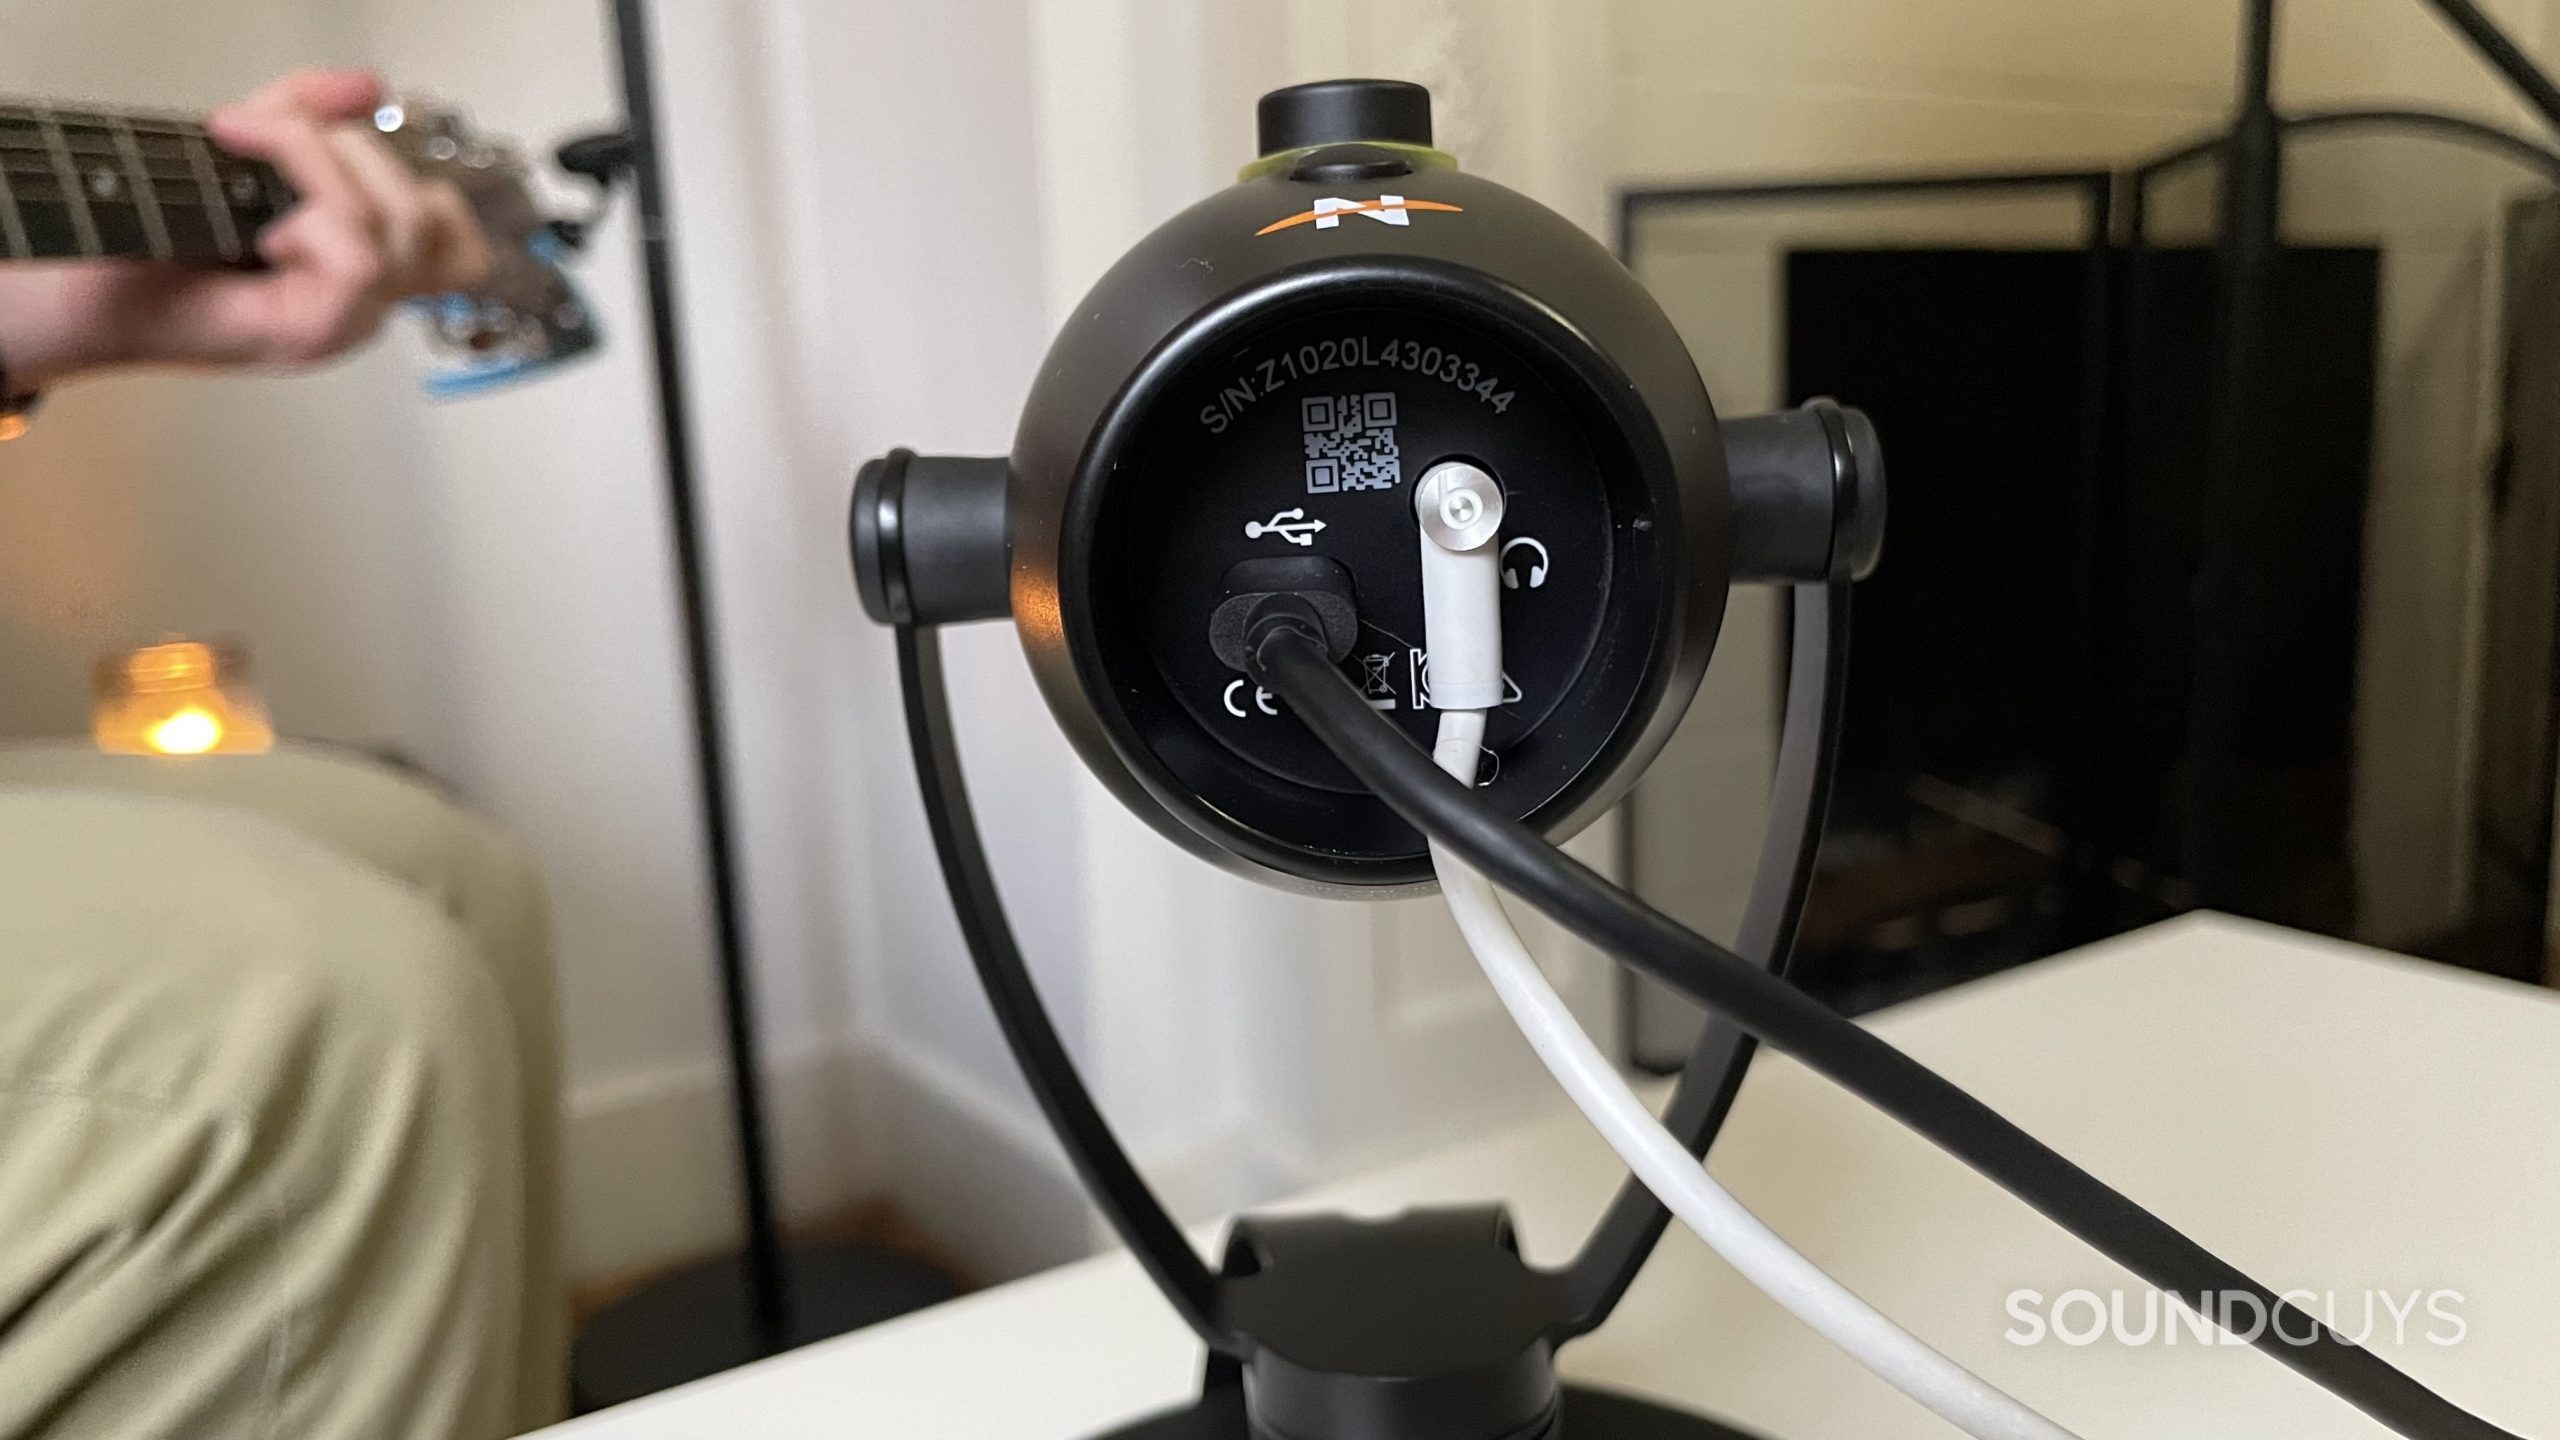
Since the Neat Bumblebee II is a USB microphone, you won’t need to invest in any extra equipment to operate it—unless you plan to connect it to a newer Apple computer. The Bumblebee II comes with a USB-C to USB-A cable, and the USB-C side plugs into the microphone. If your computer only has a USB-C port, you’ll need an adapter.
The Bumblebee II has a headphone port for zero-latency direct monitoring. When using the direct monitoring feature you’ll hear a “fuzzy” sound, which is annoying, but does not affect the clarity of what the microphone actually picks up. You can always press the mute button to silence the noise when listening back to your recordings.
How do you control the Neat Bumblebee II?
Like many USB microphones, the Neat Bumblebee II offers onboard controls and features. It has a mute button accompanied by an indicator light that glows red if you are muted. This is nice, especially for folks who have a hard time trusting the “muted” button on Zoom. You also get a multifunction button/knob that has three settings, indicated by different colored LED lights. Press the button to toggle the settings. The mic comes with a little tag with a key for decoding the three different colors, but there’s conflicting information in the paperwork about what each color indicates. Don’t worry though, upon testing this, we present to you a clear table to reflect the actual behavior:
| Color | Setting |
|---|---|
Yellow | Playback volume |
Green | Mix balance (clockwise is more gain, counterclockwise is more playback volume) |
Blue | Gain |
The mix balance setting controls the relative proportions of sound in your headphones from two sources: the mic’s input and your computer’s media playback. While the multifunction knob is useful, there are no tick marks on it or physical limits to stop it from turning in either direction. You can’t tell what level you have actually set it to by sight or feel. The gain and volume controls sync up with the gain level on your DAW and the volume level on your computer, though, so you can check them there.
How does the Neat Bumblebee II sound?
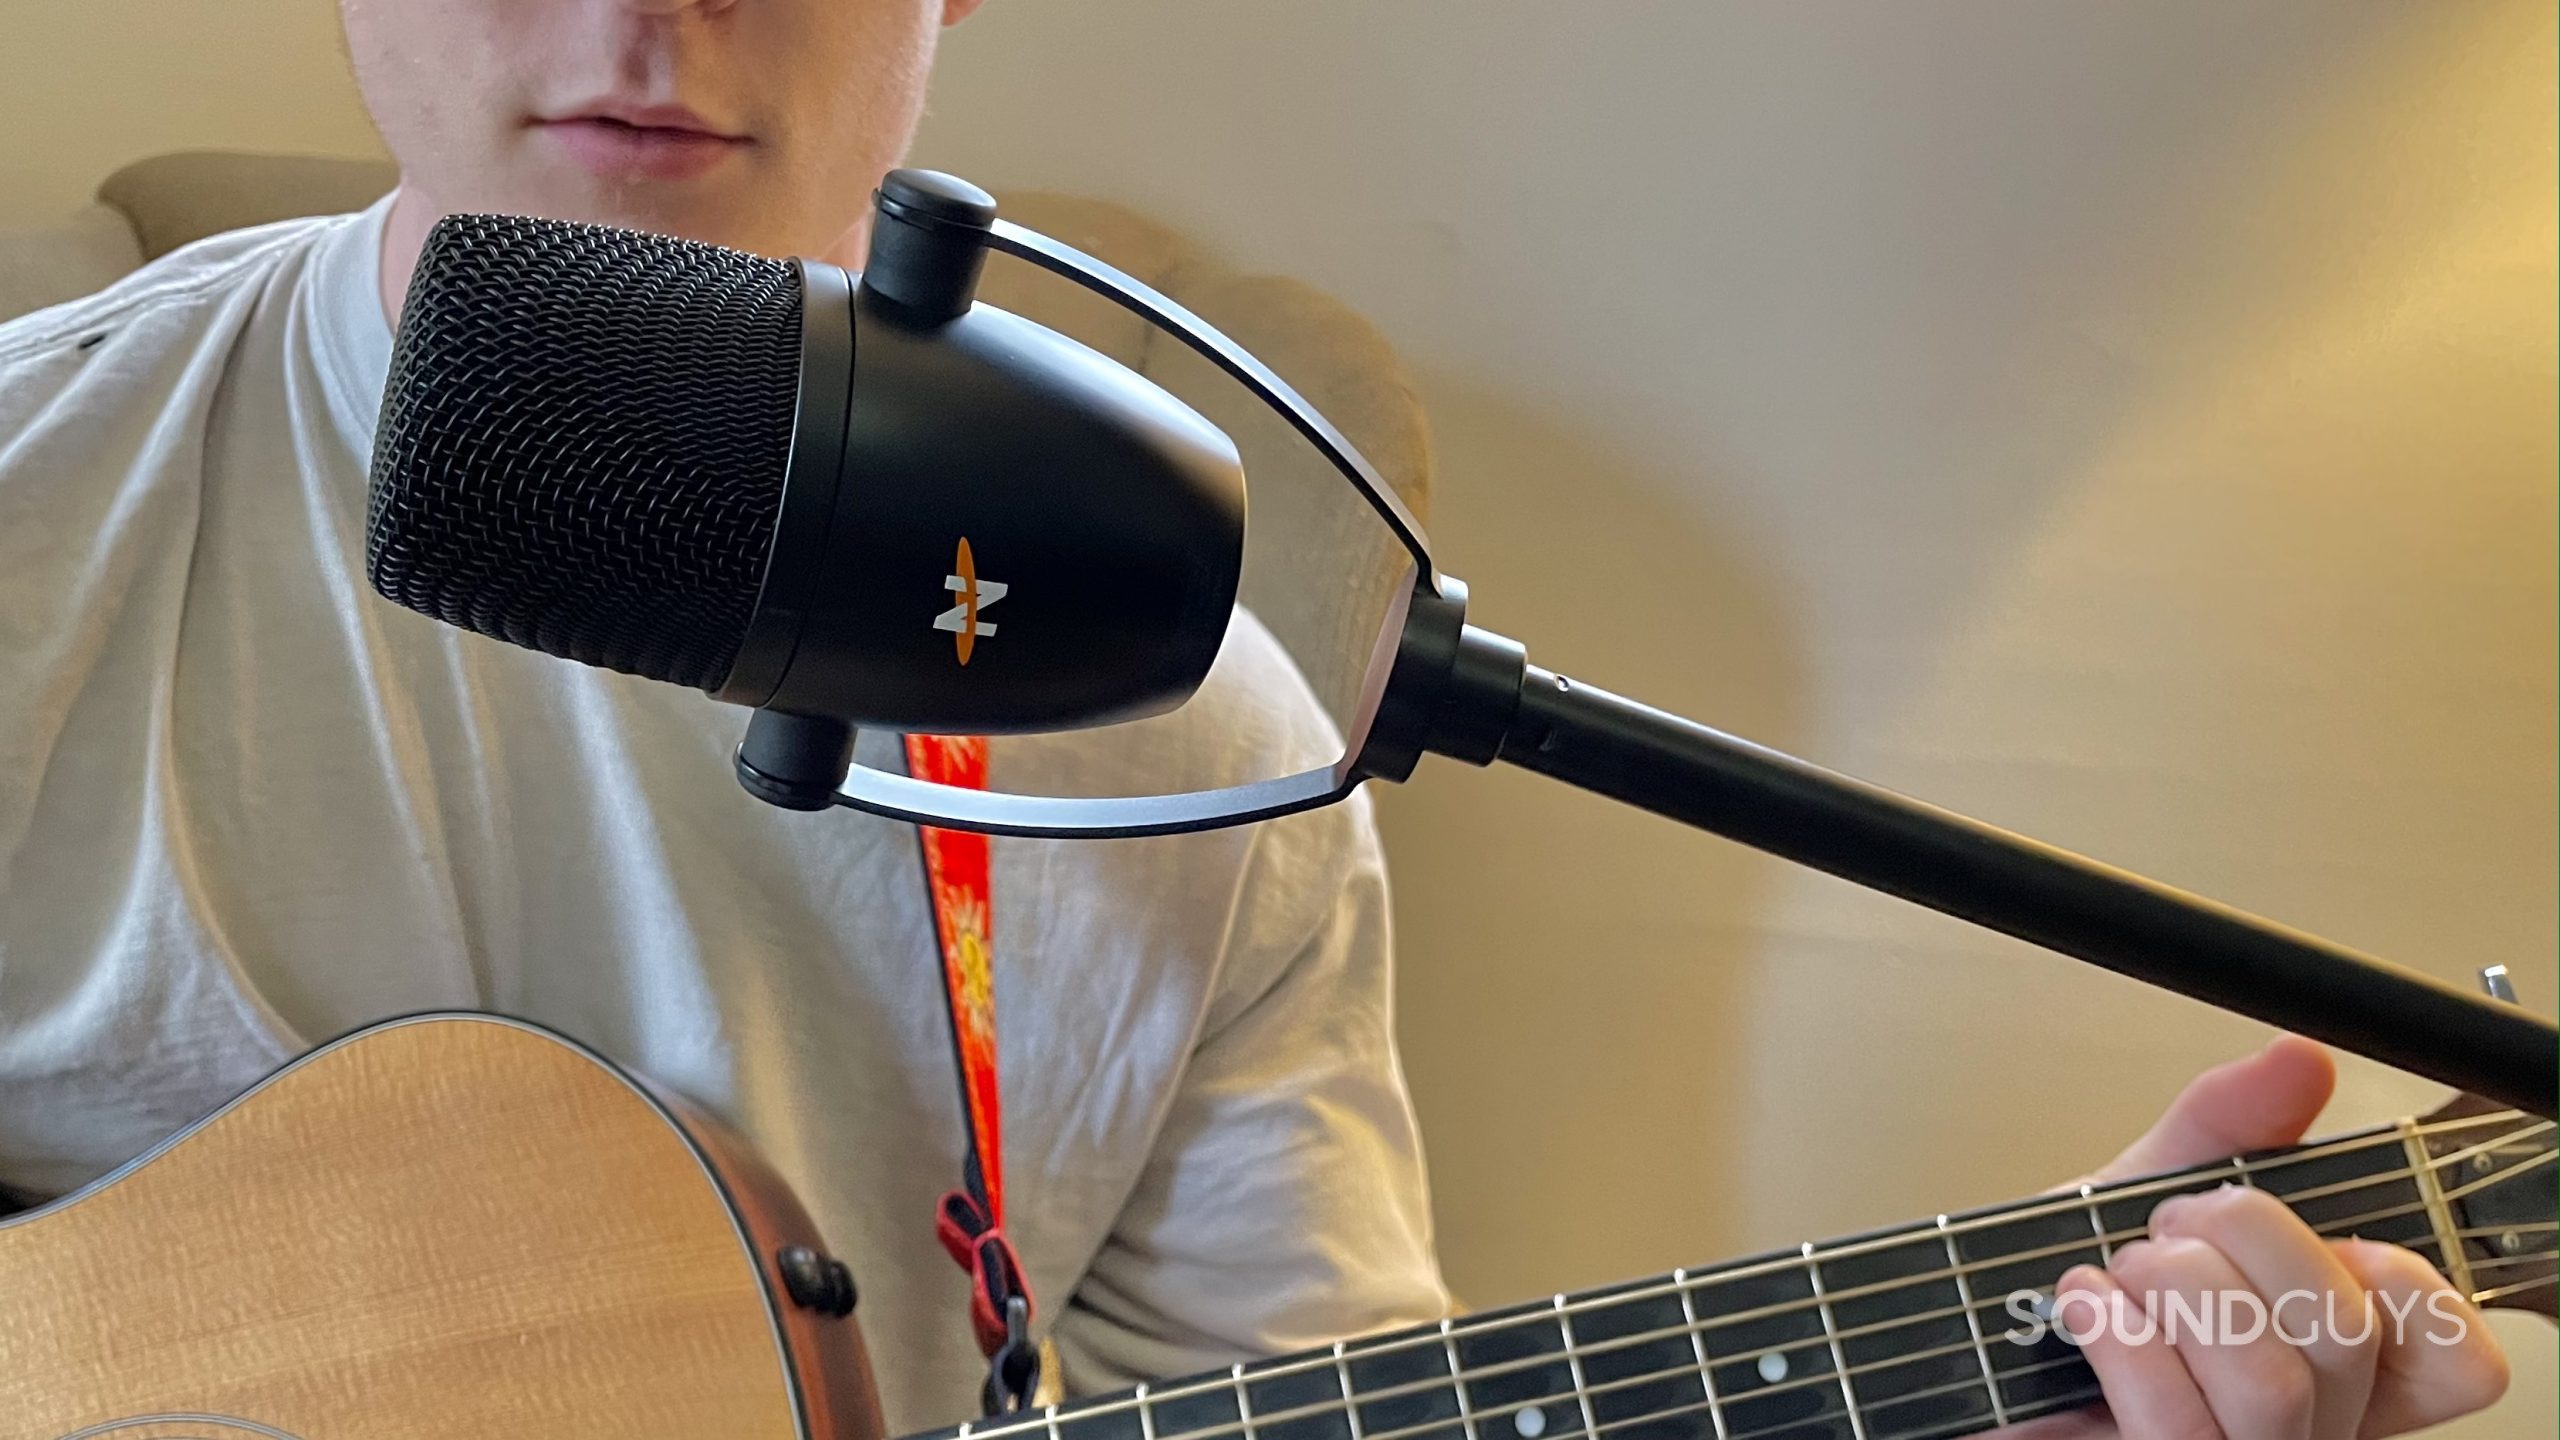
If you’re looking for an affordable microphone that sounds really great, your search can end with the Neat Bumblebee II. This little USB microphone has almost studio-quality sound, which is crazy considering it’s $100 USD. It houses a 25mm condenser capsule and an internal shock mount to help keep its audio reproduction crystal clear. The mic outputs 24bit/96kHz audio.
Learn more: What is a polar (recording) pattern?
If you listen to the samples below, you can hear how the microphone performs in an untreated room (my bedroom), which accurately represents the acoustic conditions that many podcasters find themselves in. The Bumblebee II handles the imperfect conditions pretty well. Even when I blast my fan you can still clearly understand what I’m saying.
Neat Bumblebee II speaking sample:
The mic does a pretty good job reproducing vocal music as well. Despite the lack of a pop filter or windscreen, the Bumblebee II doesn’t have problems with plosives (“p” sounds). Singing tends to be far more dynamic in volume than speech, and the mic handles even the loudest sections of my singing without distorting.
Neat Bumblebee II singing sample:
The Neat Bumblebee II also sounds great with an acoustic guitar. It records all the nuances of the instrument, from its fundamental bass tones to the subtle sounds of fingers on strings. Regardless of your use case, the Neat Bumblebee II is a great mic.
Neat Bumblebee II acoustic guitar sample:
How does the microphone sound to you?
Hold up! Something’s different
We’ve made a big improvement to how we demonstrate the microphone performance of products we review. We now use a standardized test setup that plays back pre-recorded phrases from a calibrated artificial mouth in our test chamber, either with or without simulated background noises, simulated reverberant spaces, or artificial wind. This means that samples from every product can be directly compared, which makes it far easier to make meaningful comparisons between products in terms of the raw speech quality or the product’s ability to reject noise. We will also update this review with new frequency response charts. These will be made obvious with our new chart aesthetic (black background instead of white). It will take a while to update our backlog of old test results, but we will update this review (and many others!) once we’re able with improved microphone demos. These will be made obvious in each new sample which begins with the phrase, “This is a SoundGuys standardized microphone demonstration …”
Thank you for bearing with us, and we hope to see you again once we’ve sorted everything out.
Should you buy the Neat Bumblebee II?
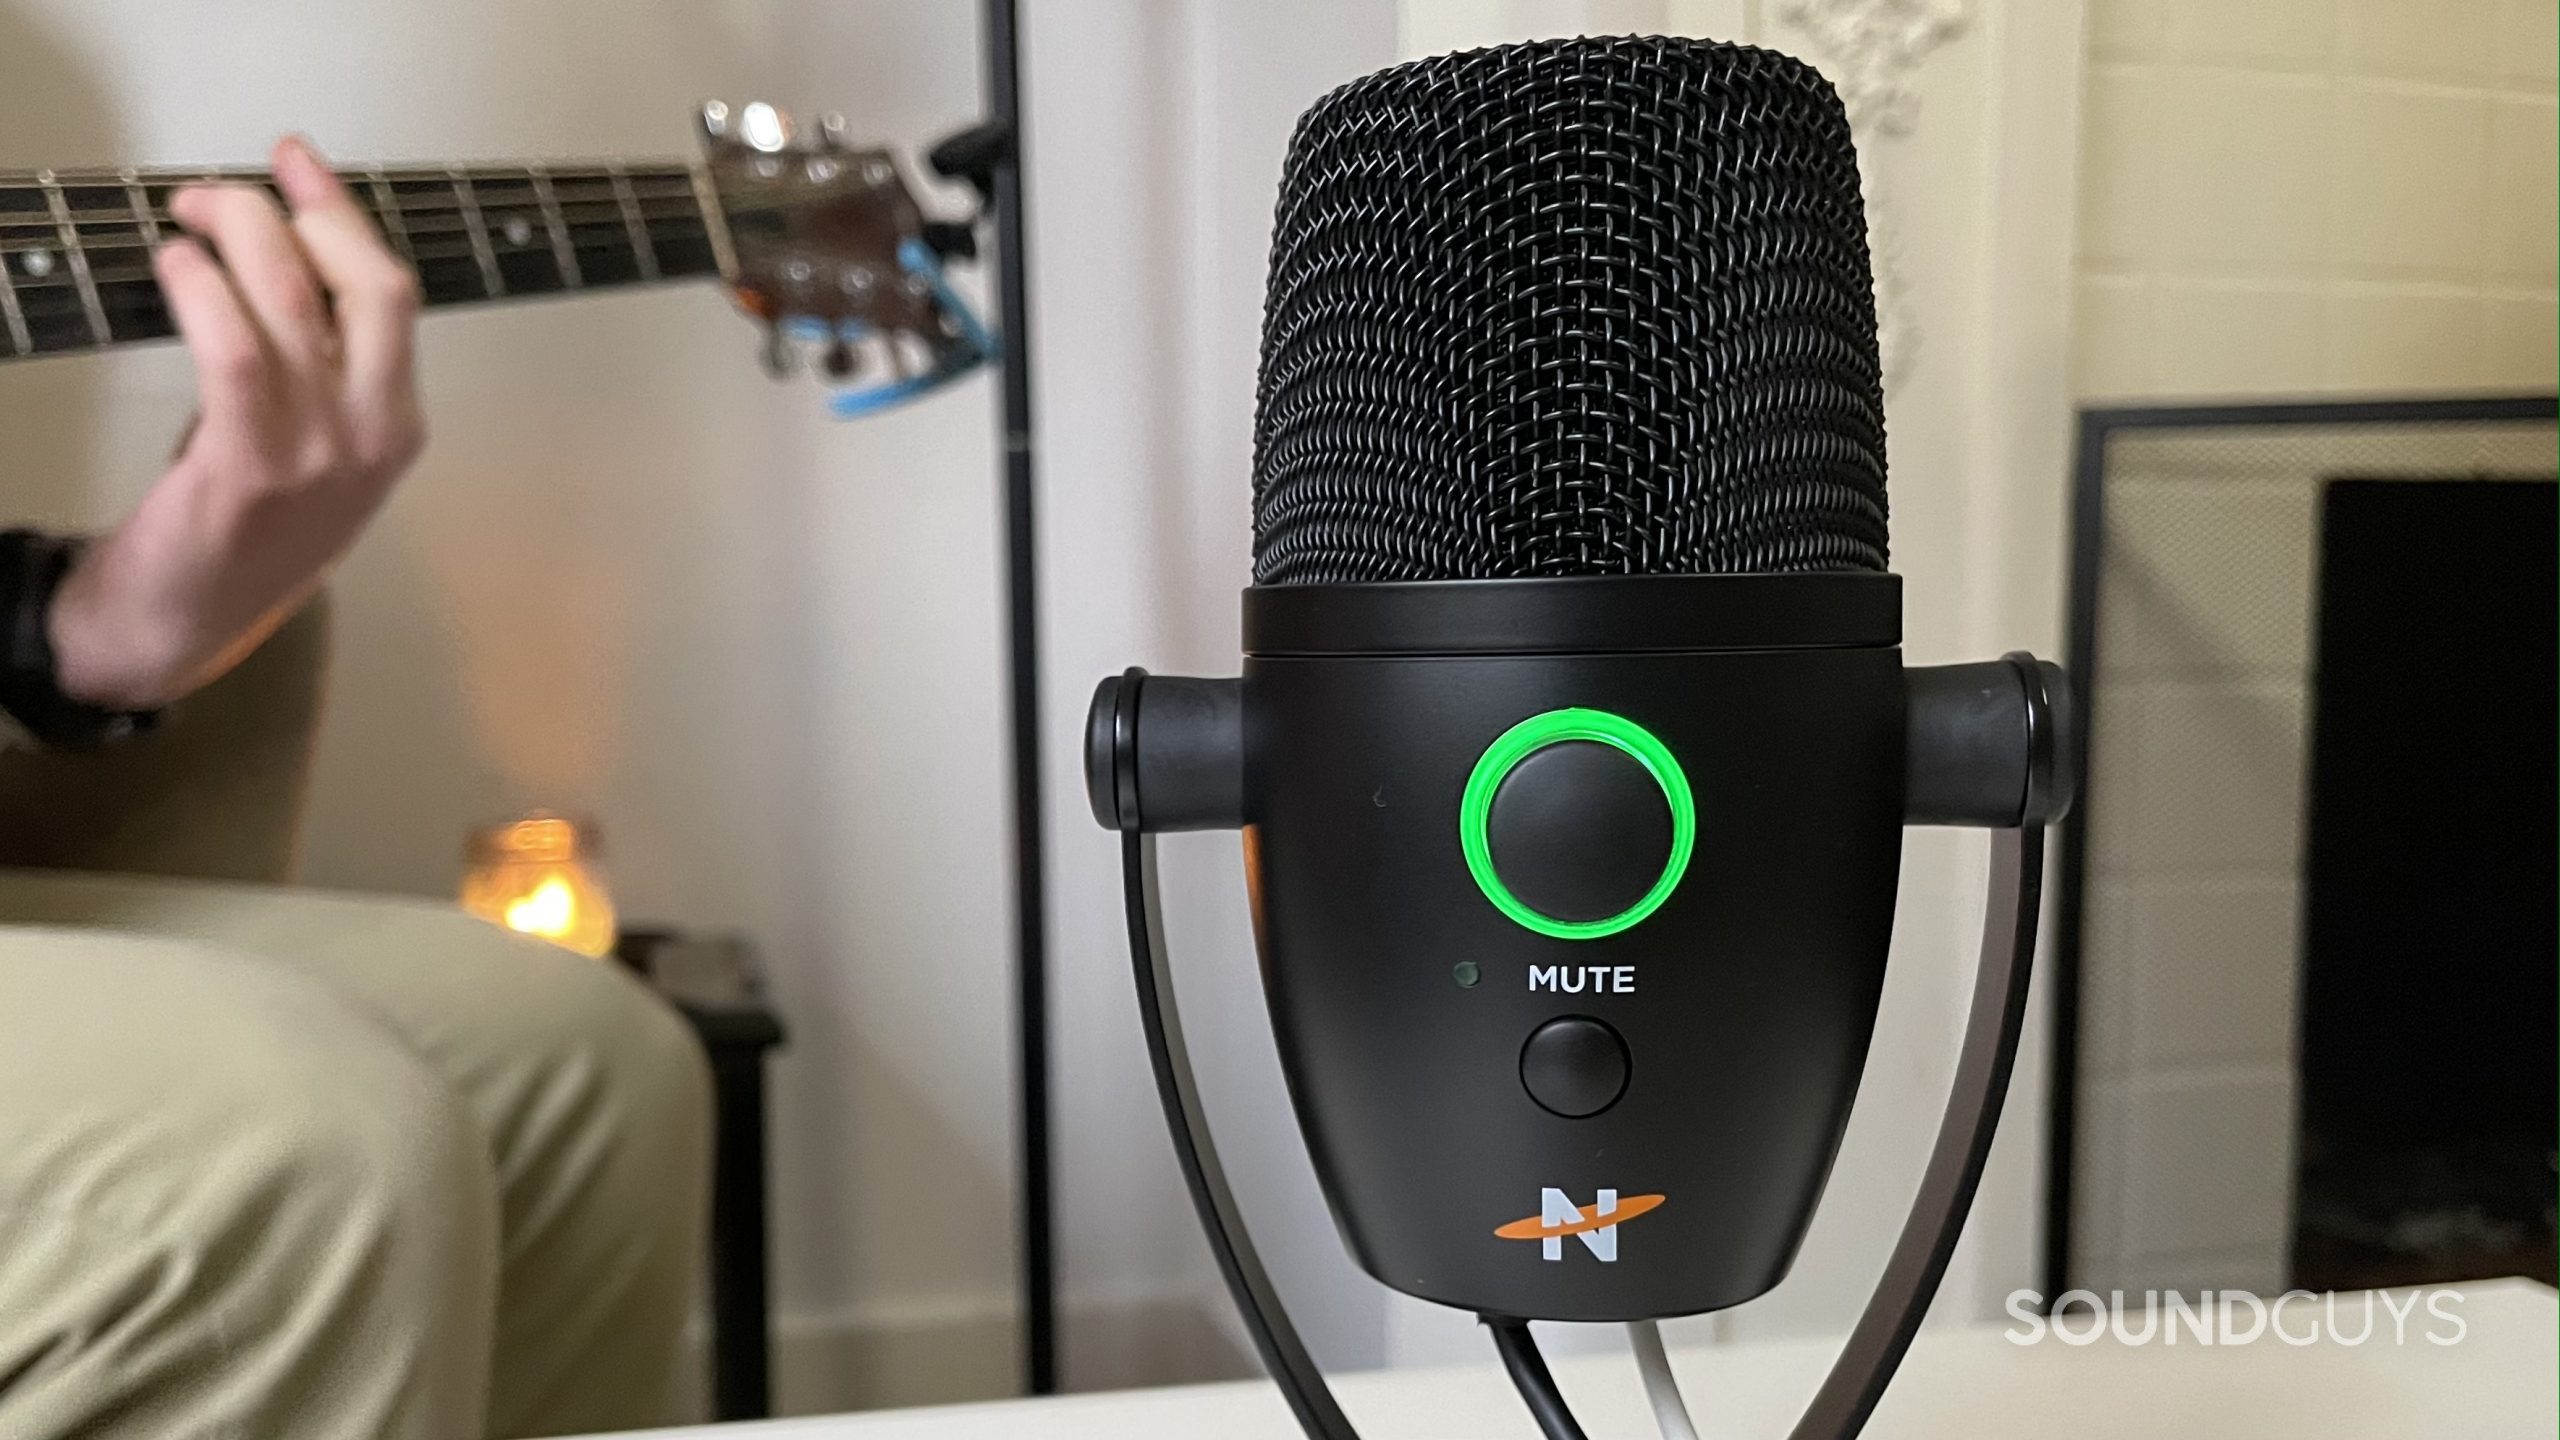
I absolutely recommend the Neat Bumblebee II USB microphone. From the excellent sound quality, to the versatility, to the portability, to the price, the Neat Bumblebee II has got a lot going for it. You can even find this mic on sale every now and again—we’ve seen it for as low as $85 USD. If you’re someone who needs a microphone to reproduce clear speech, vocal music, and instruments, the Neat Bumblebee II is your dude.

My chief complaints with this microphone are fairly nit-picky. I wish the desktop stand was a bit taller or had a more adjustable height, and I wish the multifunction knob had a visual indicator of its current setting. However, neither of these are deal breakers considering you can remove the mic from the desktop stand, and you can check your gain and volume levels directly on your computer. All in all, this is a great mic you won’t regret buying.
The main difference between the two mics is how each connects: the Neat Bumblebee II is a USB microphone and the Neat King Bee II is an XLR mic. This means you’ll need to separately purchase an XLR cable and audio interface to use the King Bee II, making it a more expensive prospect than the plug-and-play Bumblebee II.
While the Neat King Bee II has a more unique design (click the image to expand), it doesn’t feel nearly as robust as the Bumblebee II. A skinny, short metal rod connects the mic capsule to the rest of the housing and it feels as tenuous as it looks. The sound quality is very good, but it should be for $70 USD more—and then some, after you buy the necessary hardware.
Ultimately, if you want excellent XLR sound, the Neat King Bee II has it, but you may want something a bit more versatile and sturdy like the Blue Yeti X or Shure MV7 instead. Shure’s mic doesn’t force you to choose between XLR and USB recording since it has both outputs and you can use them in tandem.
What should you get instead of the Neat Bumblebee II?
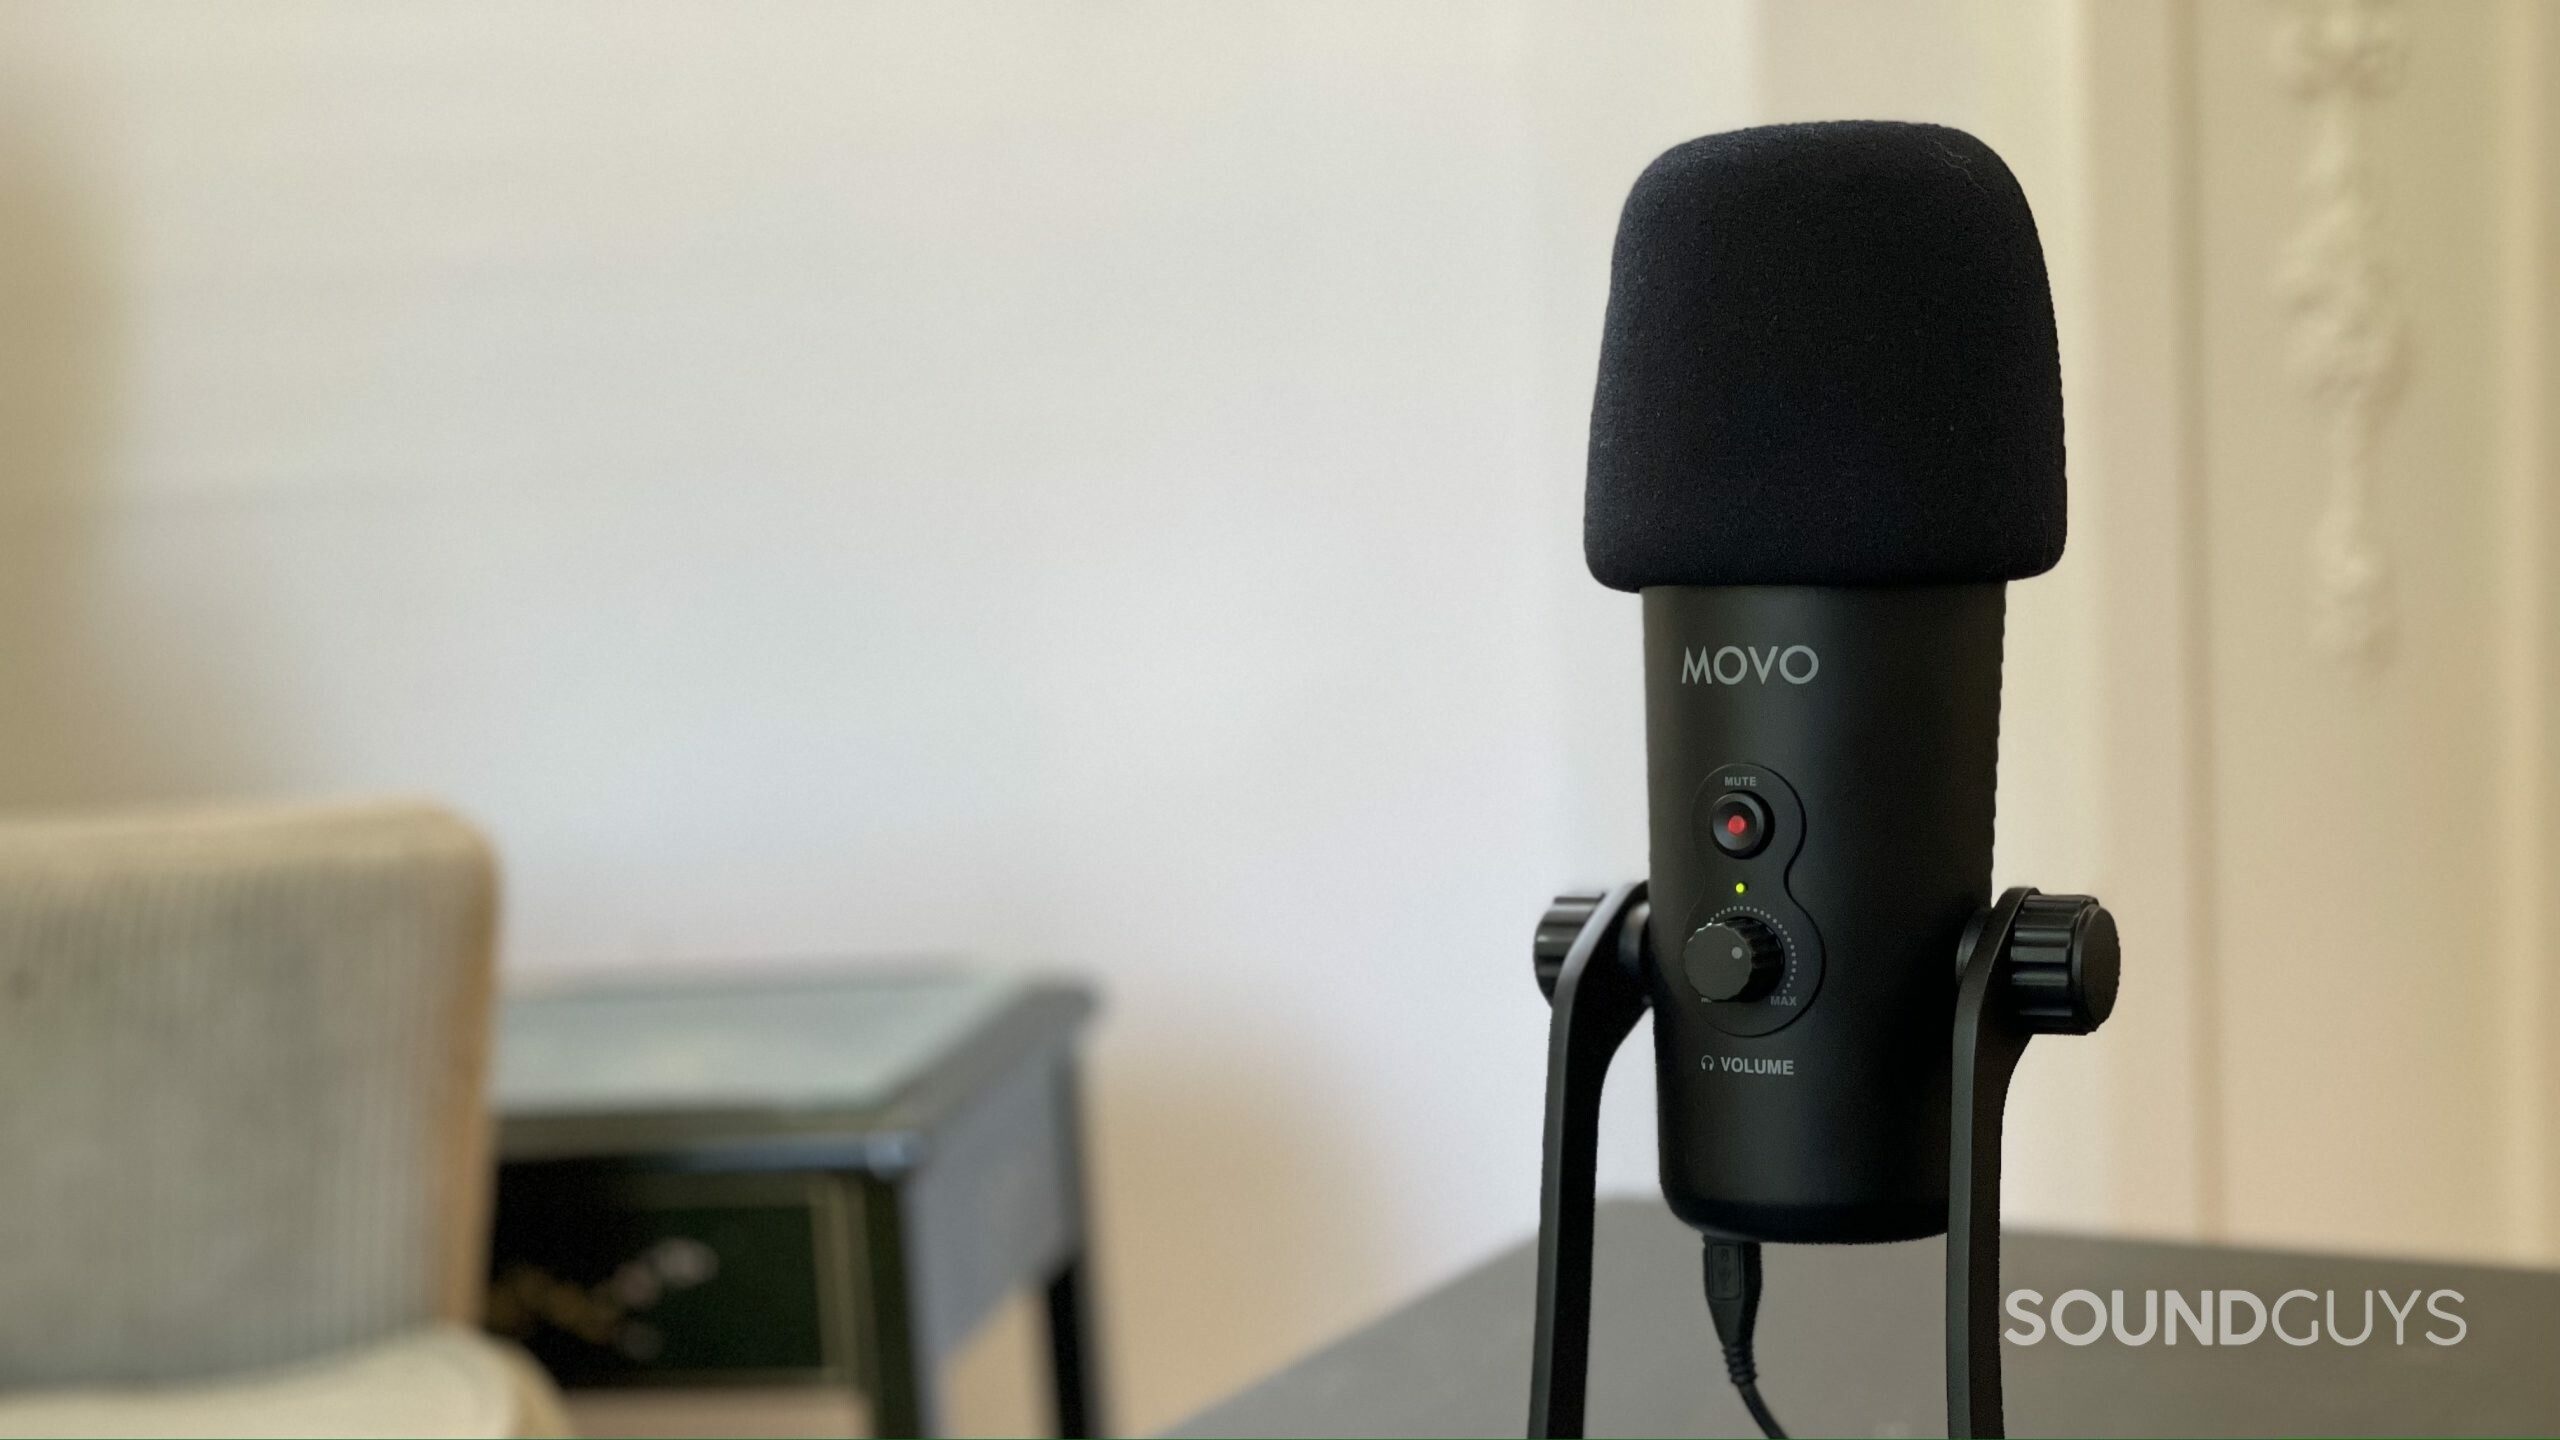
The Neat Bumblebee II is a great microphone, but it definitely has some stiff competition. Namely, the Movo UM700 has a few things going for it that the Bumblebee II does not, including four selectable polar patterns, a removable windscreen, and visual level indicators on the gain and volume control knobs. It pretty much fills all the gaps that the Neat Bumblebee II has, and it sounds just as great and costs the same price—$99 USD.
Additional quality USB alternatives to the Neat Bumblebee II include the JLab Talk PRO and HyperX Quadcast S, though they are a bit more expensive than the Bumblebee II. Both microphones have large LEDs that light nearly the entire mic, which can be cool but might be distracting too.
Frequently asked questions about the Neat Bumblebee II
To turn the microphone on, simply plug it into the USB port of your computer. The mic should immediately connect as your computer’s audio input source and the multifunction button indicator light will glow.
When the Neat Bumblebee II is plugged into your computer and you have headphones plugged into the mic, the direct monitoring feature should be automatically enabled. If it is not, go into your computer’s sound settings and select the Neat Bumblebee II as the audio output source.
The JOBY Wavo POD is another USB condenser microphone that costs $99 USD, but JOBY’s mic has two recording patterns (cardioid and omnidirectional). Oddly, the omnidirectional recording pattern on the Wavo POD performs more like a bidirectional recording pattern. This isn’t ideal, but as long as you know what you’re getting into, the bidirectional performance may be preferable.
The Neat Bumblebee II has a slicker design than the Wavo POD and but the Wavo POD includes a removable pop filter. Both mics support direct headphone monitoring and use a USB-C output to transmit audio to your computer.