All products featured are independently chosen by us. However, SoundGuys may receive a commission on orders placed through its retail links. See our ethics statement.
How to wear headphones
Published onApril 6, 2023
Everyone knows how to wear headphones, right? So why do many people report issues of bad performance, when others don’t? The answer is pretty simple: getting a good fit is harder than it sounds.
There’s a wrong way to wear headphones?
We’ve talked about the importance of fit with earbuds and in-ear monitors (IEMs) before, but traditional over-ear headphones have quirks of their own. As simple as wearing headphones may seem, there is a right and a wrong way to do it for your head. Believe it or not, you can do it wrong, and that will lead to issues when it results in a poor fit. A poor fit will be marked by one or more of the following:
- Ear cups touching your ears.
- A poor seal between ear cups and your head.
- Excessive clamping force leading to pinching, headaches.
- Headphones moving around.
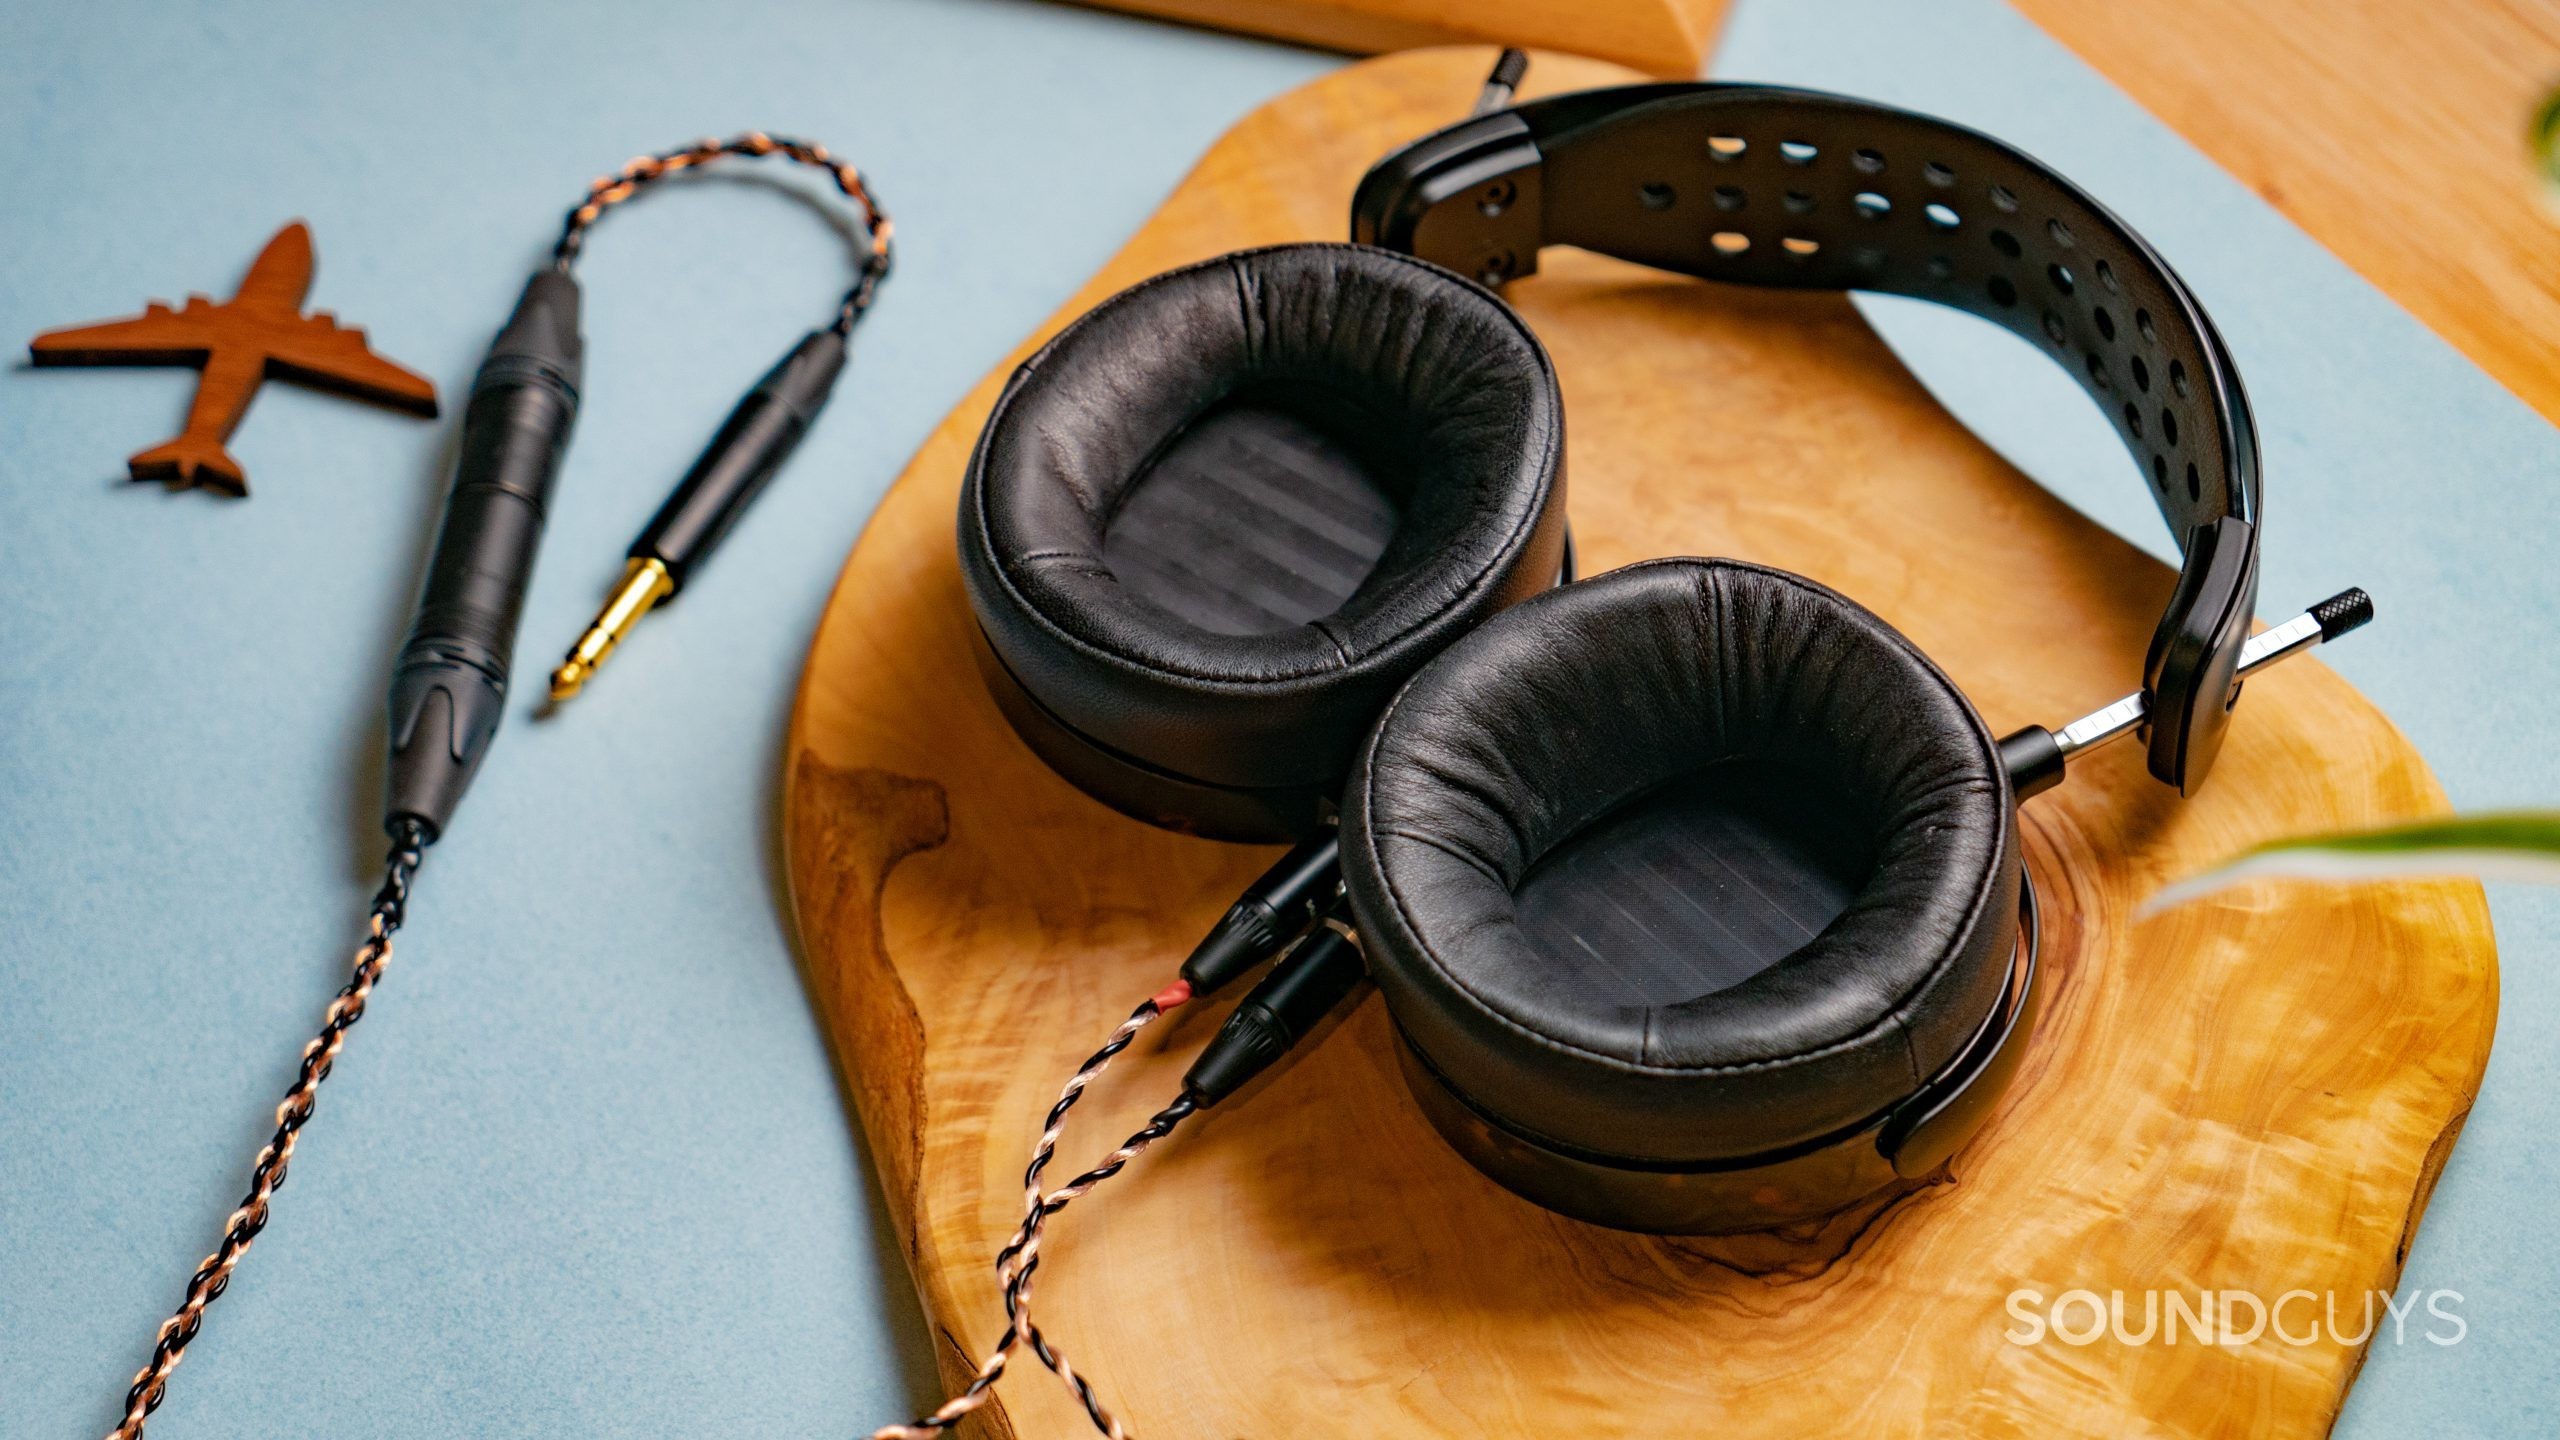
While this isn’t a complete list, it encompasses the most common causes of issues with headphones. If you find yourself suffering from any of the below issues, it’s entirely possible that the fit of your headphones is causing the problem and not any sort of performance deficiency of the headphone itself. When you wear headphones, take note if you notice the following:
- Poor active noise cancellation (ANC) performance.
- Bad acoustic isolation.
- Inadequate bass output.
- Hard to hear high frequencies.
- Painful to wear with glasses.
- Headphones won’t stay in place.
- Headaches.
Though all these problems are quite different, the first three of them are due to the same cause: an interruption in the seal where the ear pads meet your head. It isn’t always possible to fix a poor seal, but ensuring you have the best fit possible will keep these issues to a minimum.
The other problems generally have more obvious fixes. For example, if the headphones clamp your head too tightly, they’ll make glasses hurt, they may push your outer ear down (making bass sound weird), or the headband could just dig into your skull. If your headphones are doing this to you, you need to adjust the band—or they don’t fit you properly.
Bad fit also affects reviews
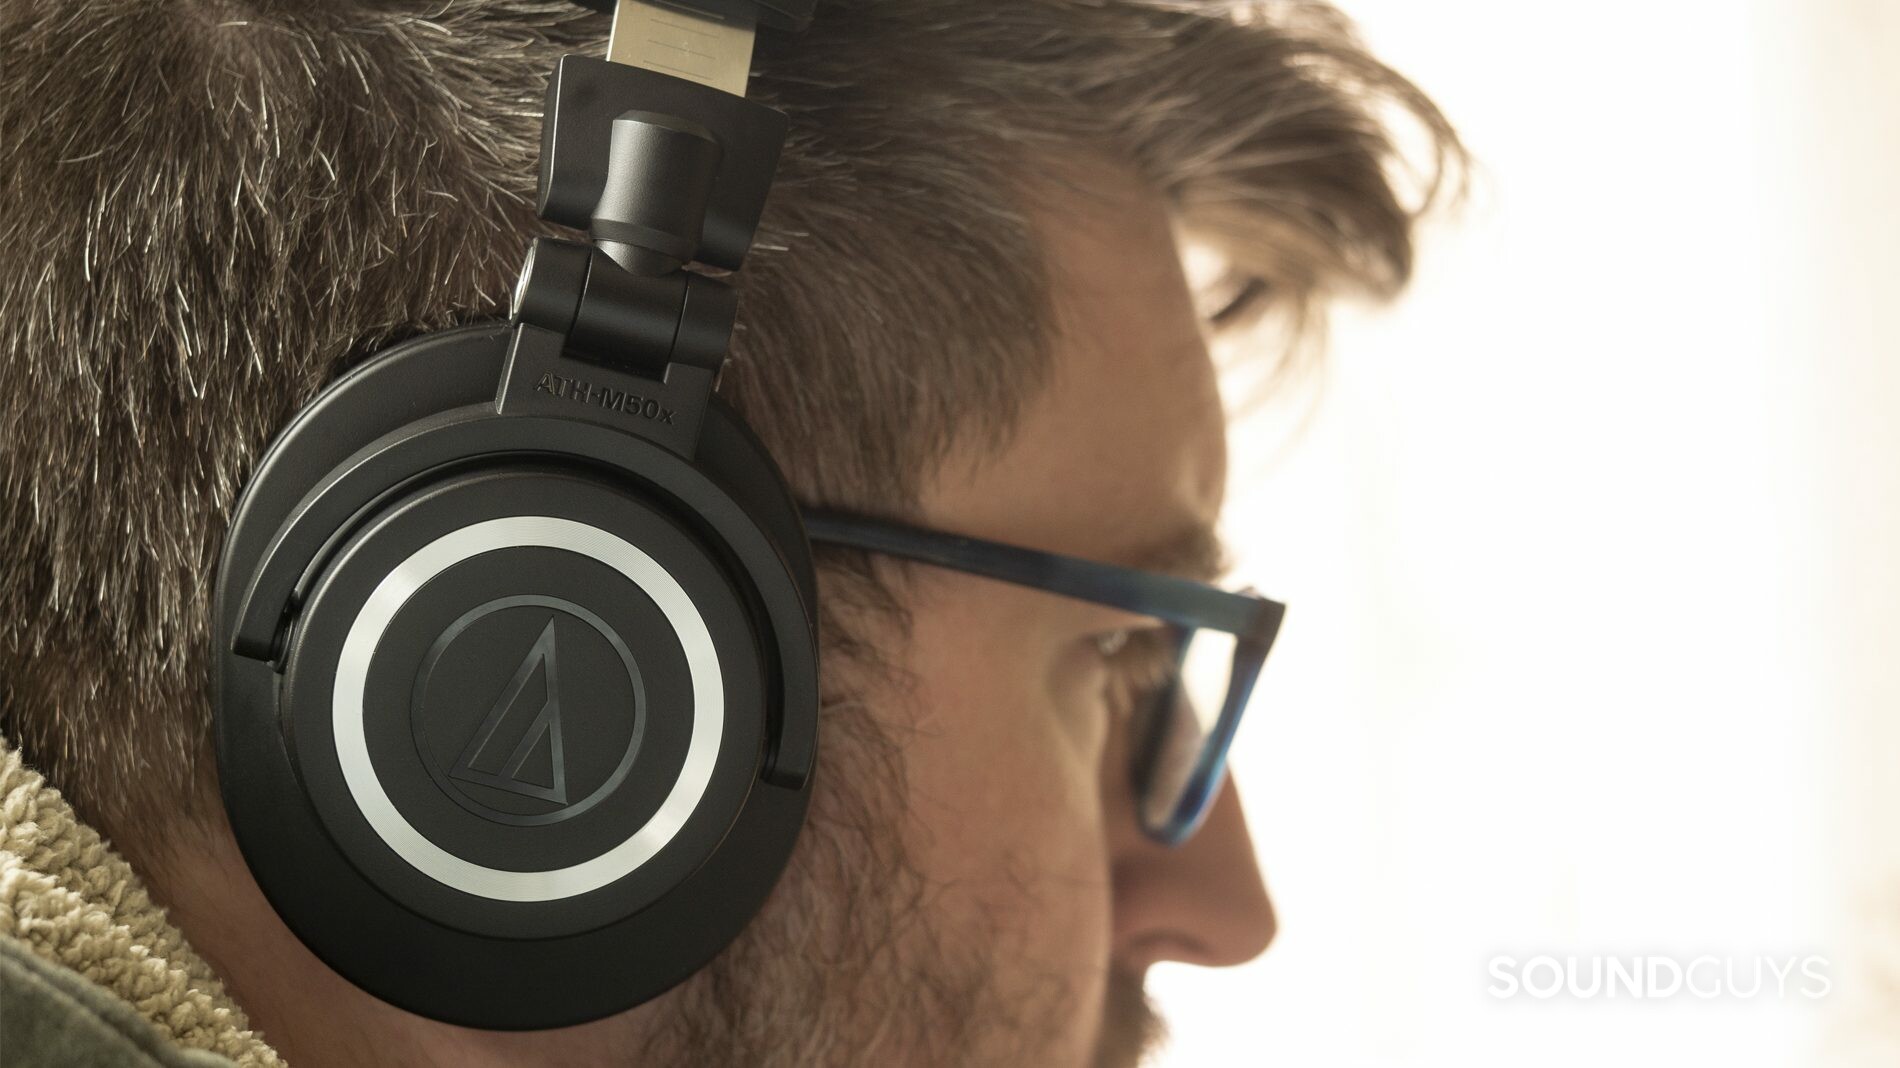
If you look at headphone reviews online, you might notice that sometimes what reviewers and commenters hear is wildly different when it comes to sound quality. Neither the reviewer nor the commenter is necessarily wrong: chances are the headphones just didn’t fit one of them properly. We’ve seen this with very good headphones too—anything with a shallow ear cup and a too-rigid headband runs a high risk of exerting too much force on your head or ears, leading to pain and a bad fit. Fit matters more than just about everything else with over-ear headphones because it can make or break sound quality and comfort.
Fit matters more than just about everything else with over-ear headphones because it can make or break sound quality and comfort.
When researching the right thing to buy, try not to put too much stock into strong negative impressions that claim there’s no bass or that the ANC is worse than it should be if the data disagrees with that assessment. Nine times out of ten it’s because the commenter is a poor match for those headphones, or they weren’t wearing them correctly. For example, reports of alleged poor performance for the Sony WH-1000XM5 made the rounds on Reddit shortly after their release. And yes, for the posters who noted poor ANC performance: they absolutely were experiencing that. However, the expected post about fit correction came shortly thereafter.
The takeaway here is to take complaints you hear about headphones you’re researching with a grain of salt, and to look for broader consensus rather than anecdotes that support a fear of yours.
A good fit may not be possible with all headphones
Just like with clothing, something tailored for your favorite NBA team’s center won’t fit a smaller fella, and vice versa. Just because you really want a product doesn’t mean that it’s right for you, personally—the headphones must also fit you. This is why we always recommend either trying headphones before you buy, or at the very least: find a store with a good return policy. If headphones are uncomfortable when you first put them on, chances are very low they’ll get more comfortable over time, so don’t be afraid to pull the ripcord and take ’em back.
Step 1: Put the headphones on your head
Now that we’ve discussed all that—and we know what problems to look out for—it’s time to actually wear headphones.
Figure out which side is which
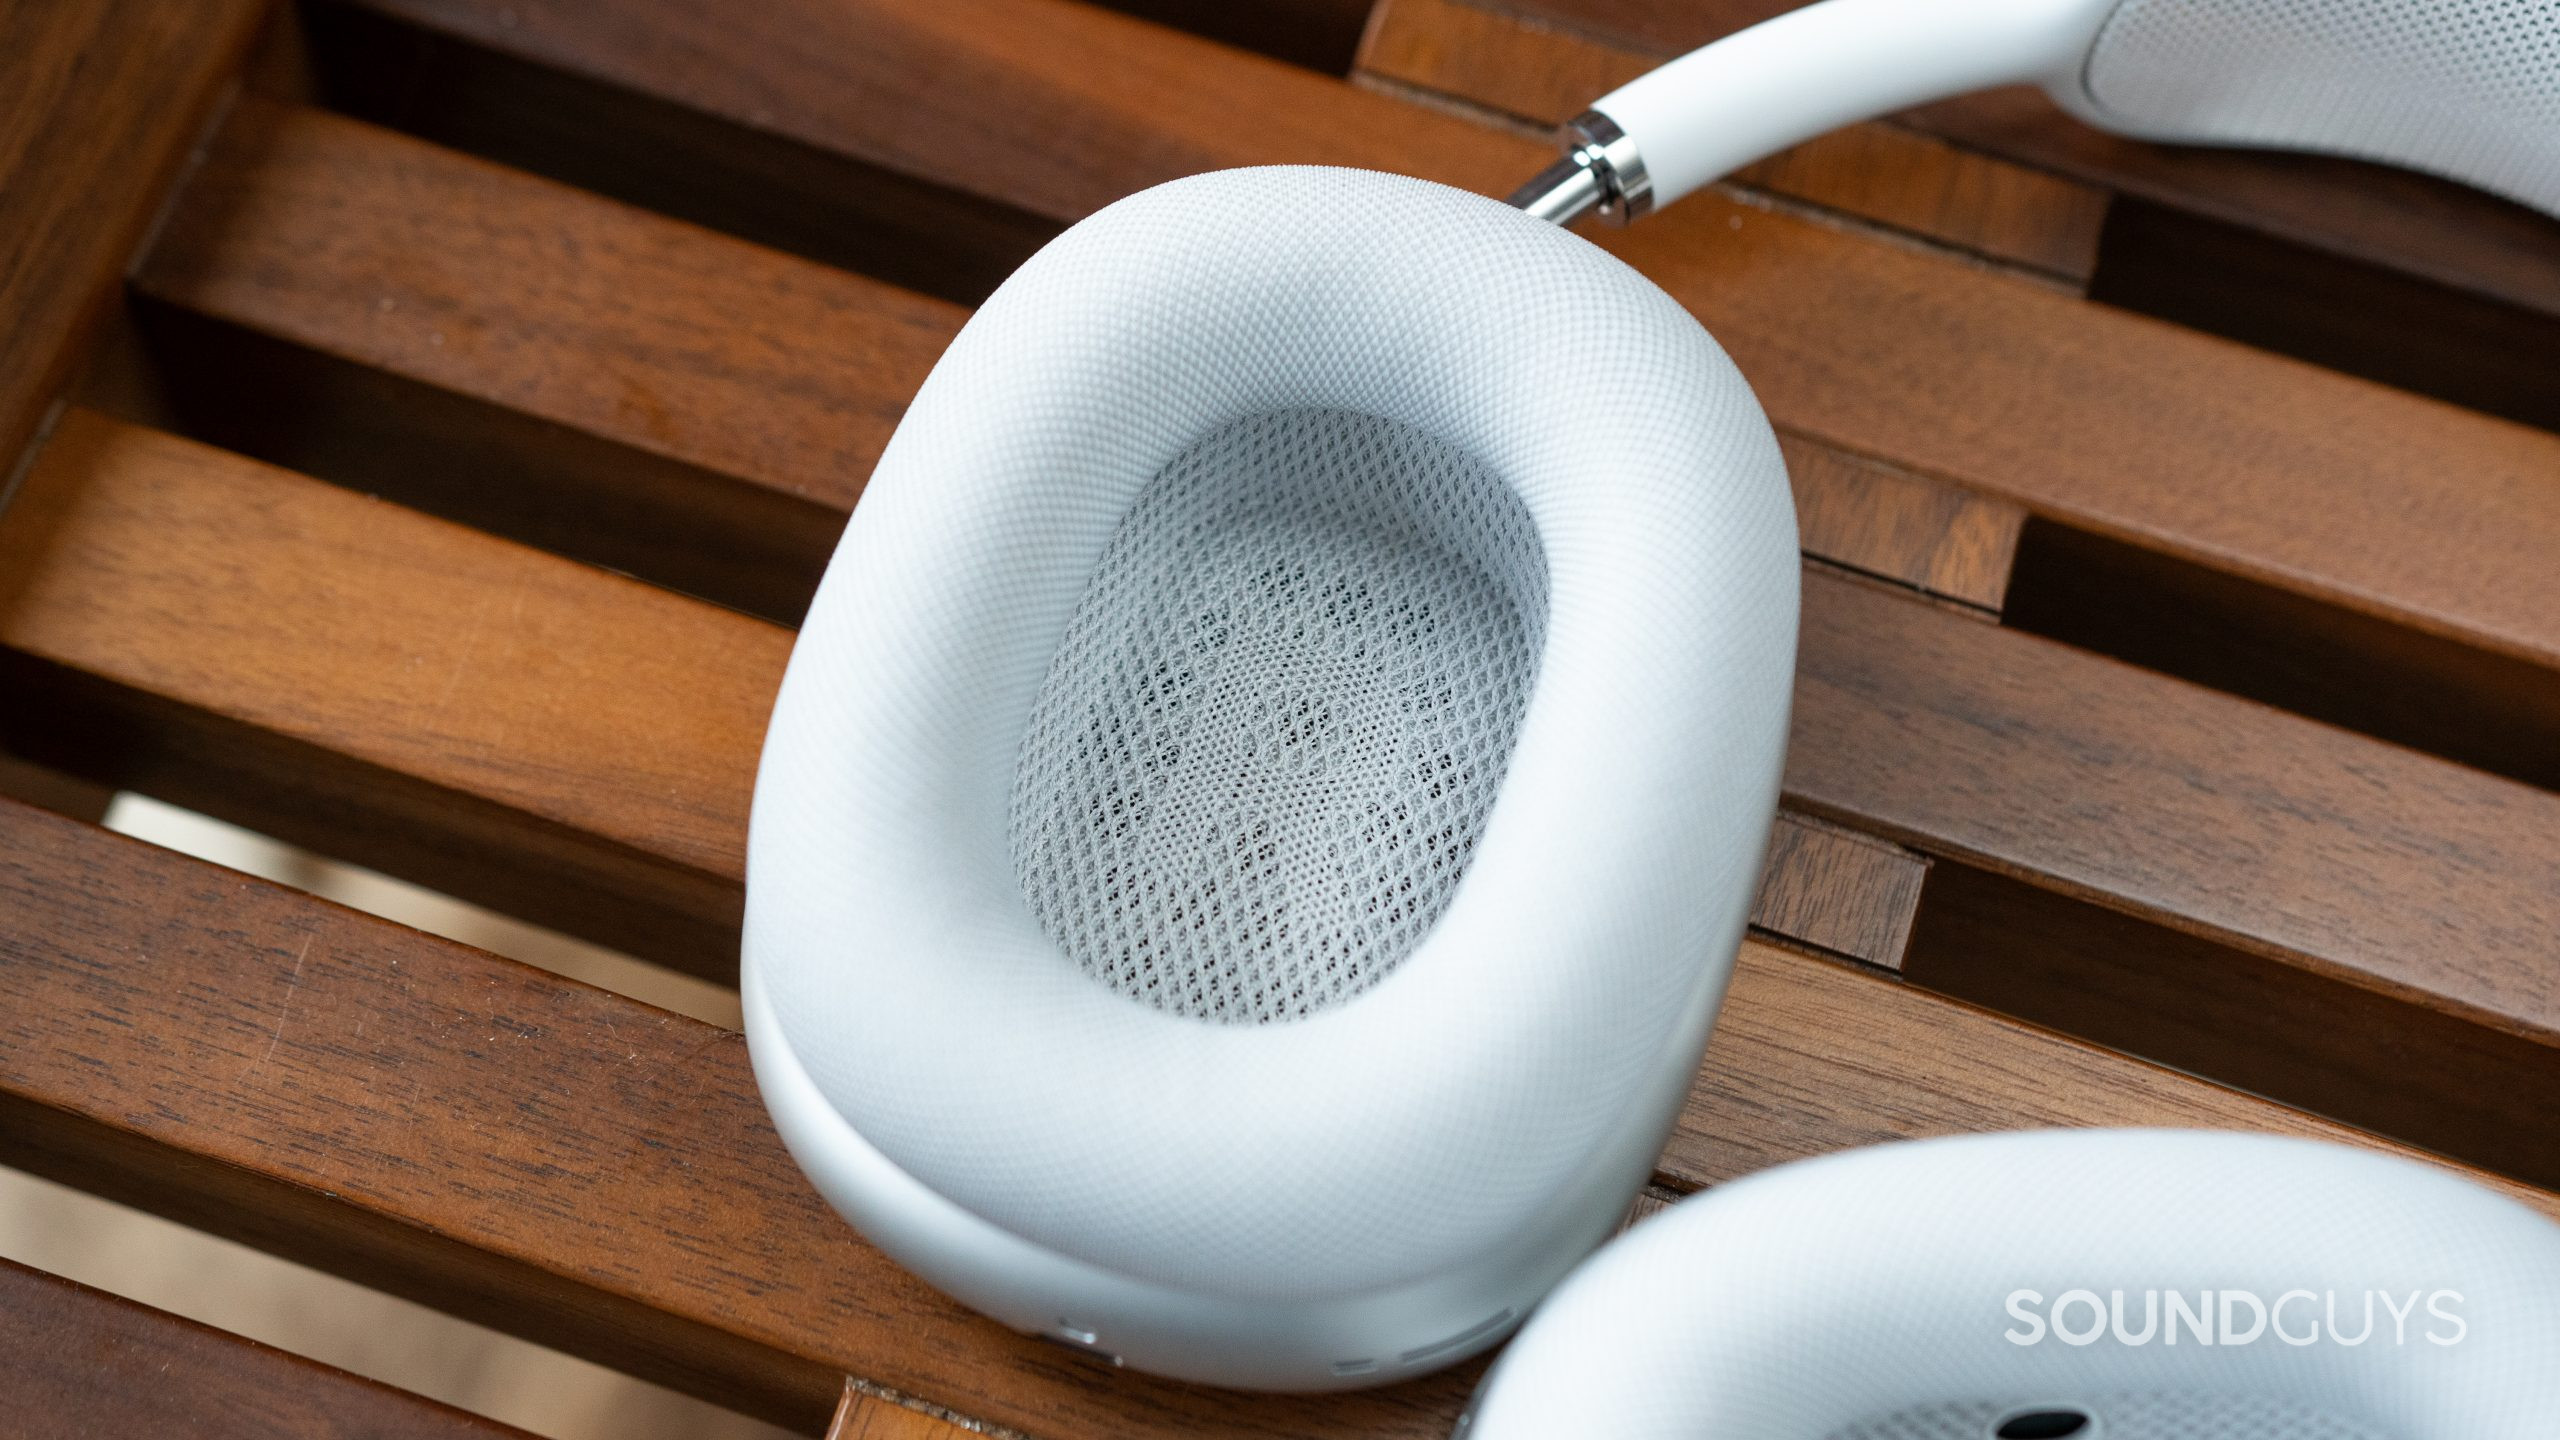
Make sure you figure out which side is left and which is right, because the angle of the ear cups will likely be an issue if you mess this up. Not only that, but having sounds coming from the right when they were intended to come from the left (or vice versa) can be confusing, especially when watching video. Look around the area of the band immediately above the ear cups—there should be either an L or an R printed on it to help you. I don’t care if you want the cable on the other side: if you put the headphones on backwards it will cause problems—not just with the fit but with spatial audio, games, and music (especially if you’re a drummer).
How to position the headphones
If you have an adjustable headband, open it up all the way. Plunk those cans on your head with the ear cups centered on your ears. For over ears, make sure your entire outer ear is within the ear cup. For on-ears, make sure that the ear cups are resting on the outer ear and just a bit in front of them. Tilt the headphones so that the band is straight up and down.
Problems to look out for with over-ears:
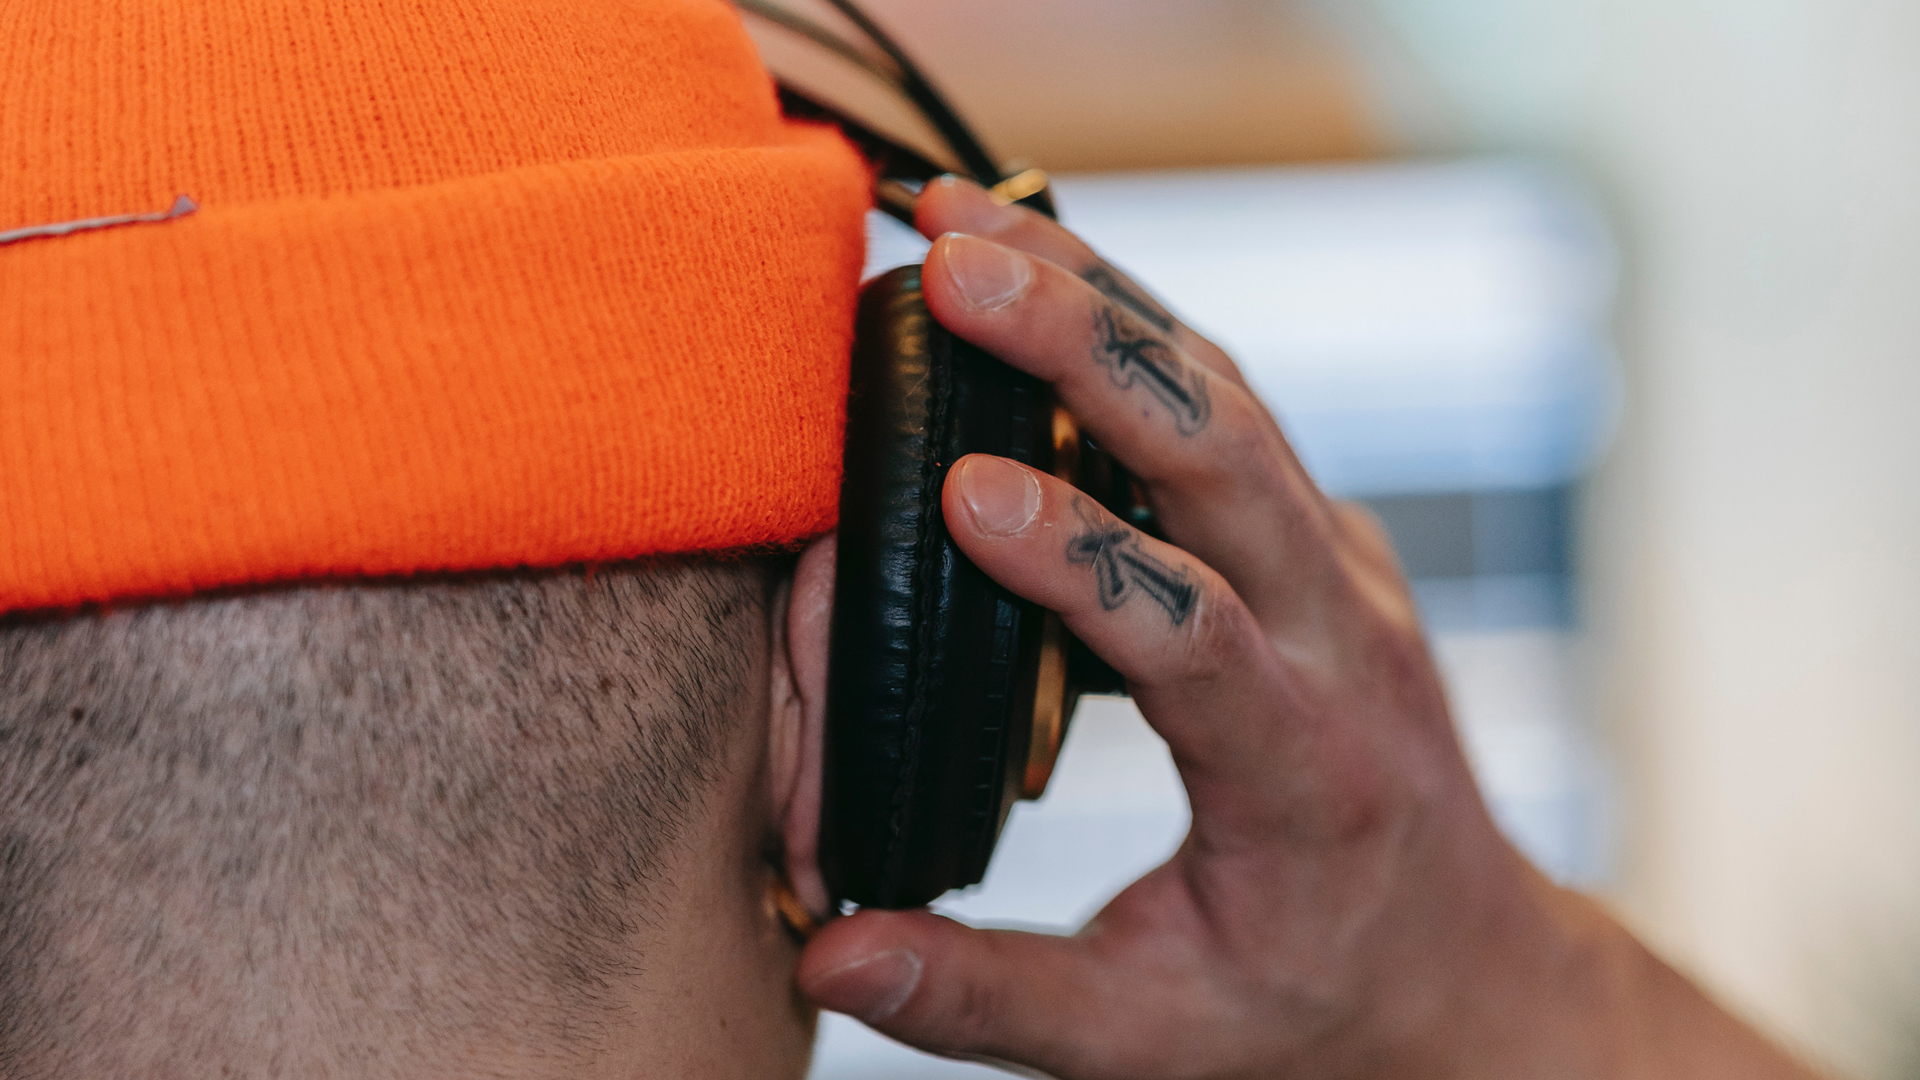
If you can’t fit your entire ear within the ear cup, you have a decent chance of running into some issue or another down the line. Whether that’s a comfort issue or an interrupted seal, pay close attention to the potential problems listed above to catch issues early.
Problems to look out for with on-ears:
On-ear headphones have some extra challenges. If the padding material causes you discomfort here, there’s going to be issues when you torque the band down to your head. Try it anyway, but be aware that anything that presents itself here that isn’t related to a loose fit will get worse.
Step 2: Adjust the headphones to your head
Now comes the fiddly part: adjust the band in until it just barely compresses your hair, or if you’re hairless, meeting the scalp of your head but not tightly. Move your head from side to side and up and down—if the headphones move, they’re still too loose, bring them in a notch. Repeat as necessary until the ear cups and band no longer move.
For over-ears:
After this is done, we need to ensure the ear cups are in position by moving them a little to ensure that your entire outer ear is encircled by the ear pads. First move the ear cups back until they’re no longer touching any part of your outer ear, then once you’ve done that, move them forward again to fit comfortably. While it’s not the end of the world if your ear lobes get pressed down by the ear pads, you don’t want the headphones to compress your outer ear noticeably. Once your ear is completely in there, be sure to adjust accordingly until you get the most comfortable fit.
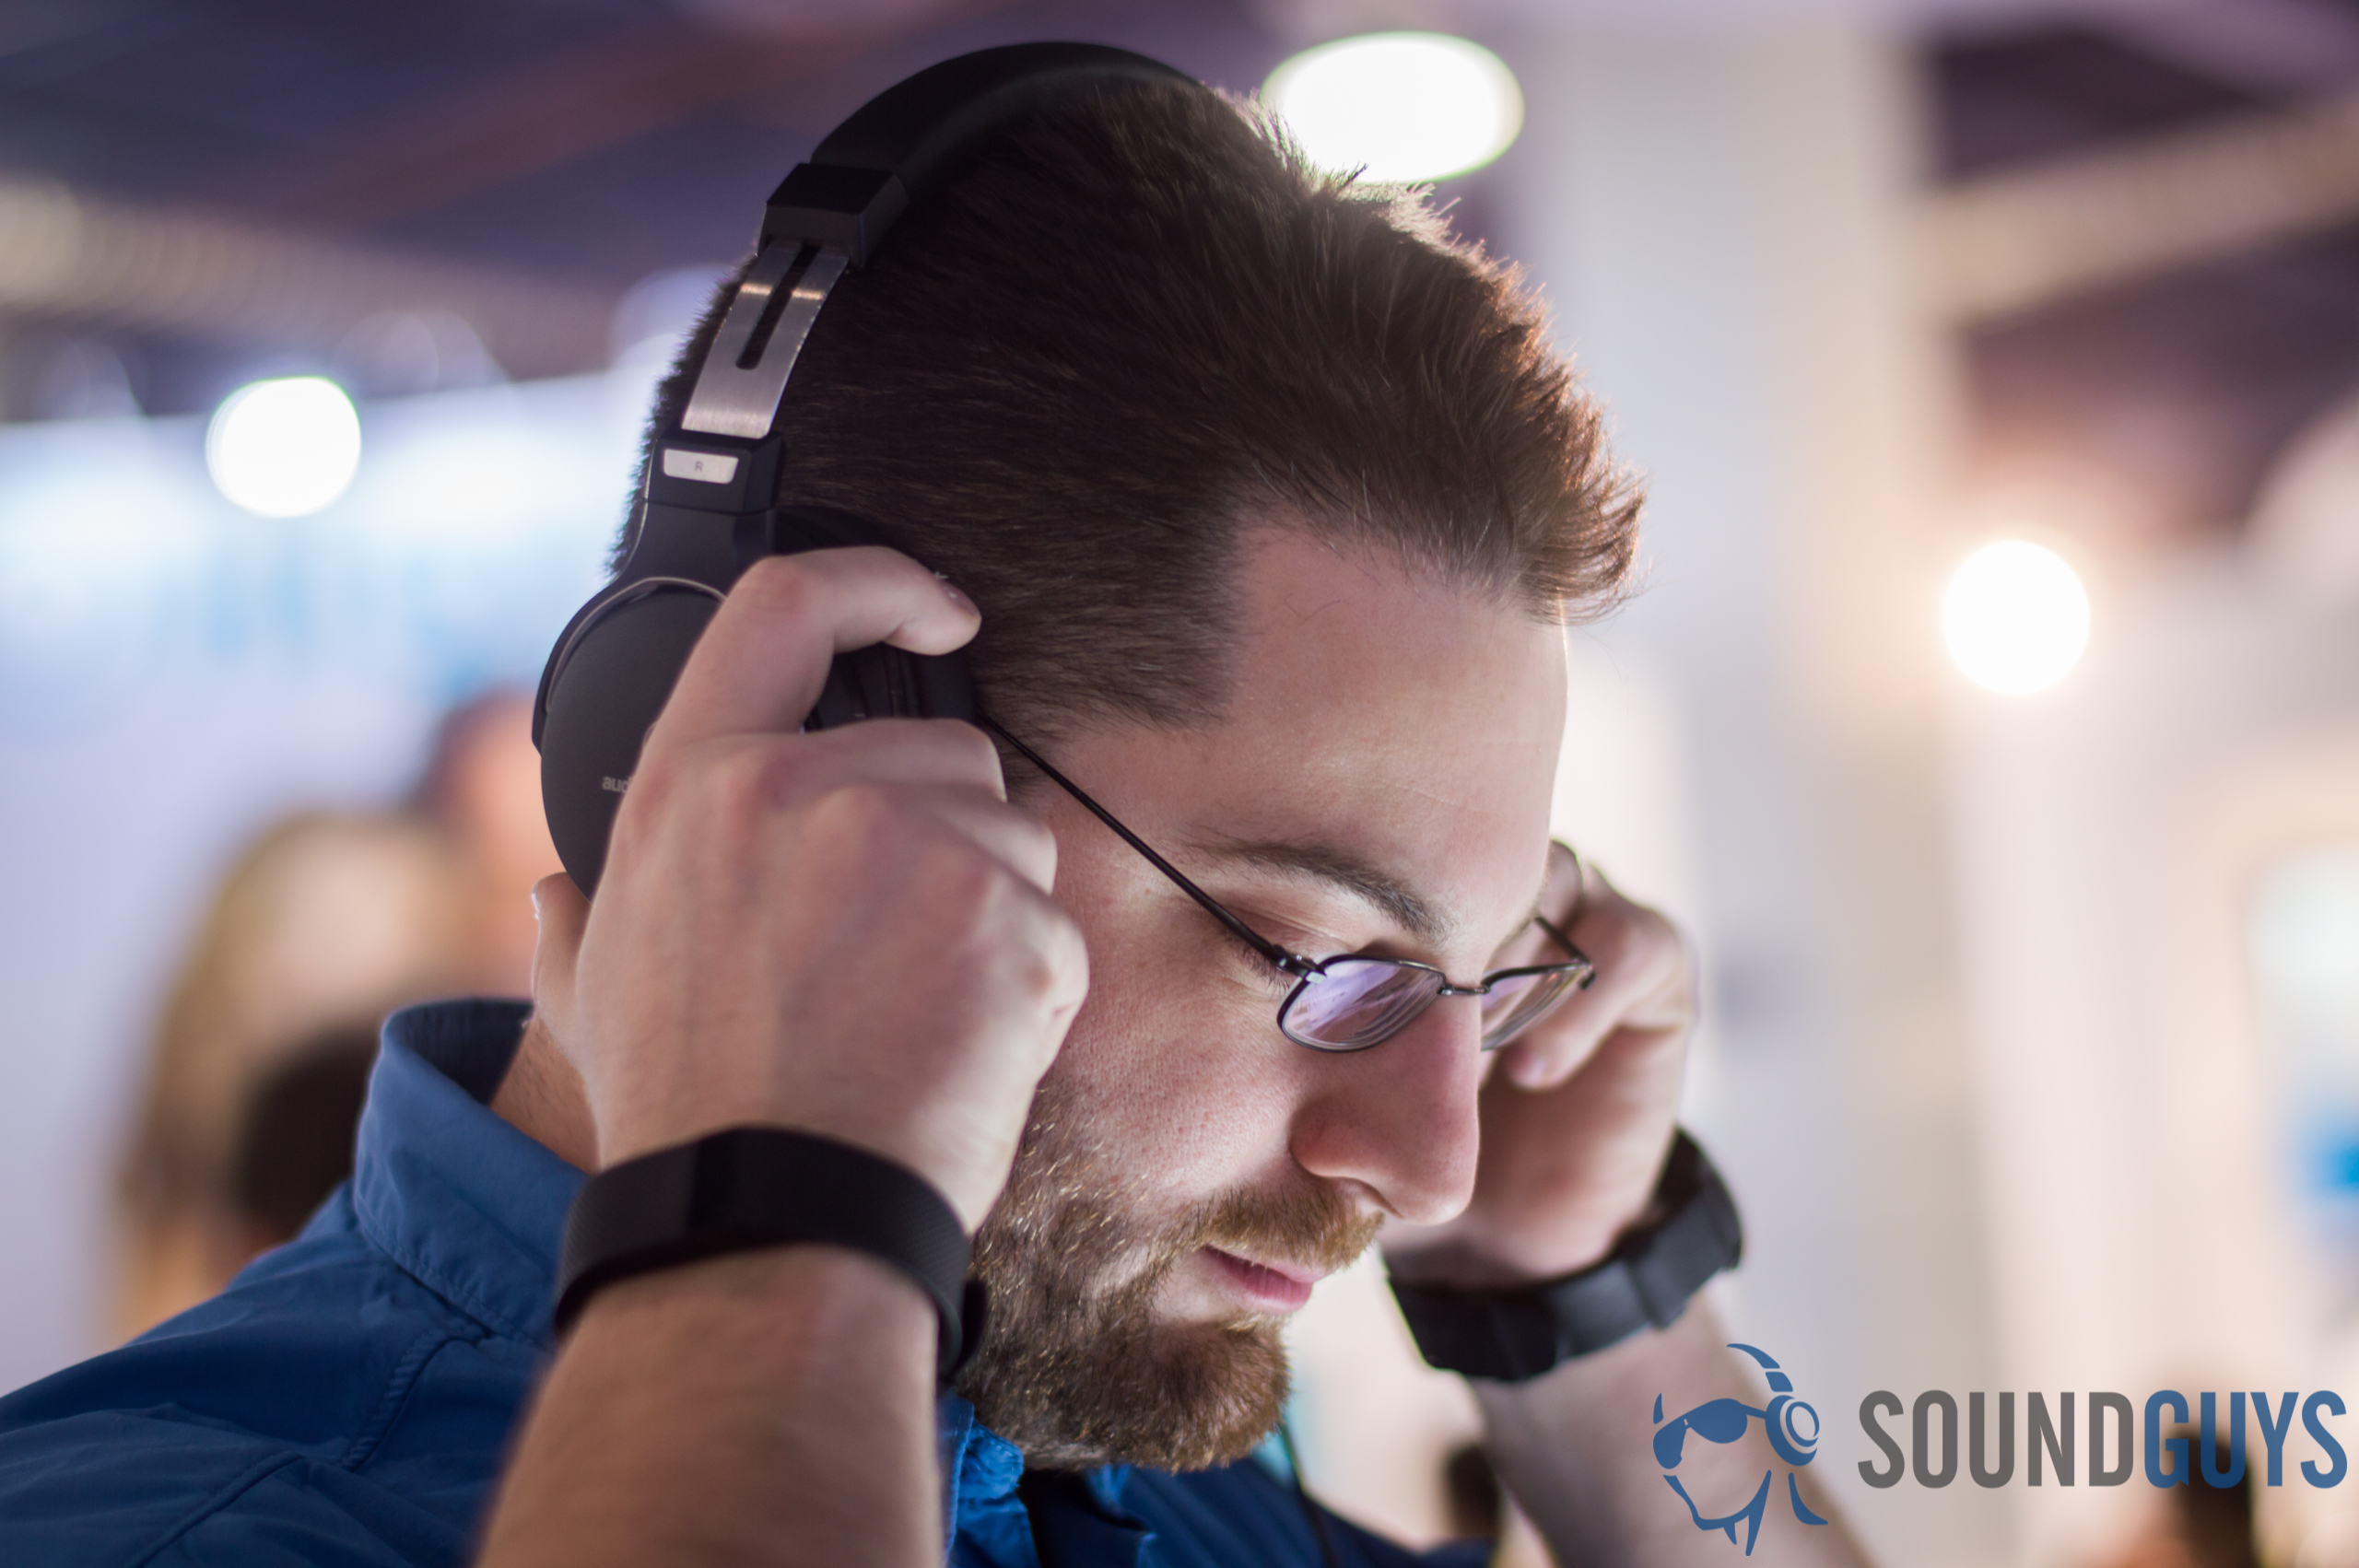
Pay attention to how your head feels where the headphones make contact with your skin. Run your finger around the outside of the ear pad lightly to see if there are any areas of broken seal. Most often, this will be caused by glasses, your jaw (near the bottom), or hair.
Though glasses and hair can’t be fixed outside of removing them, you can fix the jaw break by loosening your headphones a notch and pressing the bottoms of the ear cups to hopefully fill the gap there. It may not be possible to do completely, however. If this is a big issue, you may want to look into more plush aftermarket ear pads.
It should be made clear that sometimes headphones are designed to have their bands slid back a little bit. If you’ve gone through the steps here and find that the fit is poor or that it’s uncomfortable, slide the band toward the back of your head a little bit and try again.
For on-ears:
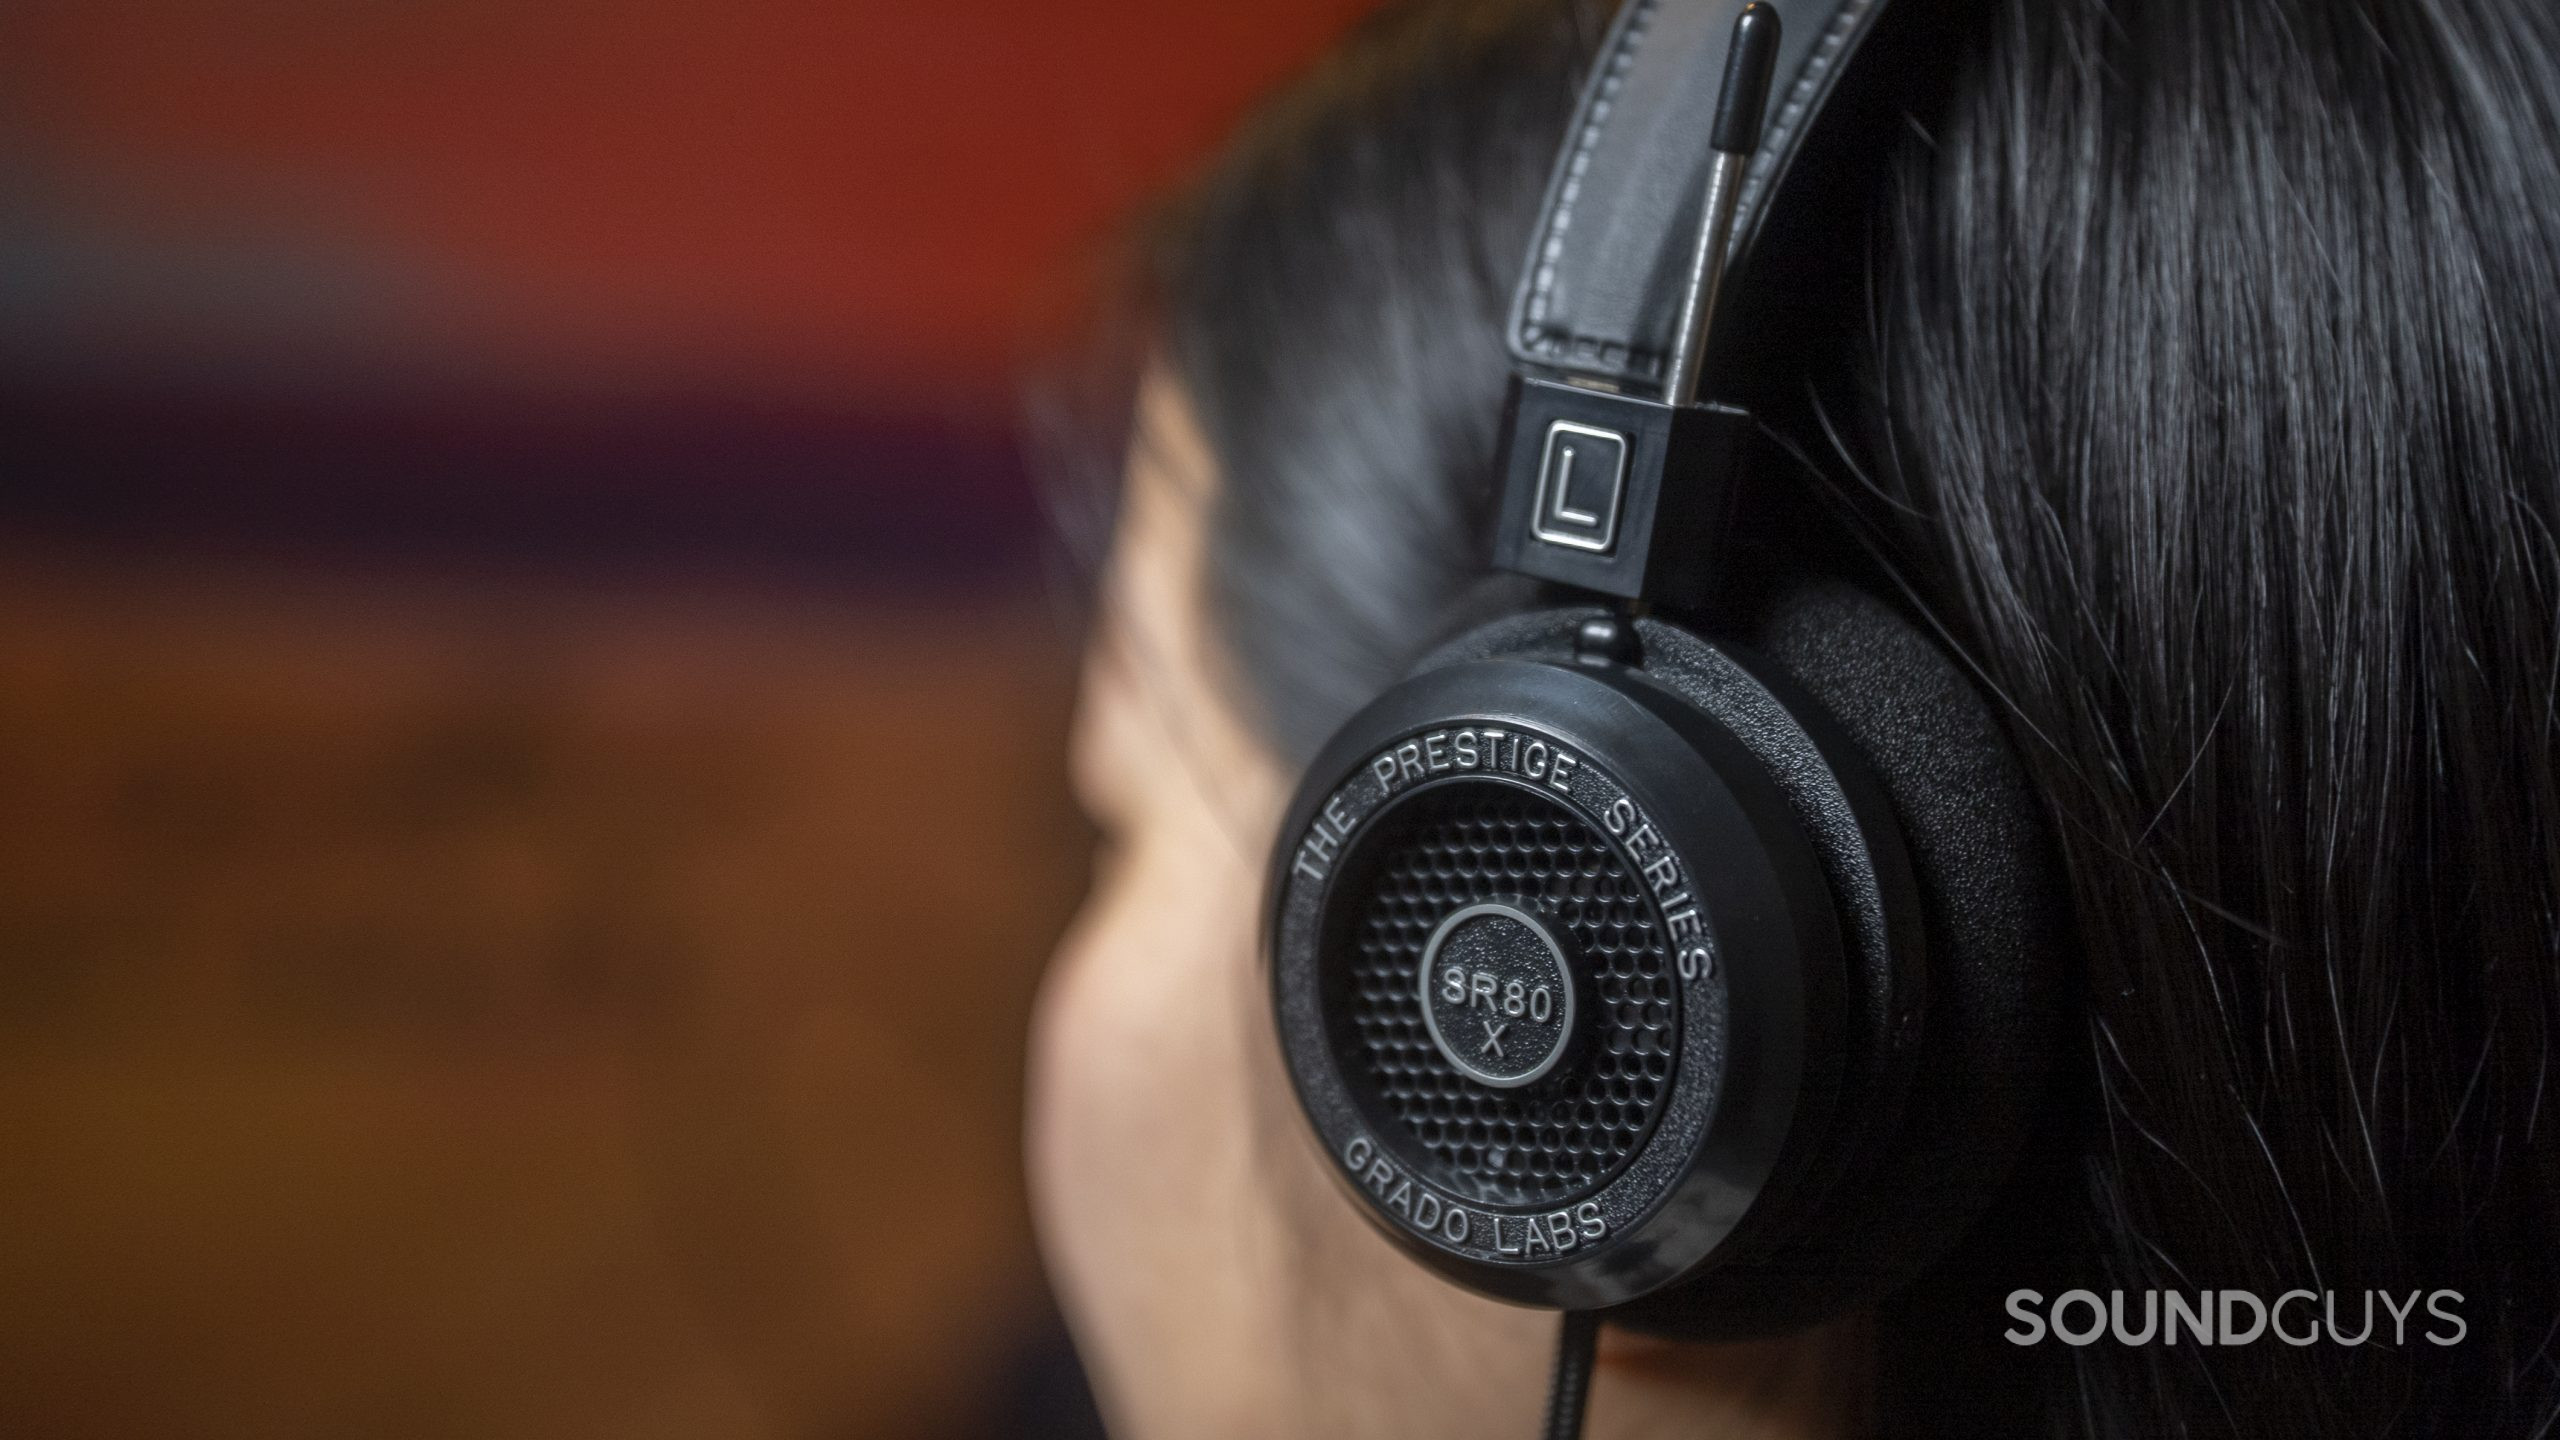
Tighten the band until the ear cups are resting on your ears, but the band is tight enough on your head to keep them from moving around. Ideally, the ear cups should not be applying much pressure on your ears at all, though it’s difficult to avoid by the very nature of the design. Once you’ve achieved this, you may need to slide the ear cups forward a little to make sure that the driver element is centered over your ear a little better.
After we have the general fit sorted, it’s time to prevent other common issues.
If you wear glasses:
Getting headphones to fit with glasses on is an exercise in futility because you’ll almost never get them to work out well without some sacrifices. For example: glasses will almost always introduce a break in the seal unless you have ultra-soft or velour ear pads. You’re going to have to balance the desire for a perfect seal with the realization that too much pressure will be much more painful for someone wearing glasses than someone who doesn’t.
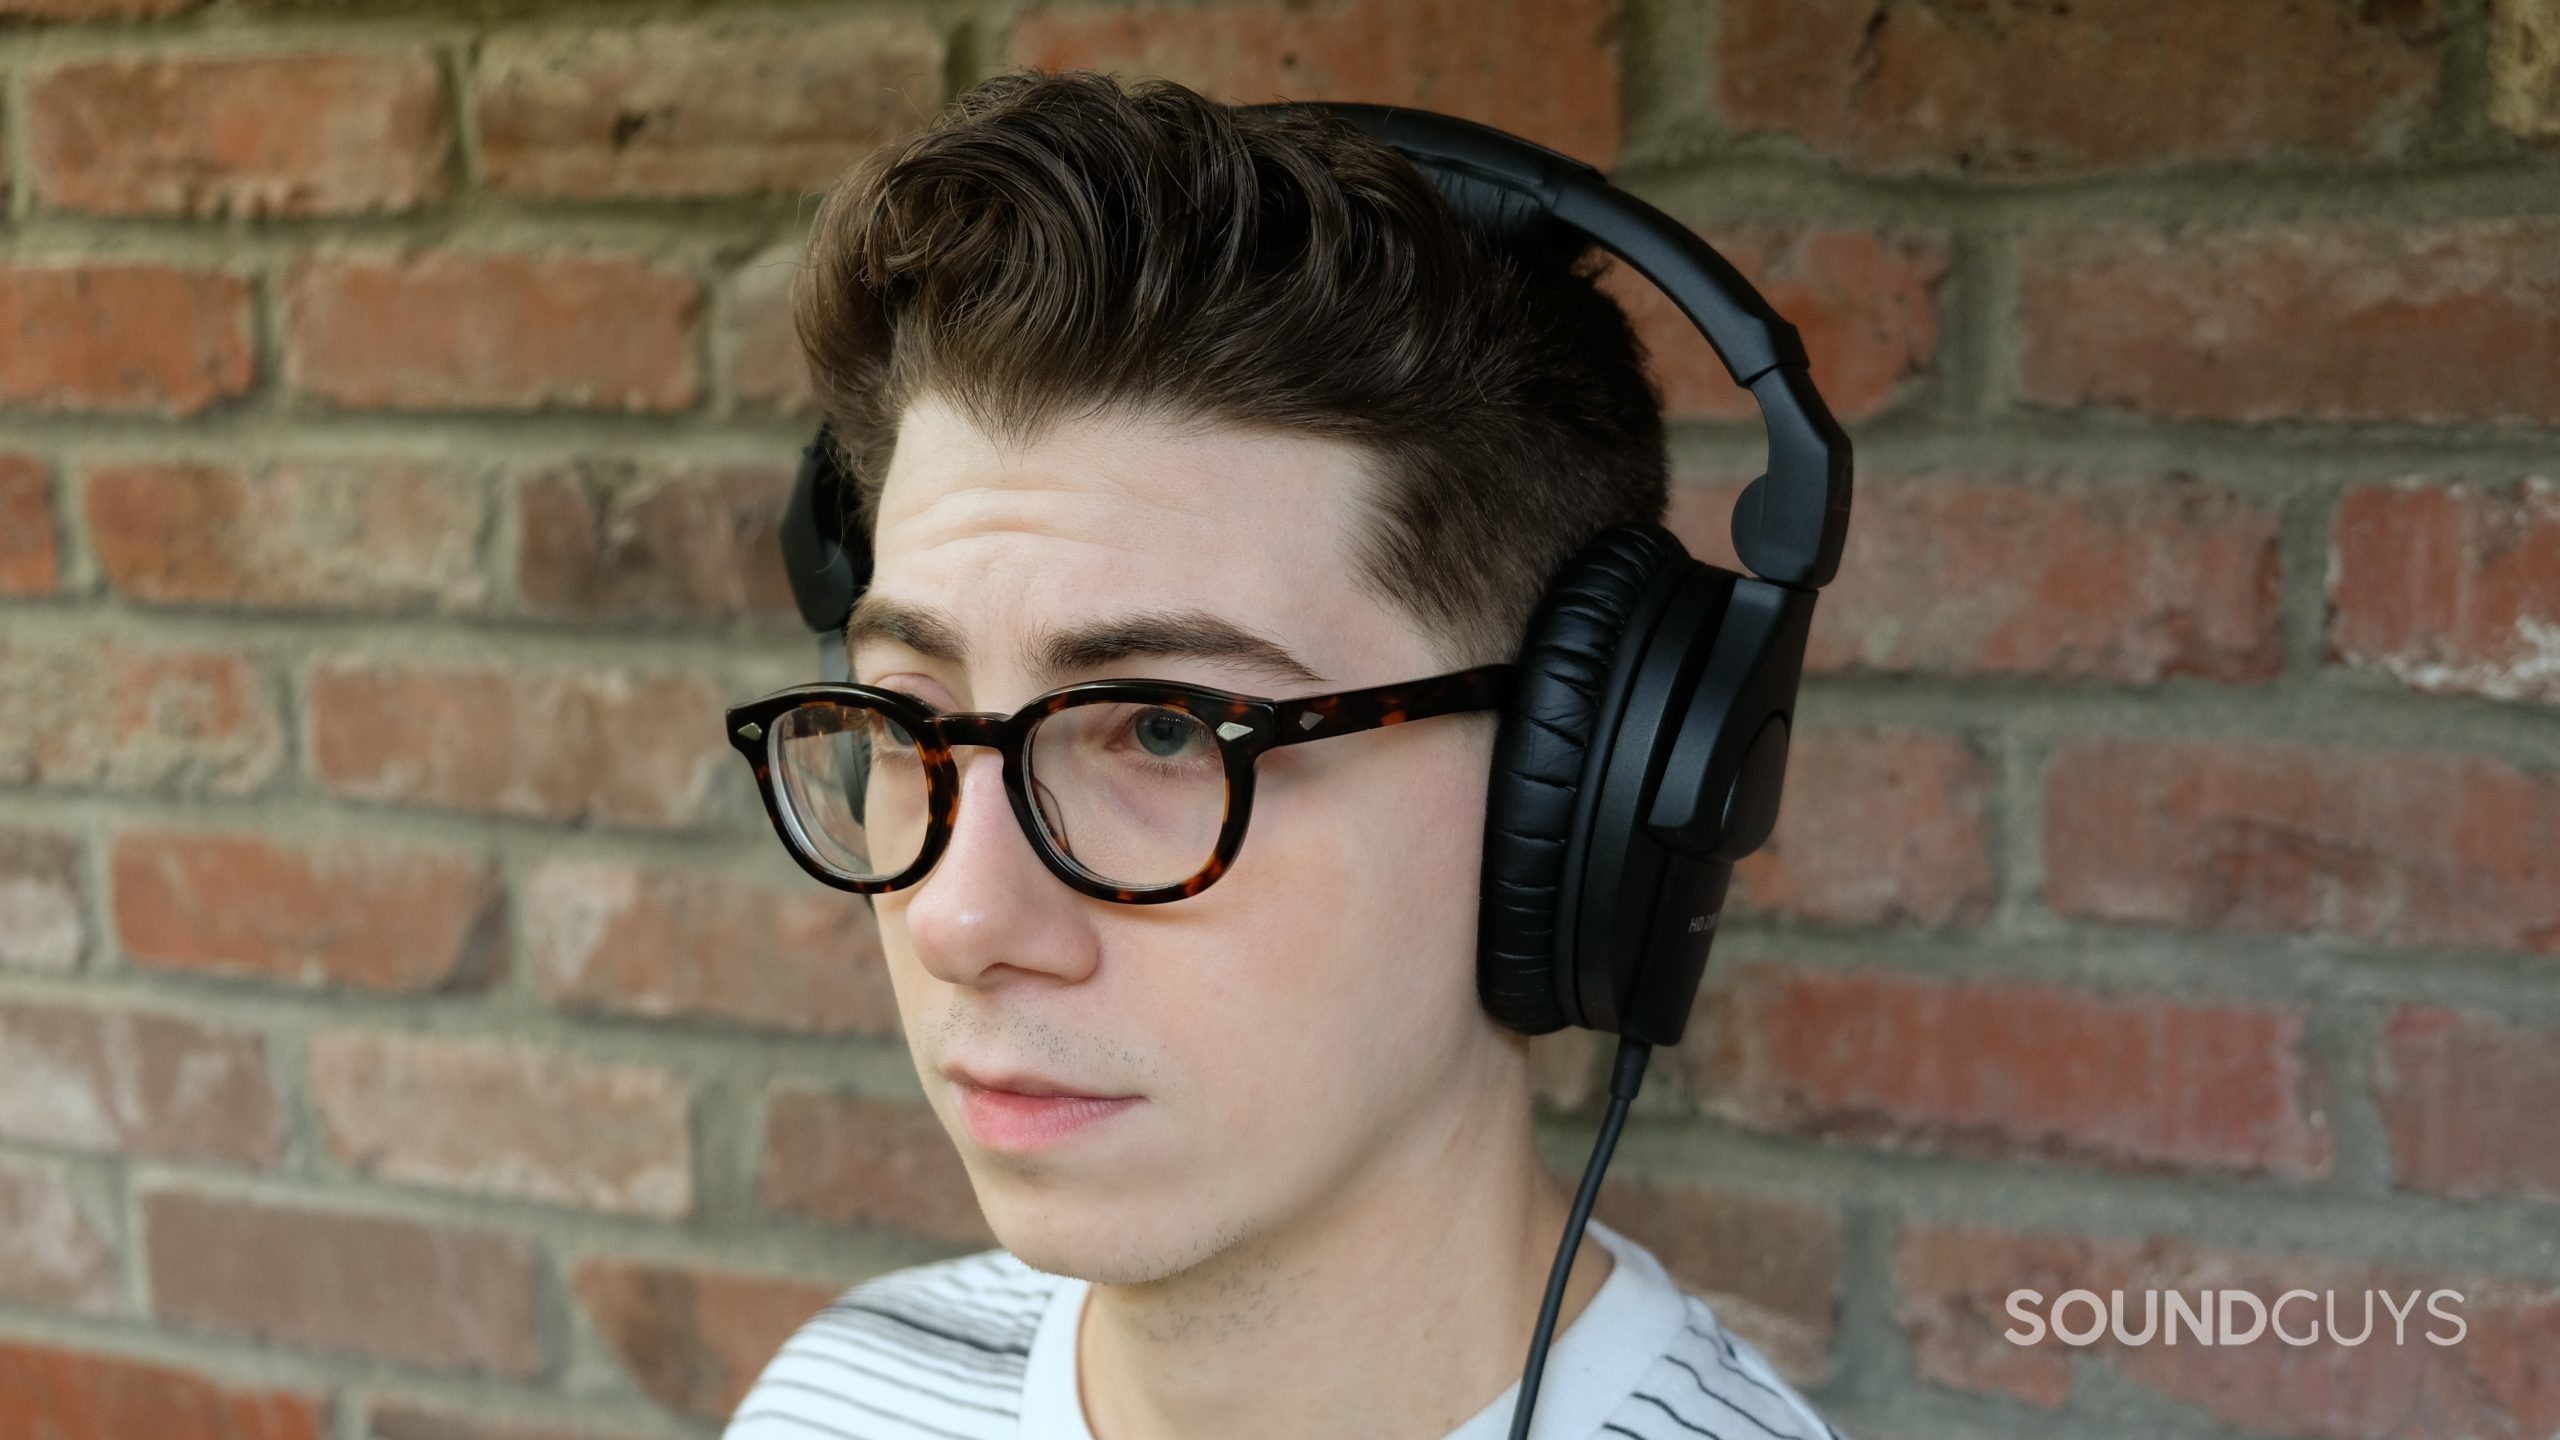
While you can’t change the fact that you need to wear glasses, you can do the following when picking your next frames:
- Get thin frames. The thinner they are, the less area of seal is broken—making the foam more able to fill the gap.
- Get straight glasses arms: these will be easier for ear cups to form around.
- Get frames with a softer material. Having some pliability here will help the arms press to your head and minimize gaps.
- Wear contacts.
Personally, I go the acrylic frames route—but I also take my glasses off at home if I’m going to be listening to music for a review. For my ANC headphones, I spent an absurd amount of money on custom ear pads, and that’s not an avenue that’s open to everyone.
If you have long hair:

Those of you with long hair know that wearing headphones and getting a good fit can be a tricky proposition. However, there are a number of things you can do to make this a bit easier.
- Wear a mid or low ponytail.
- Wear your hair in a tight bun.
- Embrace the undercut: buzzing down the sides of your head will not only keep you cooler in the summer, but they’ll help your. headphones fit better.
- Wear a french braid.
- Use barrettes to clip your hair away from your ears.
- Straighten hair when possible—this will reduce volume (and the risk of getting your hair caught in the band).
- Search for lighter headphones—if you can’t reduce your hair’s volume (let’s face it: that’s a tough one), you should find headphones with a large band so that your hair can do the heavy lifting instead of your ears.
Step 3: Verify

With your headphones are on your head, you should be able to tell pretty quickly whether you’ve got a good fit. Try softly snapping your fingers in front of and behind the ear cups to see if the sound is quieter on one side of your headphones. If so: you’ve got a broken seal. If not: you’re good to go. No headphones will ever be perfect here, but you should be able to confirm a good fit by comfort and ear alone.
Of course, listening to some music you’re very familiar with will allow you to make final fit and positioning tweaks to find your personal sweet spot. If there are any issues, you can most likely solve them by trying the fit process again, or by taking note where the issues are and attempting to move the headphones in a way that addresses it.