All products featured are independently chosen by us. However, SoundGuys may receive a commission on orders placed through its retail links. See our ethics statement.
How to transfer Amazon Music playlists to Apple Music
December 31, 2024
Switching to a new music streaming service might seem intimidating, but with some advanced preparation, you don’t have to lose all your carefully curated songs. Transferring your Amazon Music playlist to Apple Music can be done manually, but that will take quite a long time. Here’s how to automatically transfer your tunes from Amazon Music to Apple Music.
QUICK ANSWER
We recommend Soundiiz to automatically transfer your Amazon Music playlists to Apple Music. The free version lets you transfer up to 200 tracks per playlist, while the Premium version ($4.50/month) offers unlimited transfers. Simply select Amazon Music as your source, choose your playlists, then select Apple Music as your destination.
Editor’s note: this article was updated on December 31, 2024, to add a quick answer and simplify the focus of the article.
How does transferring music work?
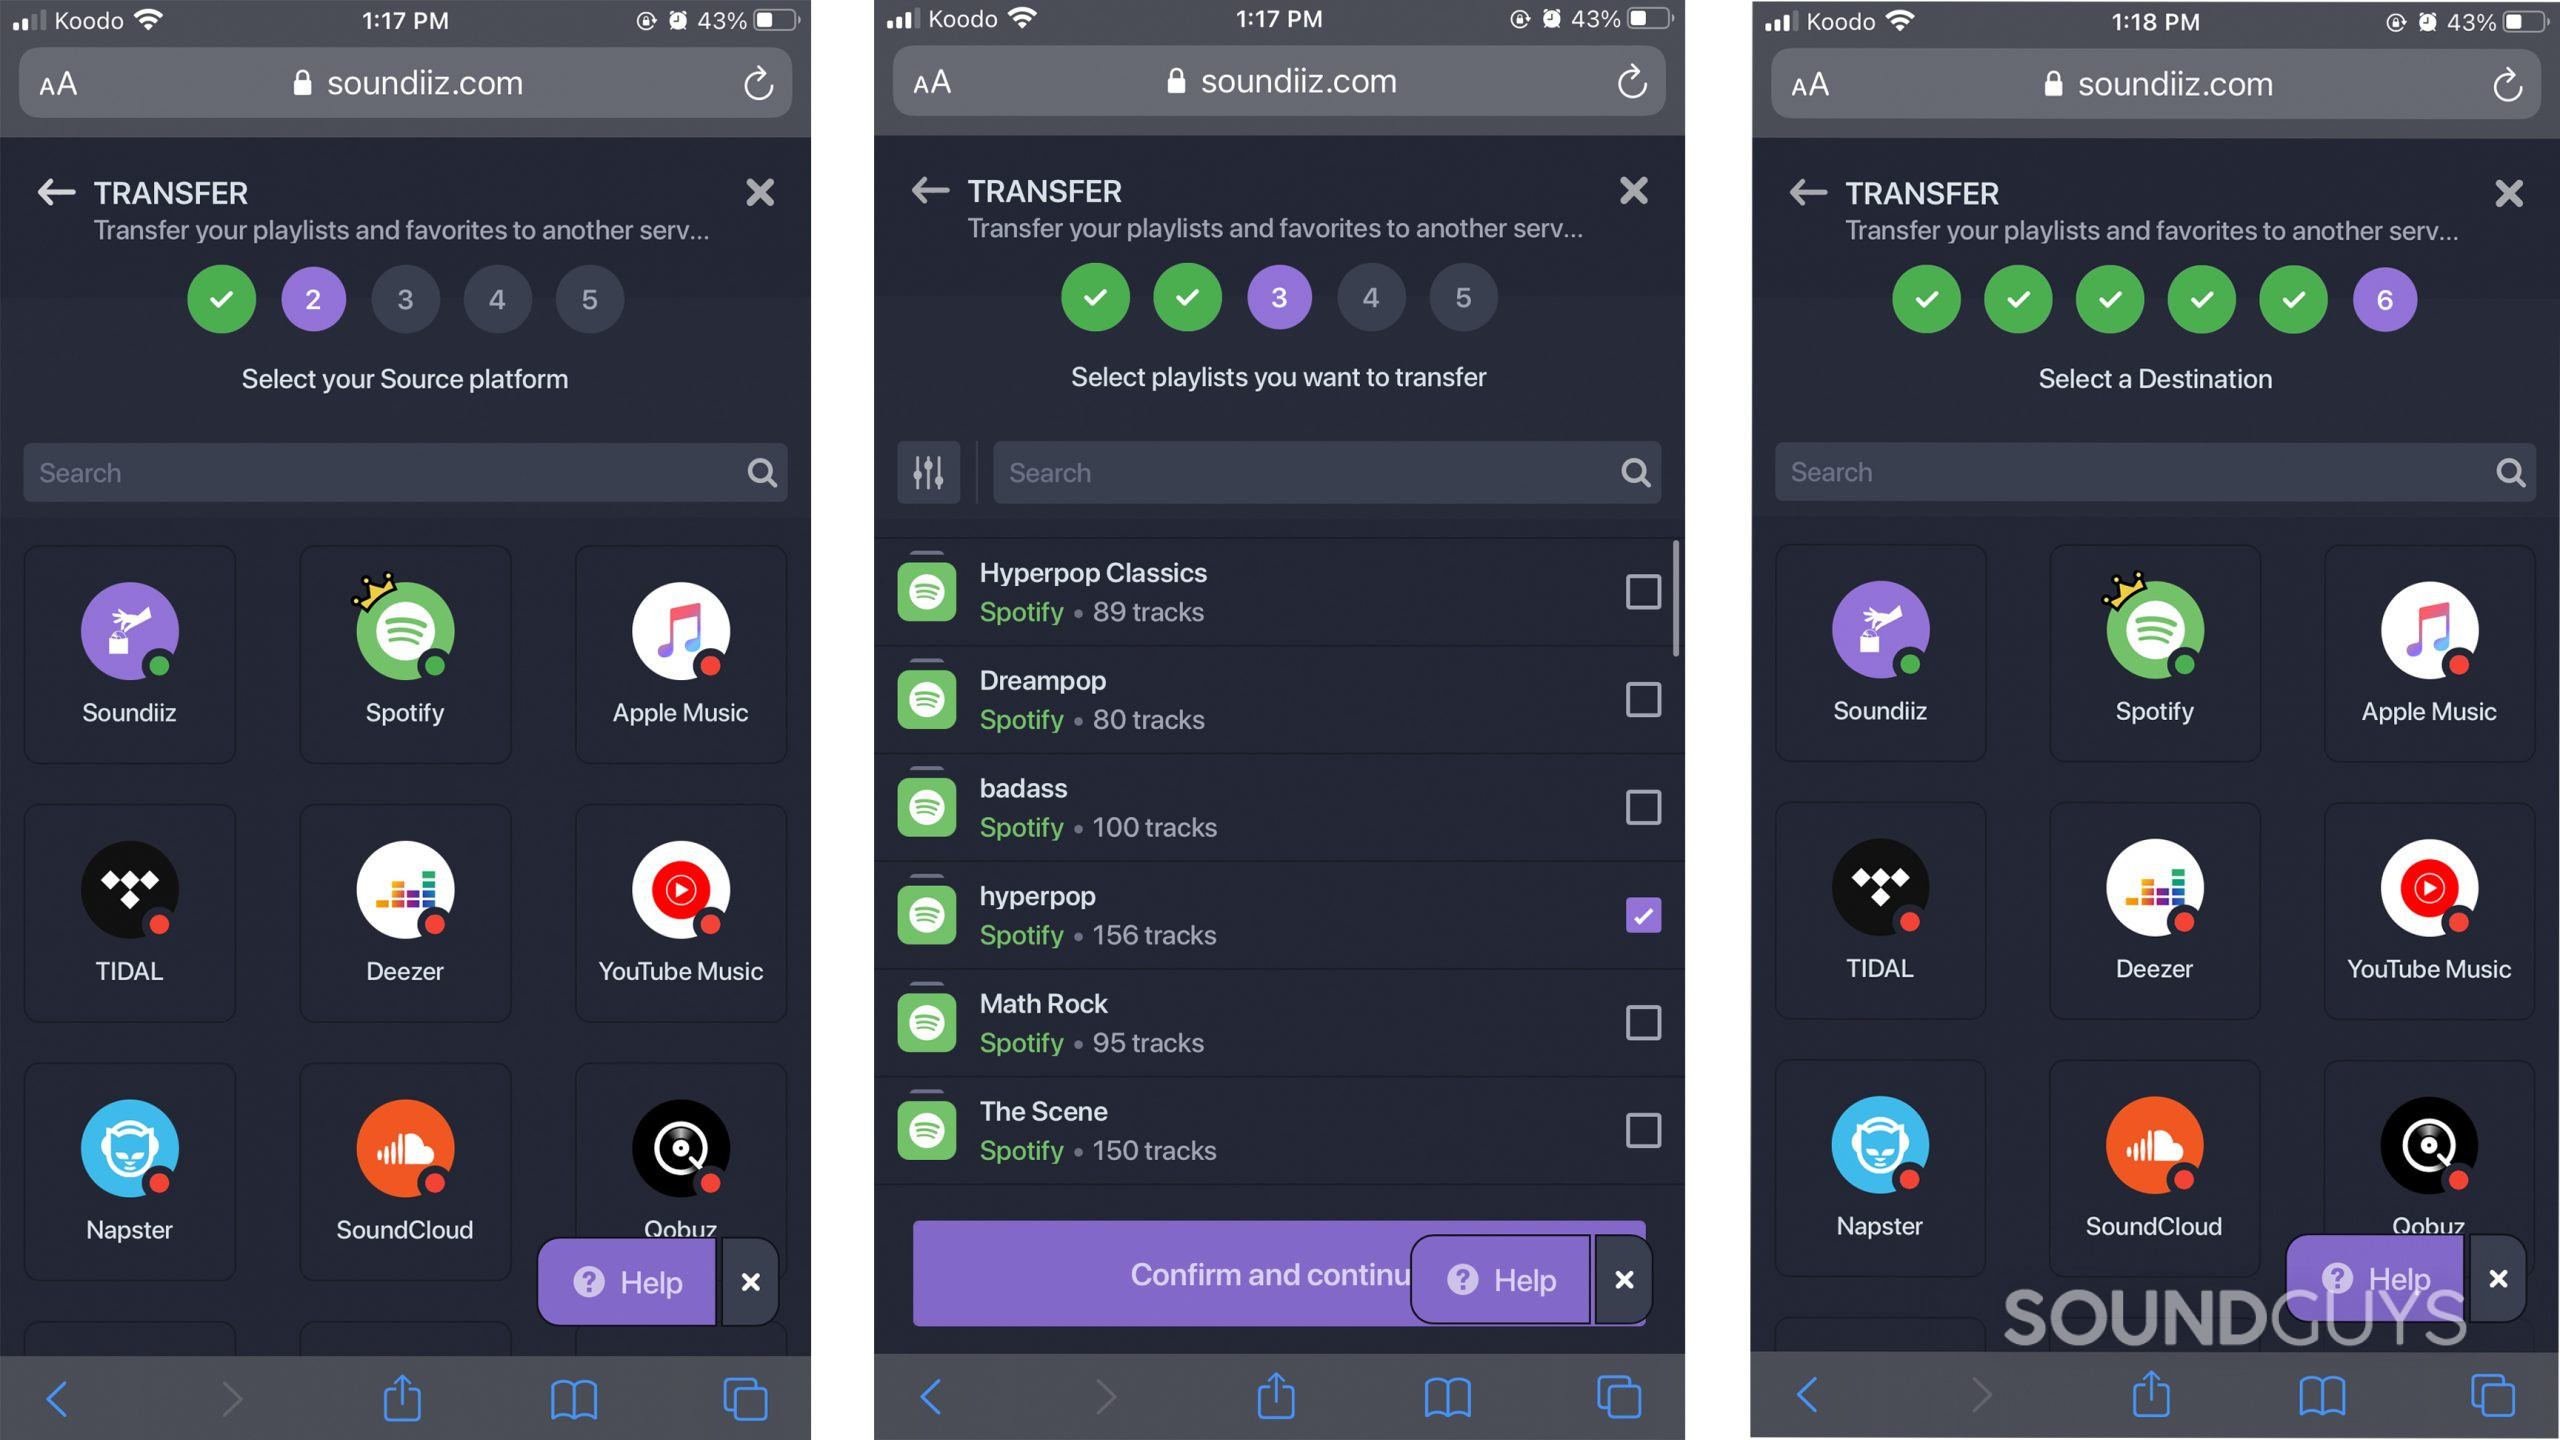
Most streaming platforms don’t let you directly transfer playlists to another one (they are competitors, after all). Thankfully, options like Soundiiz and TuneMyMusic exist. These services ask you for the source of your playlists (Amazon Music in this case) and where you want them to end up (Apple Music). They take the metadata from your current tracks and match it up with tracks in the destination service. However, it’s not a foolproof process. Errors can occur, especially for artists or tracks with sparse or incorrect metadata. That’s rare, though, and you can correct these errors manually if they occur.
In this article, we’ll show you how to use the free version of Soundiiz to transfer Amazon Music playlists to Apple Music.
How do you transfer Amazon Music playlists to Apple Music?
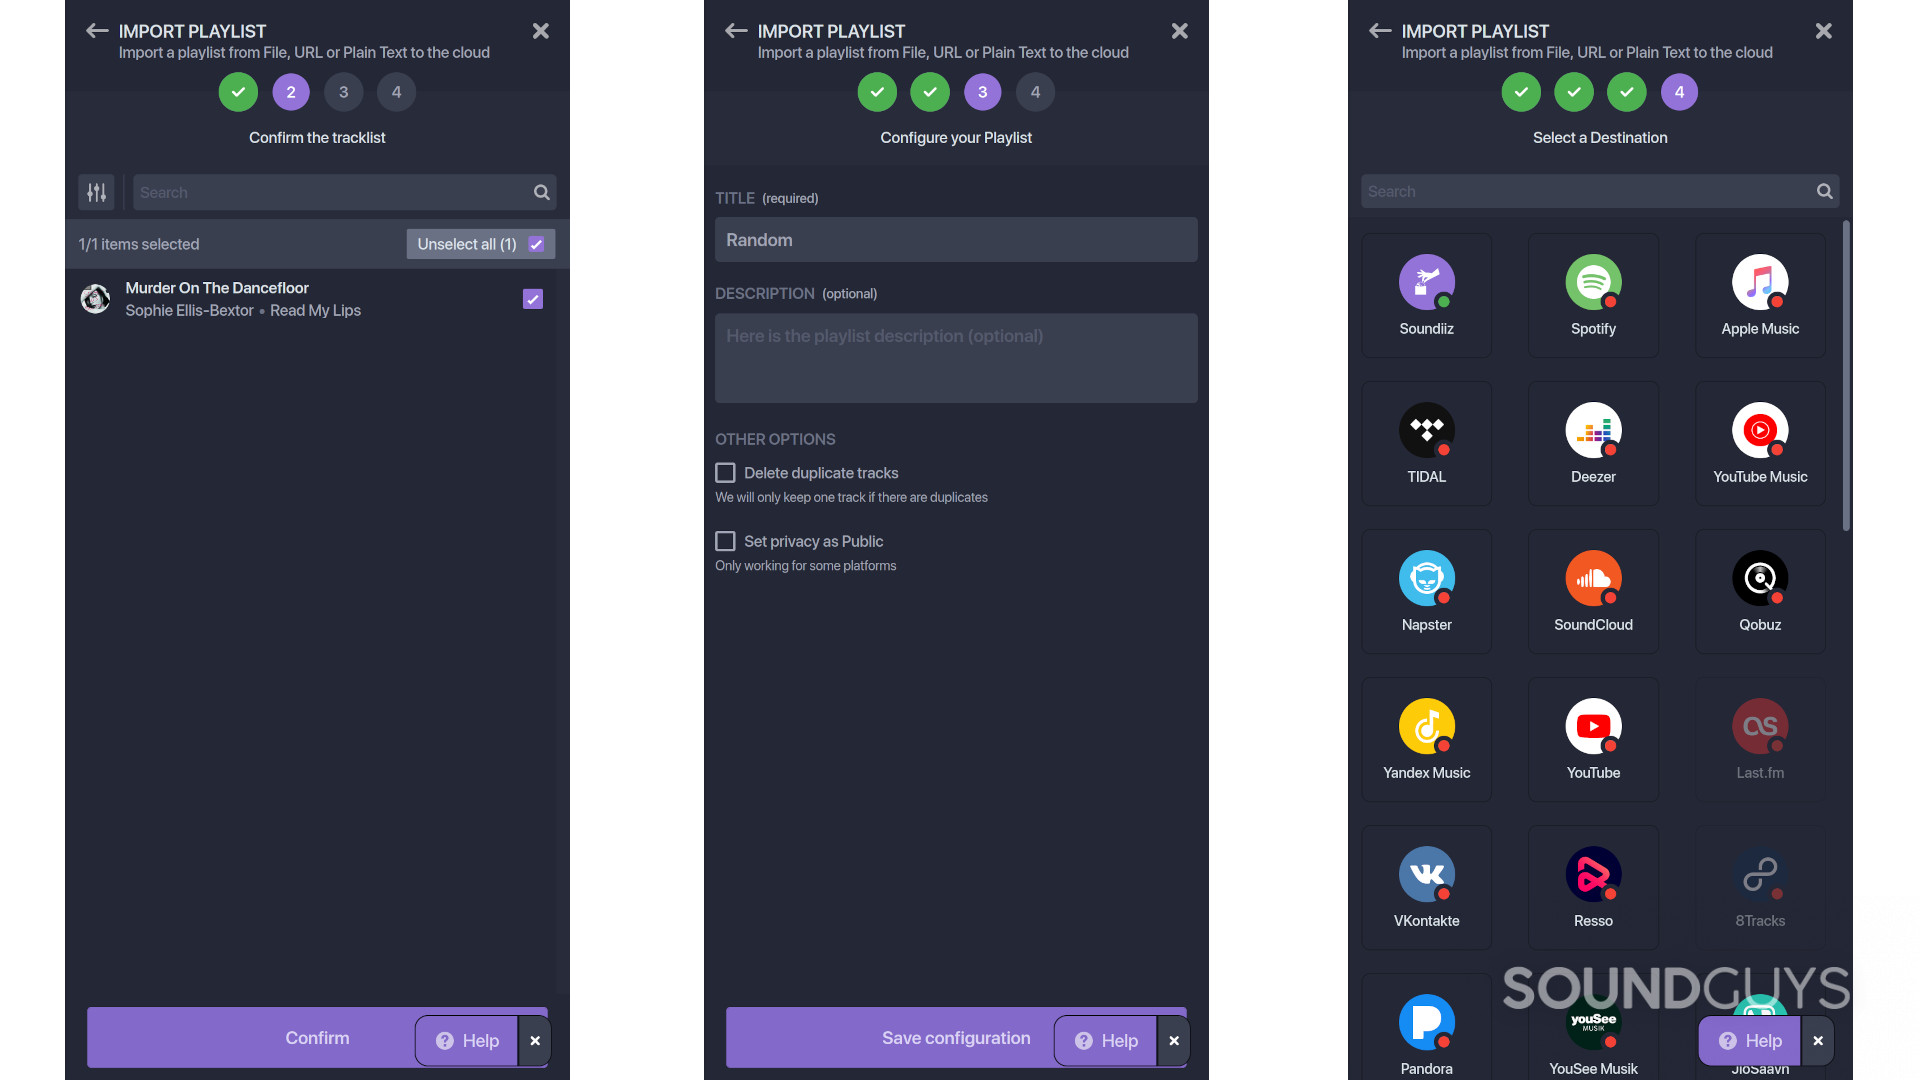
Moving your songs from Amazon Music to Apple Music is pretty simple using Soundiiz.
- Download Soundiiz and select Amazon Music as the source.
- Designate Apple Music as the destination.
- Select the Amazon Music playlists you want to transfer over.
- A pop-up will ask if you want to confirm that Soundiiz can connect to your Amazon Music and Apple Music accounts.
- Hit Accept, and let the app do its thing in the background.
- Once complete, Apple Music playlists should match your Amazon Music playlist suggestion.
Now that the process is complete, you’ll want to scan over the playlists to ensure everything transferred properly. If not, you’ll need to manually correct some songs within your playlists, but this doesn’t normally happen. After that, you can revoke the access permissions you gave Soundiiz on both Amazon and Apple Music.
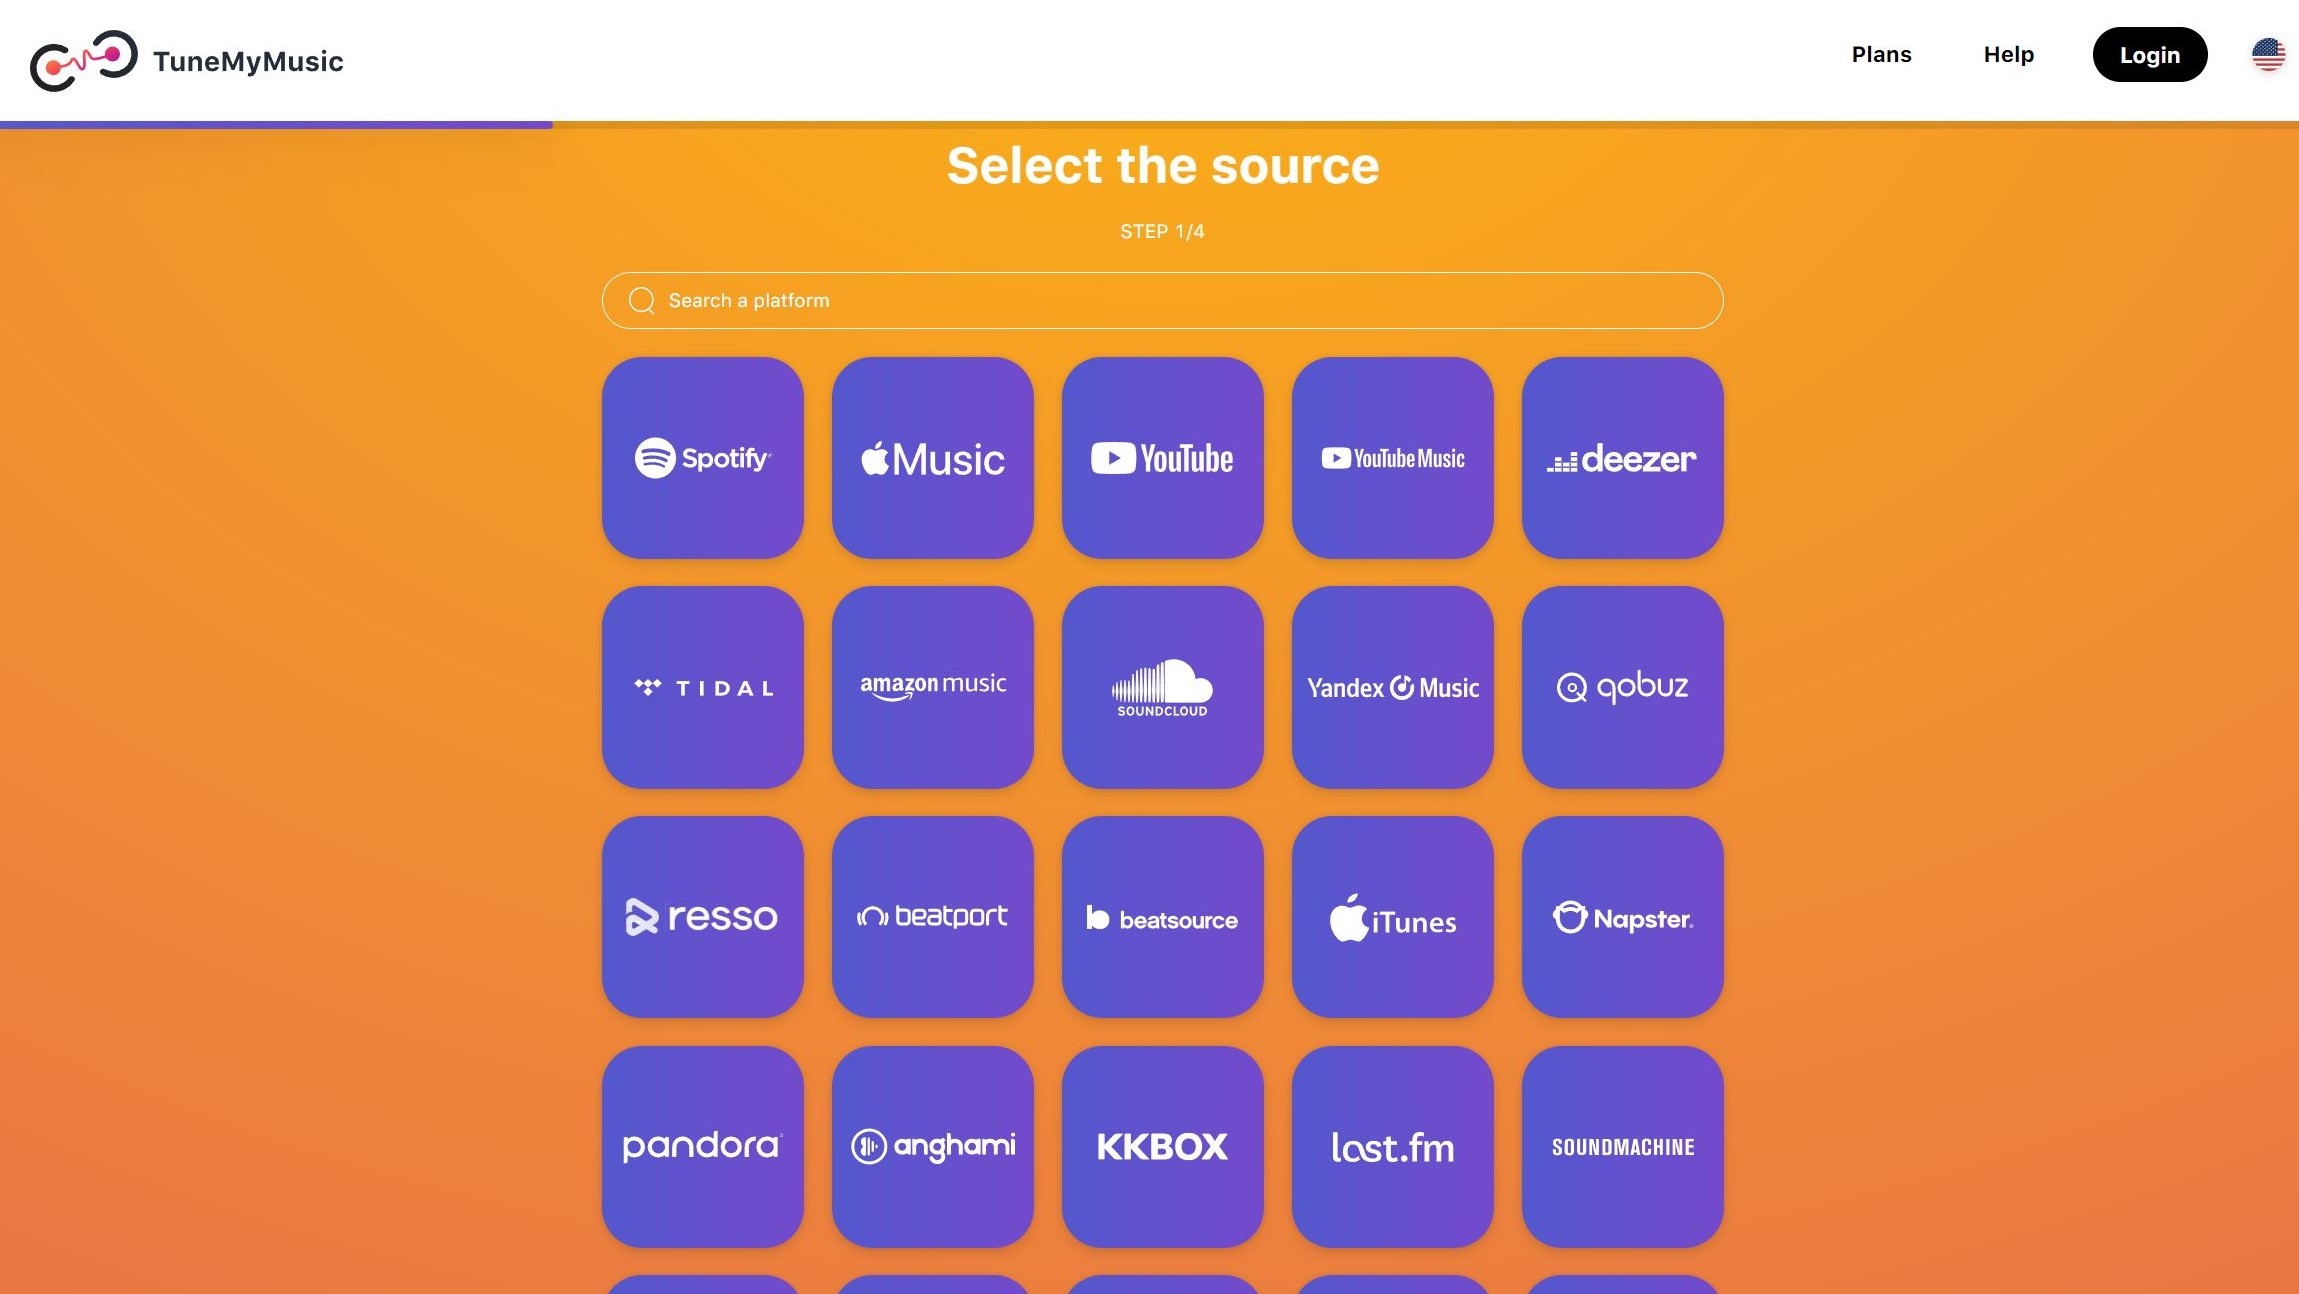
The free version of Soundiiz is limited to transferring 200 tracks/playlist. You can pay $4.50/month for the Premium plan to transfer unlimited songs. Of course, if you want a different user experience, there’s SongShift. This costs $4.99/month and has the added benefit of sharing your playlists with friends. You also get iOS 14 Widgets with SongShift, which might make the extra few cents worth it. Like Soundiiz, TuneMyMusic is $4.50/month. You can cancel any of these services immediately after using them.
What if your playlists are missing songs or have incorrect songs?
Because the metadata for every song in your playlists may not be perfectly correct, a few might not make the leap to Apple Music. It may also be the case that a particular song, artist, or album is not available in Apple Music.
If the problem is simply poor metadata, you can manually search for your songs and albums in Apple Music and add them as required. Both Soundiiz and Tune My Music will alert you if they cannot move any songs over in the transfer process. You may also have to remove incorrectly matched tracks that arrive due to artists having the same or similar names, track titles, or album titles. However, be sure to verify everything before deleting your old music subscription service because your playlists will be deleted with it.
What are the privacy concerns of using a third-party music transfer service?
The transfer service needs access to both of your accounts, including passwords, login details, and more. However, these third-party services only have access to specific information. Plus, your music streaming platform likely lets you revoke third-party access once everything is finished. For Amazon Music, that means using the Login With Amazon page in a browser and revoking the service’s access rights there.
Frequently asked questions about Amazon Music and other services
Apple Music is a music streaming service, and iTunes now exists just as a store where you can purchase music.
Both platforms are music streaming services and they work on Android or iOS. If you have a Prime membership, Amazon Music is a much better deal than Apple Music. They cost $8.99/month and $10.99/month, respectively. If you don’t have Prime, you’ll pay $10.99/month for Amazon Music.
To find playlists on Amazon Music, open the app > Tap Library > Playlists.
That depends on the service, but generally speaking, you can find this in your music service’s account settings.
To cancel your Amazon Music subscription:
- Go to your Amazon Music Settings.
- Choose the section labeled “Amazon Music Unlimited.”
- Click the Cancel button in the “Subscription Renewal” area.
- Confirm the cancellation.
To cancel your Spotify Music subscription:
- Log into Spotify
- Under the Your Plan tab, select the Change plan option.
- Scroll down until you see a section labeled Cancel Spotify.
- Click the Cancel Premium button.
To cancel your TIDAL subscription:
- Log in to the TIDAL website.
- Click the Subscription option.
- Select Cancel my subscription and confirm the cancellation.
Thank you for being part of our community. Read our Comment Policy before posting.