All products featured are independently chosen by us. However, SoundGuys may receive a commission on orders placed through its retail links. See our ethics statement.
A field recording guide
May 5, 2025
In a perfect world, everything you record would sound flawless, but unfortunately, it takes a lot of trial and error to get great results working with audio, even in a controlled environment. But in field recording, where you have little control? Yikes.
Once you step outside, the number of variables outside of your control increases significantly. Still, as long as you have the right gear and know how to use it, you should be able to get usable audio. If you need some pointers, don’t worry: we’ve got you covered.
Editor’s note: this article was updated on May 5, 2025, to add section for pencil condenser microphones
What types of mics are best for field recording?
You can’t just grab your condenser mic off your desk and run outside to start recording. Well, you can, but it won’t sound good. It’s just not the right kind of mic for this situation. For field recording, depending on what it is you’re trying to capture, you’ll want either a lavalier mic, a shotgun mic, a dynamic mic, or even just a digital recorder.
What are lavalier microphones good for?
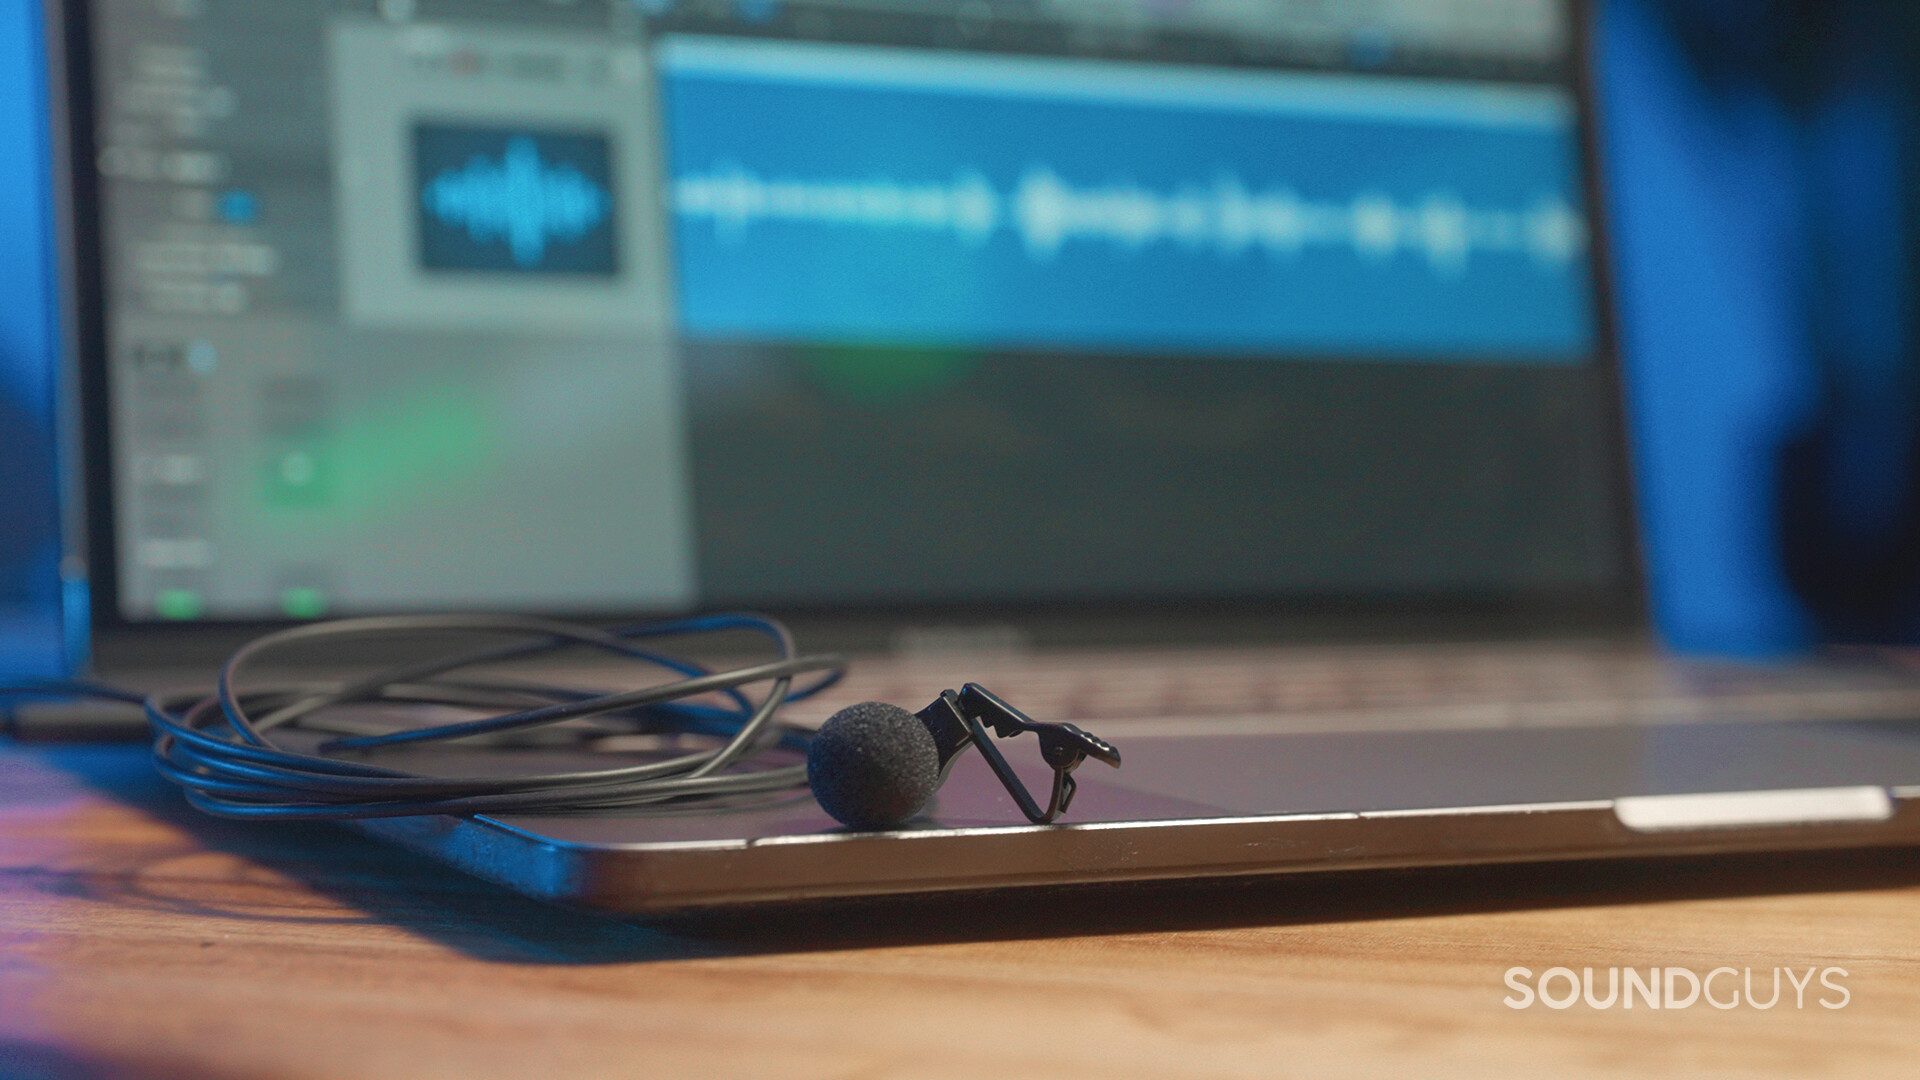
The lavalier (or “lav”) microphone is very commonly used outside because of its portability. Whether you’re a reporter on the go or making a short travel vlog for your YouTube channel, lav mics are small and easy to use. If you’re short on sound engineers and are doing everything yourself, being able to get clean audio from something that fits in your pocket can be useful. You can plug it right into your camera or voice recorder and get clean audio all by yourself. Lav mics are really good at capturing speech, as long as they’re mounted on the person speaking.
One downside to using a lav is that it has little to no isolation from shocks, so a slight bump will probably clip your audio as heard in the clip above when our former podcast producer, Adam Doud, removes the lav from his shirt.
When should you use a shotgun microphone?
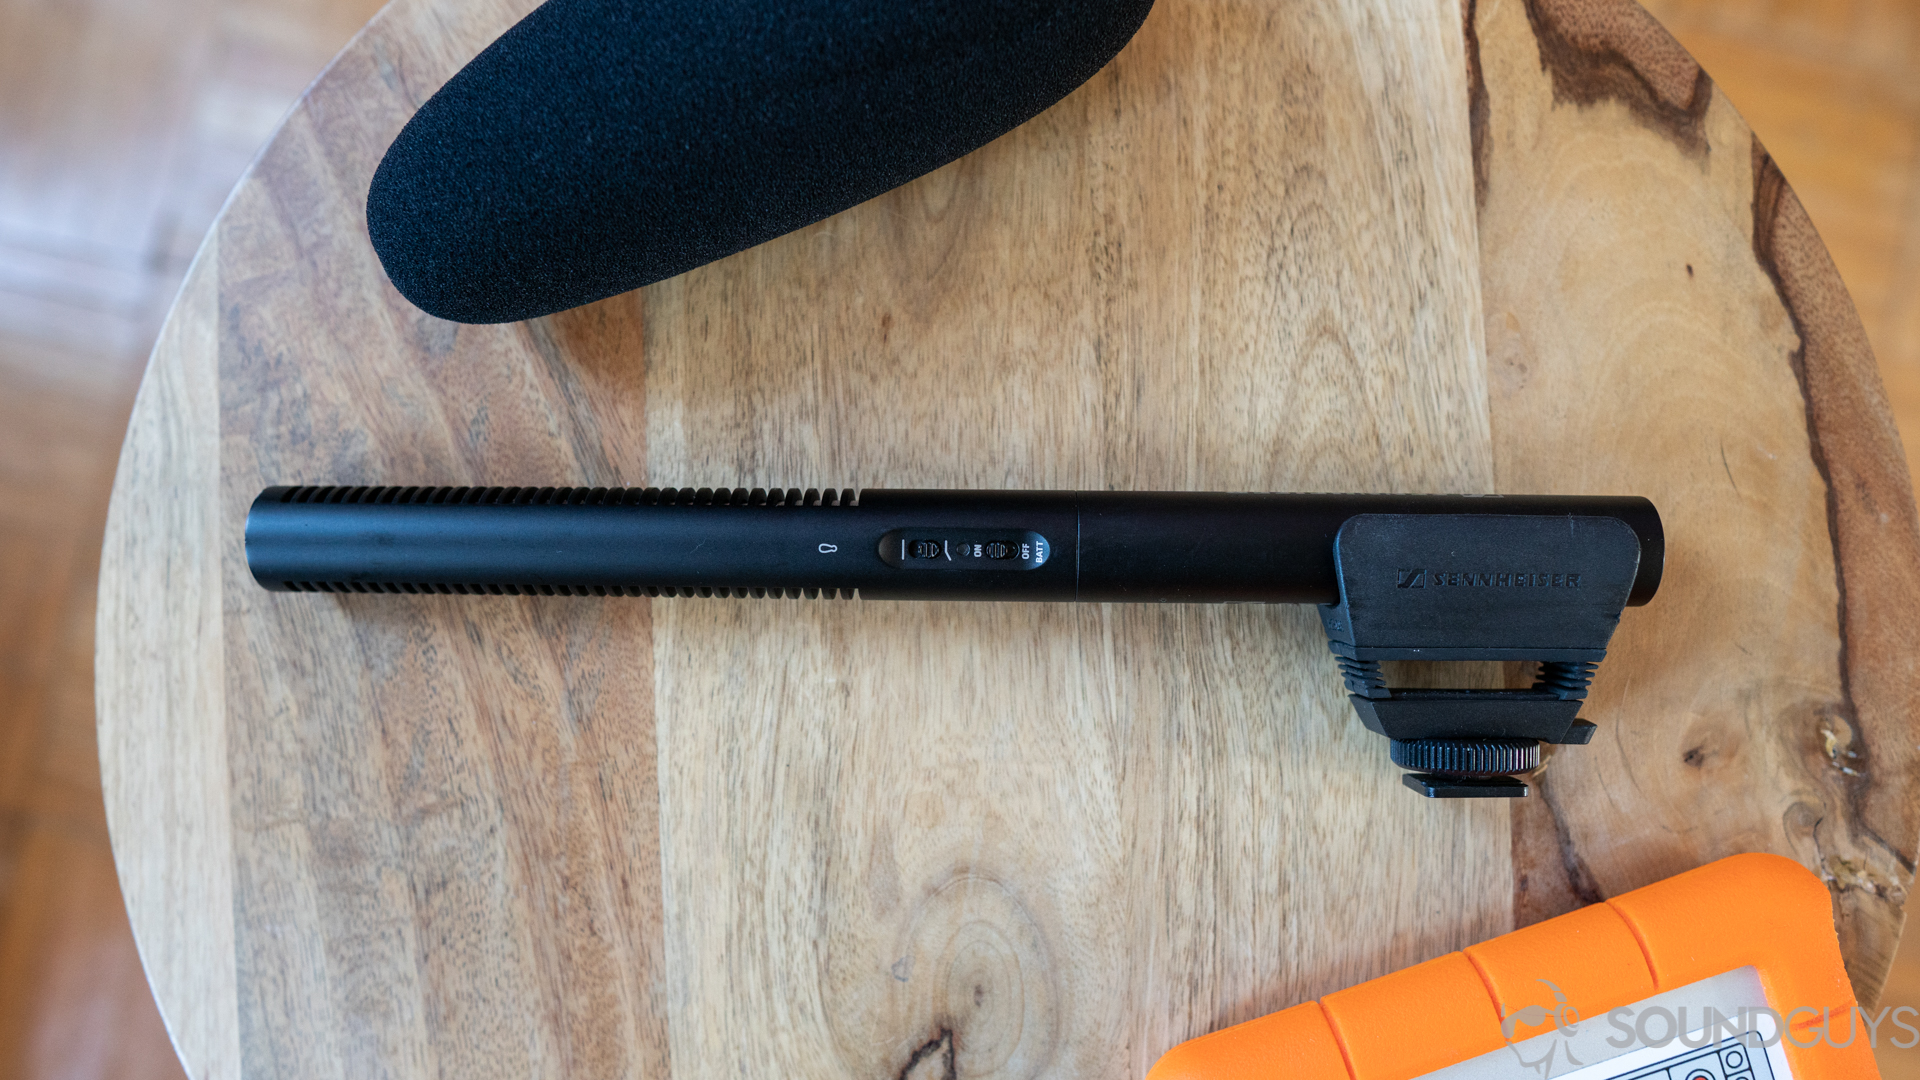
If you’re you have more room in your kit, one of the most popular mics for recording outside is the shotgun microphone. If you’ve ever seen a behind-the-scenes shot where some poor soul holds a long stick with a microphone at the end, that’s a shotgun mic. These have a very directional pickup pattern, which means it won’t pick up too much sound happening outside of where it’s pointing. This is why shotgun mics are usually pointed directly down at the person speaking. In the case of something like the popular Rode VideoMic, it gets attached to the camera and points directly at the person speaking.
The good thing about a shotgun microphone is that you can get clear sound without the microphone being in a shot. It’s also made to pick up sounds that are directly in front of it, and reject ambient, off-axis noise.
Unfortunately, shotgun mics usually require other hardware like a boom pole, which then requires a boom operator—unless you’re fine with mounting it on your camera. These mics are usually fairly large and not the most portable option, not to mention that they are generally expensive.
When recording in an untreated room, is it better to use a pencil condenser?
You can still use a shotgun mic when shooting in an untreated space, however, you will be picking up a lot more of the room reverb. In that case you might want to consider a pencil condenser, also known as a small diaphragm condenser. Pencil condensers look similar to shotgun mics, but tend to be smaller and with a less prominent interference tube, aka the grills that allow sound to pass through. Yes, I know this is a field guide to microphones, but there are times when you’ll have to move the recording indoors, into an untreated space without the ability to sound-dampen the audio.
Pencil condensers don’t actually reject most room reverb, so why would I recommend using a pencil condenser over a regular condenser shotgun microphone? It’s because they tend to pick up the sound more accurately, including the room reverb. At least it will be closer to what it would sound like to when you’re in the same room. This is due to how the interference tube of most regular shotgun mics rejects noise from the sides, which means they are much more sensitive to the sound from the front, including the reverb. For the most part, it’s best to use pencil condensers in tandem with a hidden lav. It’s more widely used in instrumentation due to its ability to record spikes in loudness or high transient noise, without distorting.
Can you record outside with a dynamic microphone?
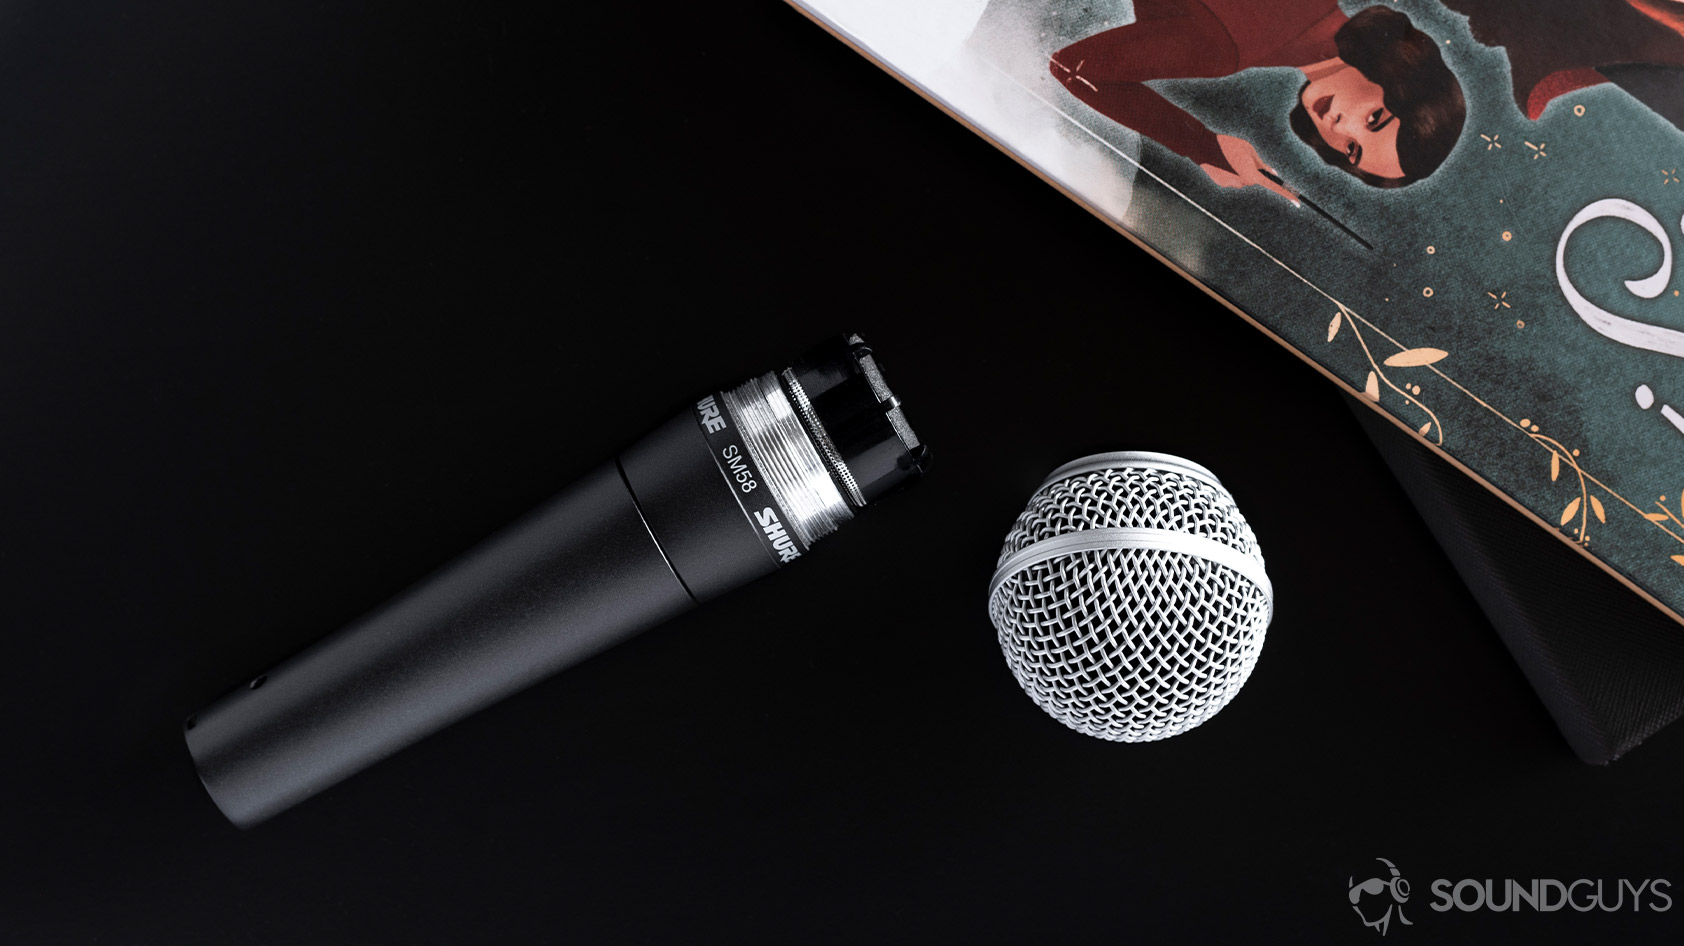
Dynamic microphones are great at recording just about anywhere, especially if you get one like the Shure SM58, an industry standard. When a reporter interviews someone and passes the microphone back and forth, they’re often wielding a dynamic mic. While not as convenient as something like a lav mic for run-and-gun outdoor recording, the improvement in sound quality might be worth it depending on the kind of sound you’re going for.
Can you record outside with a digital recorder?
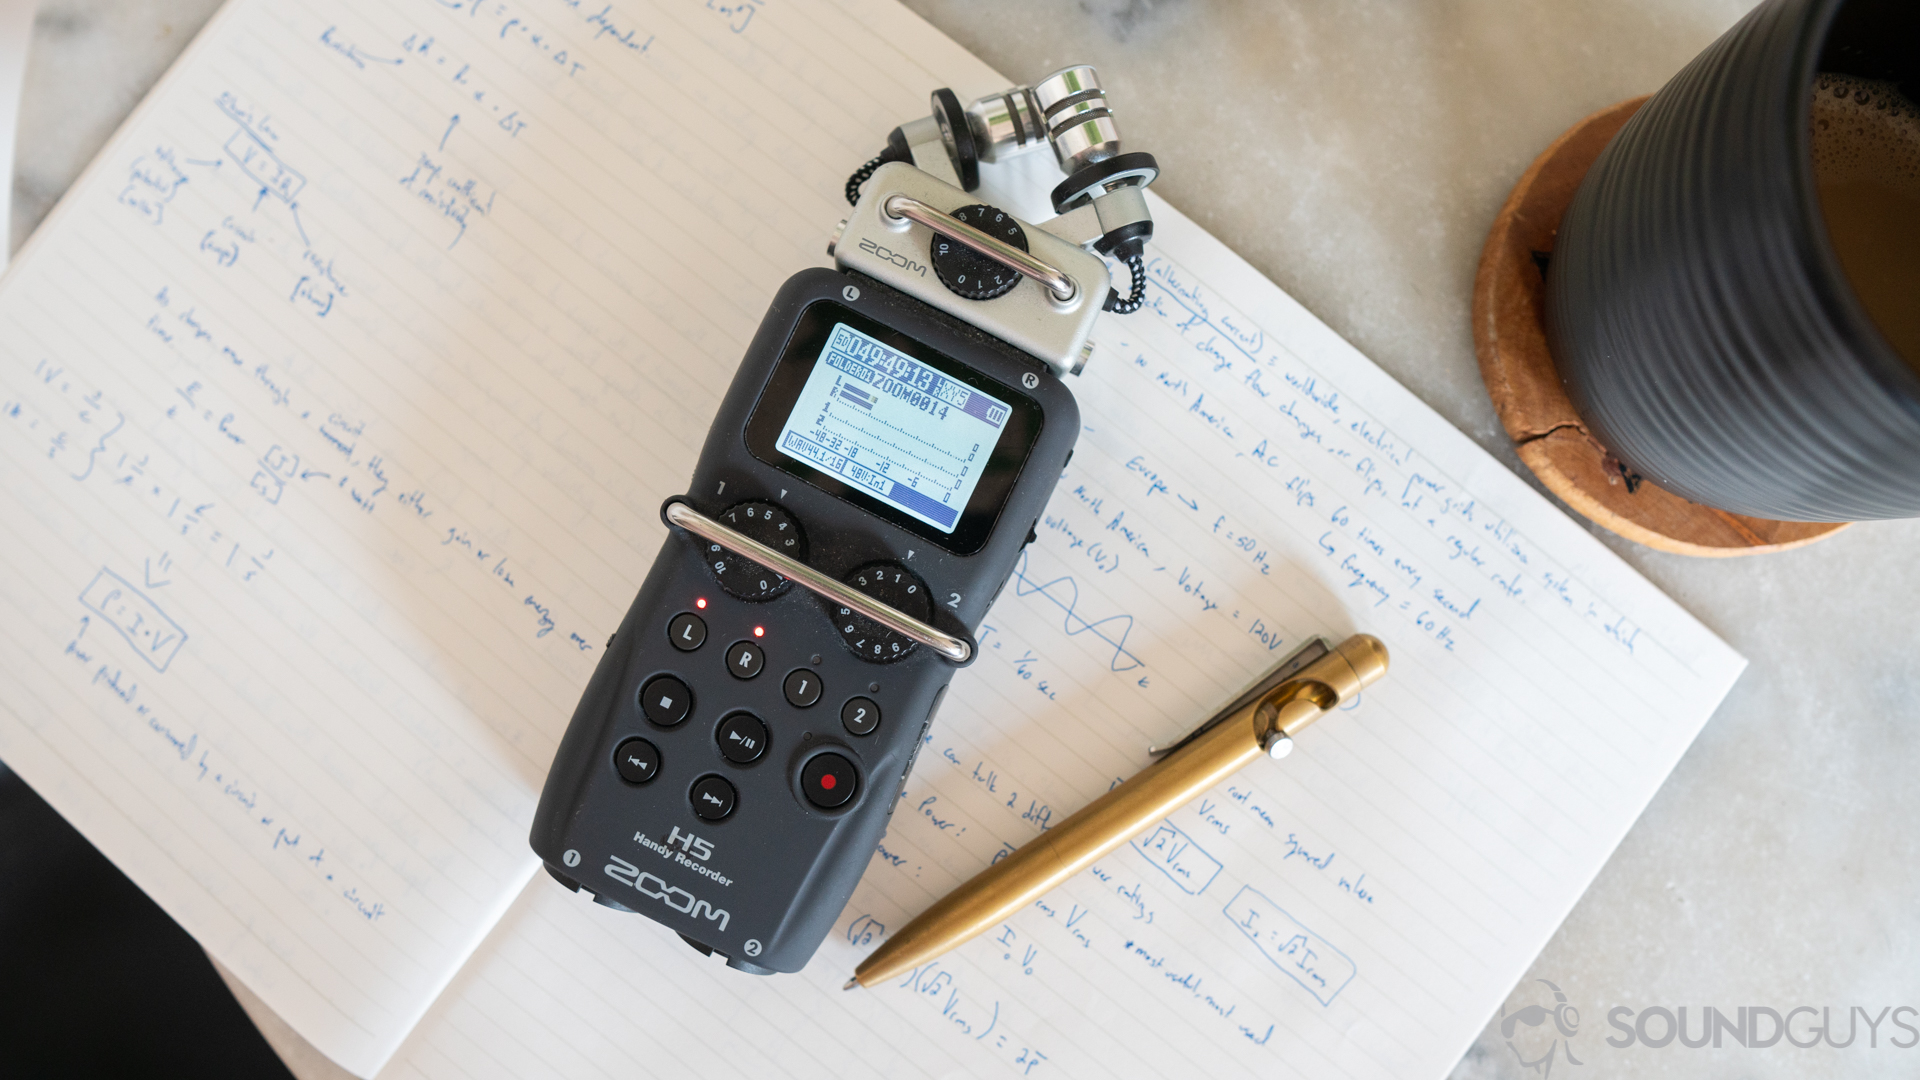
Another way to get quality audio outside is to use a digital recorder. Some, like the Zoom H1n ($89 at Amazon) or the Zoom H5 ($249 at Amazon), are pocketable and super easy to use. Just turn it on and press record. Just like a lav, handheld recorders are fairly portable. Even the bulky H5 can squeeze into a jacket pocket if you really need it to. While they work wonderfully in a pinch, you won’t always get the best vocal sound quality compared to something like a shotgun mic. That said handheld recorders are great if you want to record an assortment of ambient sounds to fill out your project. Just drop it on a table, hit record, and voila, perfect ambiance.
These are great for capturing sounds to add your own effects to the recordings. You can hear me use the Zoom H5 for exactly this reason in our very first podcast episode at around the 0:37 mark.
Although digital voice recorders excel in convenience and portability, they can get pretty expensive. Fortunately, there is a selection of budget digital voice recorders on the market that can record high-quality audio without breaking the bank.
Can you record with just a voice recording app?
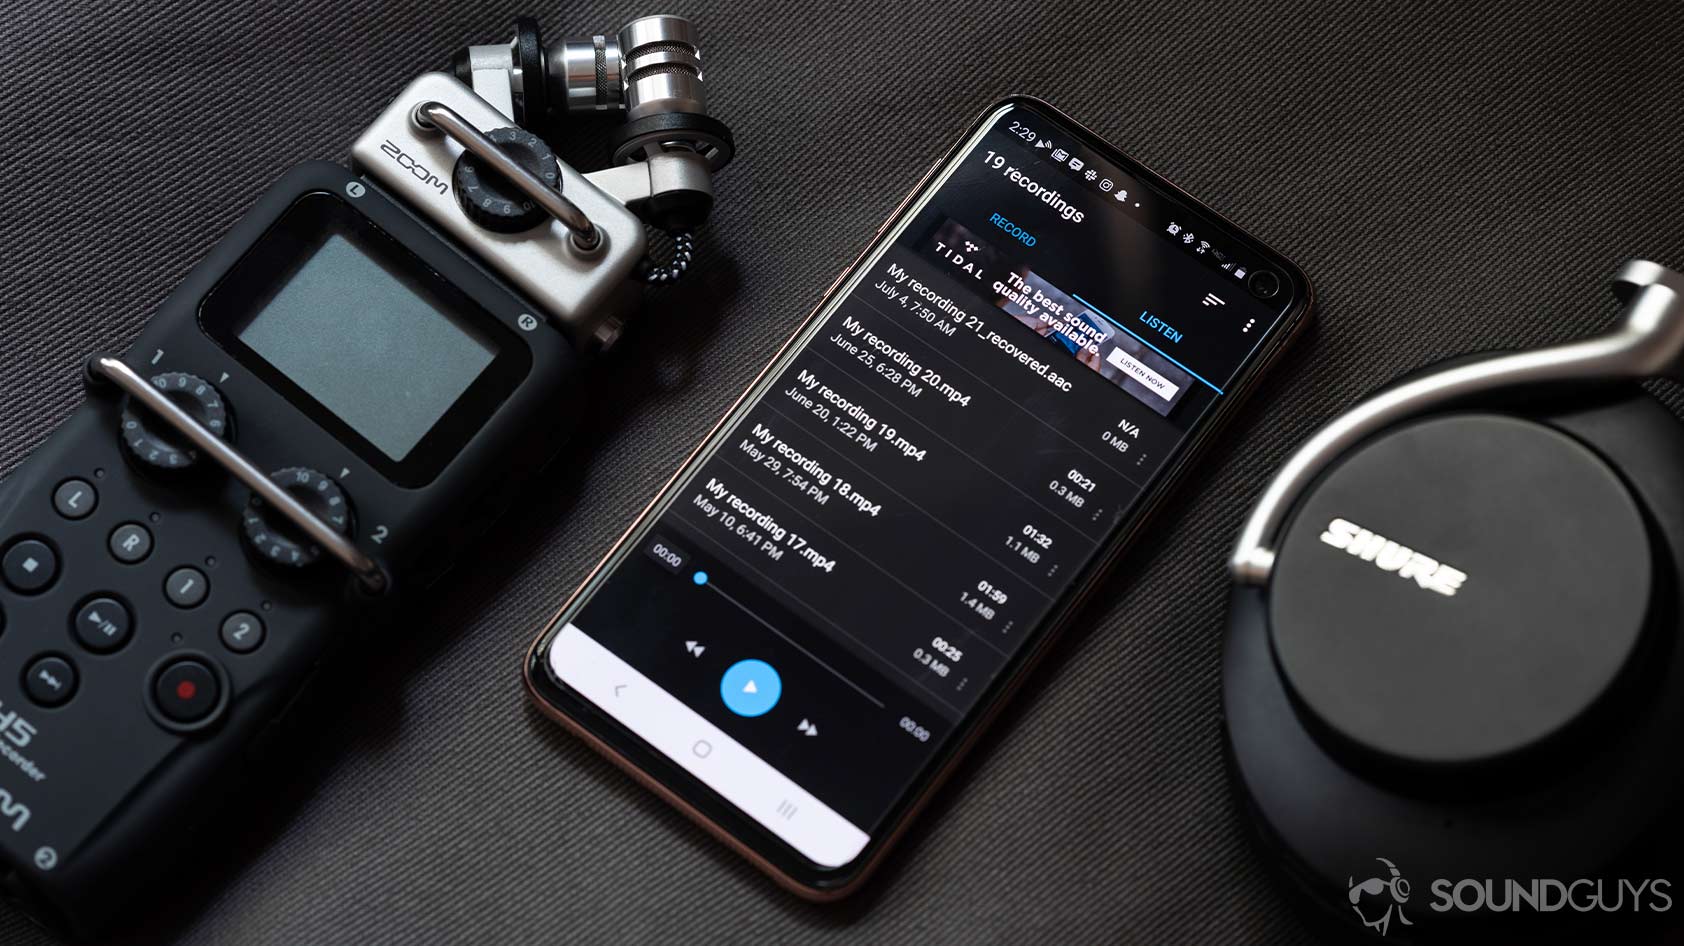
If you’d rather not spend your cash on a dedicated recording device, consider turning your smartphone into a voice recorder! There are plenty of voice recording apps available on the market for both iOS and Android devices, allowing you to capture relatively clean audio from a device that’s always in your pocket.
Voice recording apps are ideal for recording meetings, lectures, notes, and even song demos. In fact, artists across all genres commonly record new song ideas on their phones, and sometimes even record audio samples that make it into their final song releases. For example, in the post-chorus of Billie Eilish’s hit song Bad Guy, you can hear the percussive sound of a crosswalk horn in Australia.
While recording apps may not provide the best sound quality, they're always with you and that's invaluable.
Be aware that you’re limited by the quality of your smartphone’s microphone, which has a limited frequency response compared to the mic capsules on digital voice recorders. However, when inspiration strikes, voice recording apps can help you quickly keep track of your ideas faster than any other recording method.
If you want to get around the limits of internal mics, consider investing in a smartphone-compatible lavalier mic. There are a limited number of lightning compatible mics or (far more) USB-C compatible mics, and these can cost more than just buying a dedicated voice recorder. Lavalier mics allow you to record someone speaking without holding your phone to their mouth, while mini condenser mics do a good job of accurately recording the environment and the people. Most voice recording apps already support external microphones, so compatibility is a non-issue.
Why you should leave your studio condenser mics at home
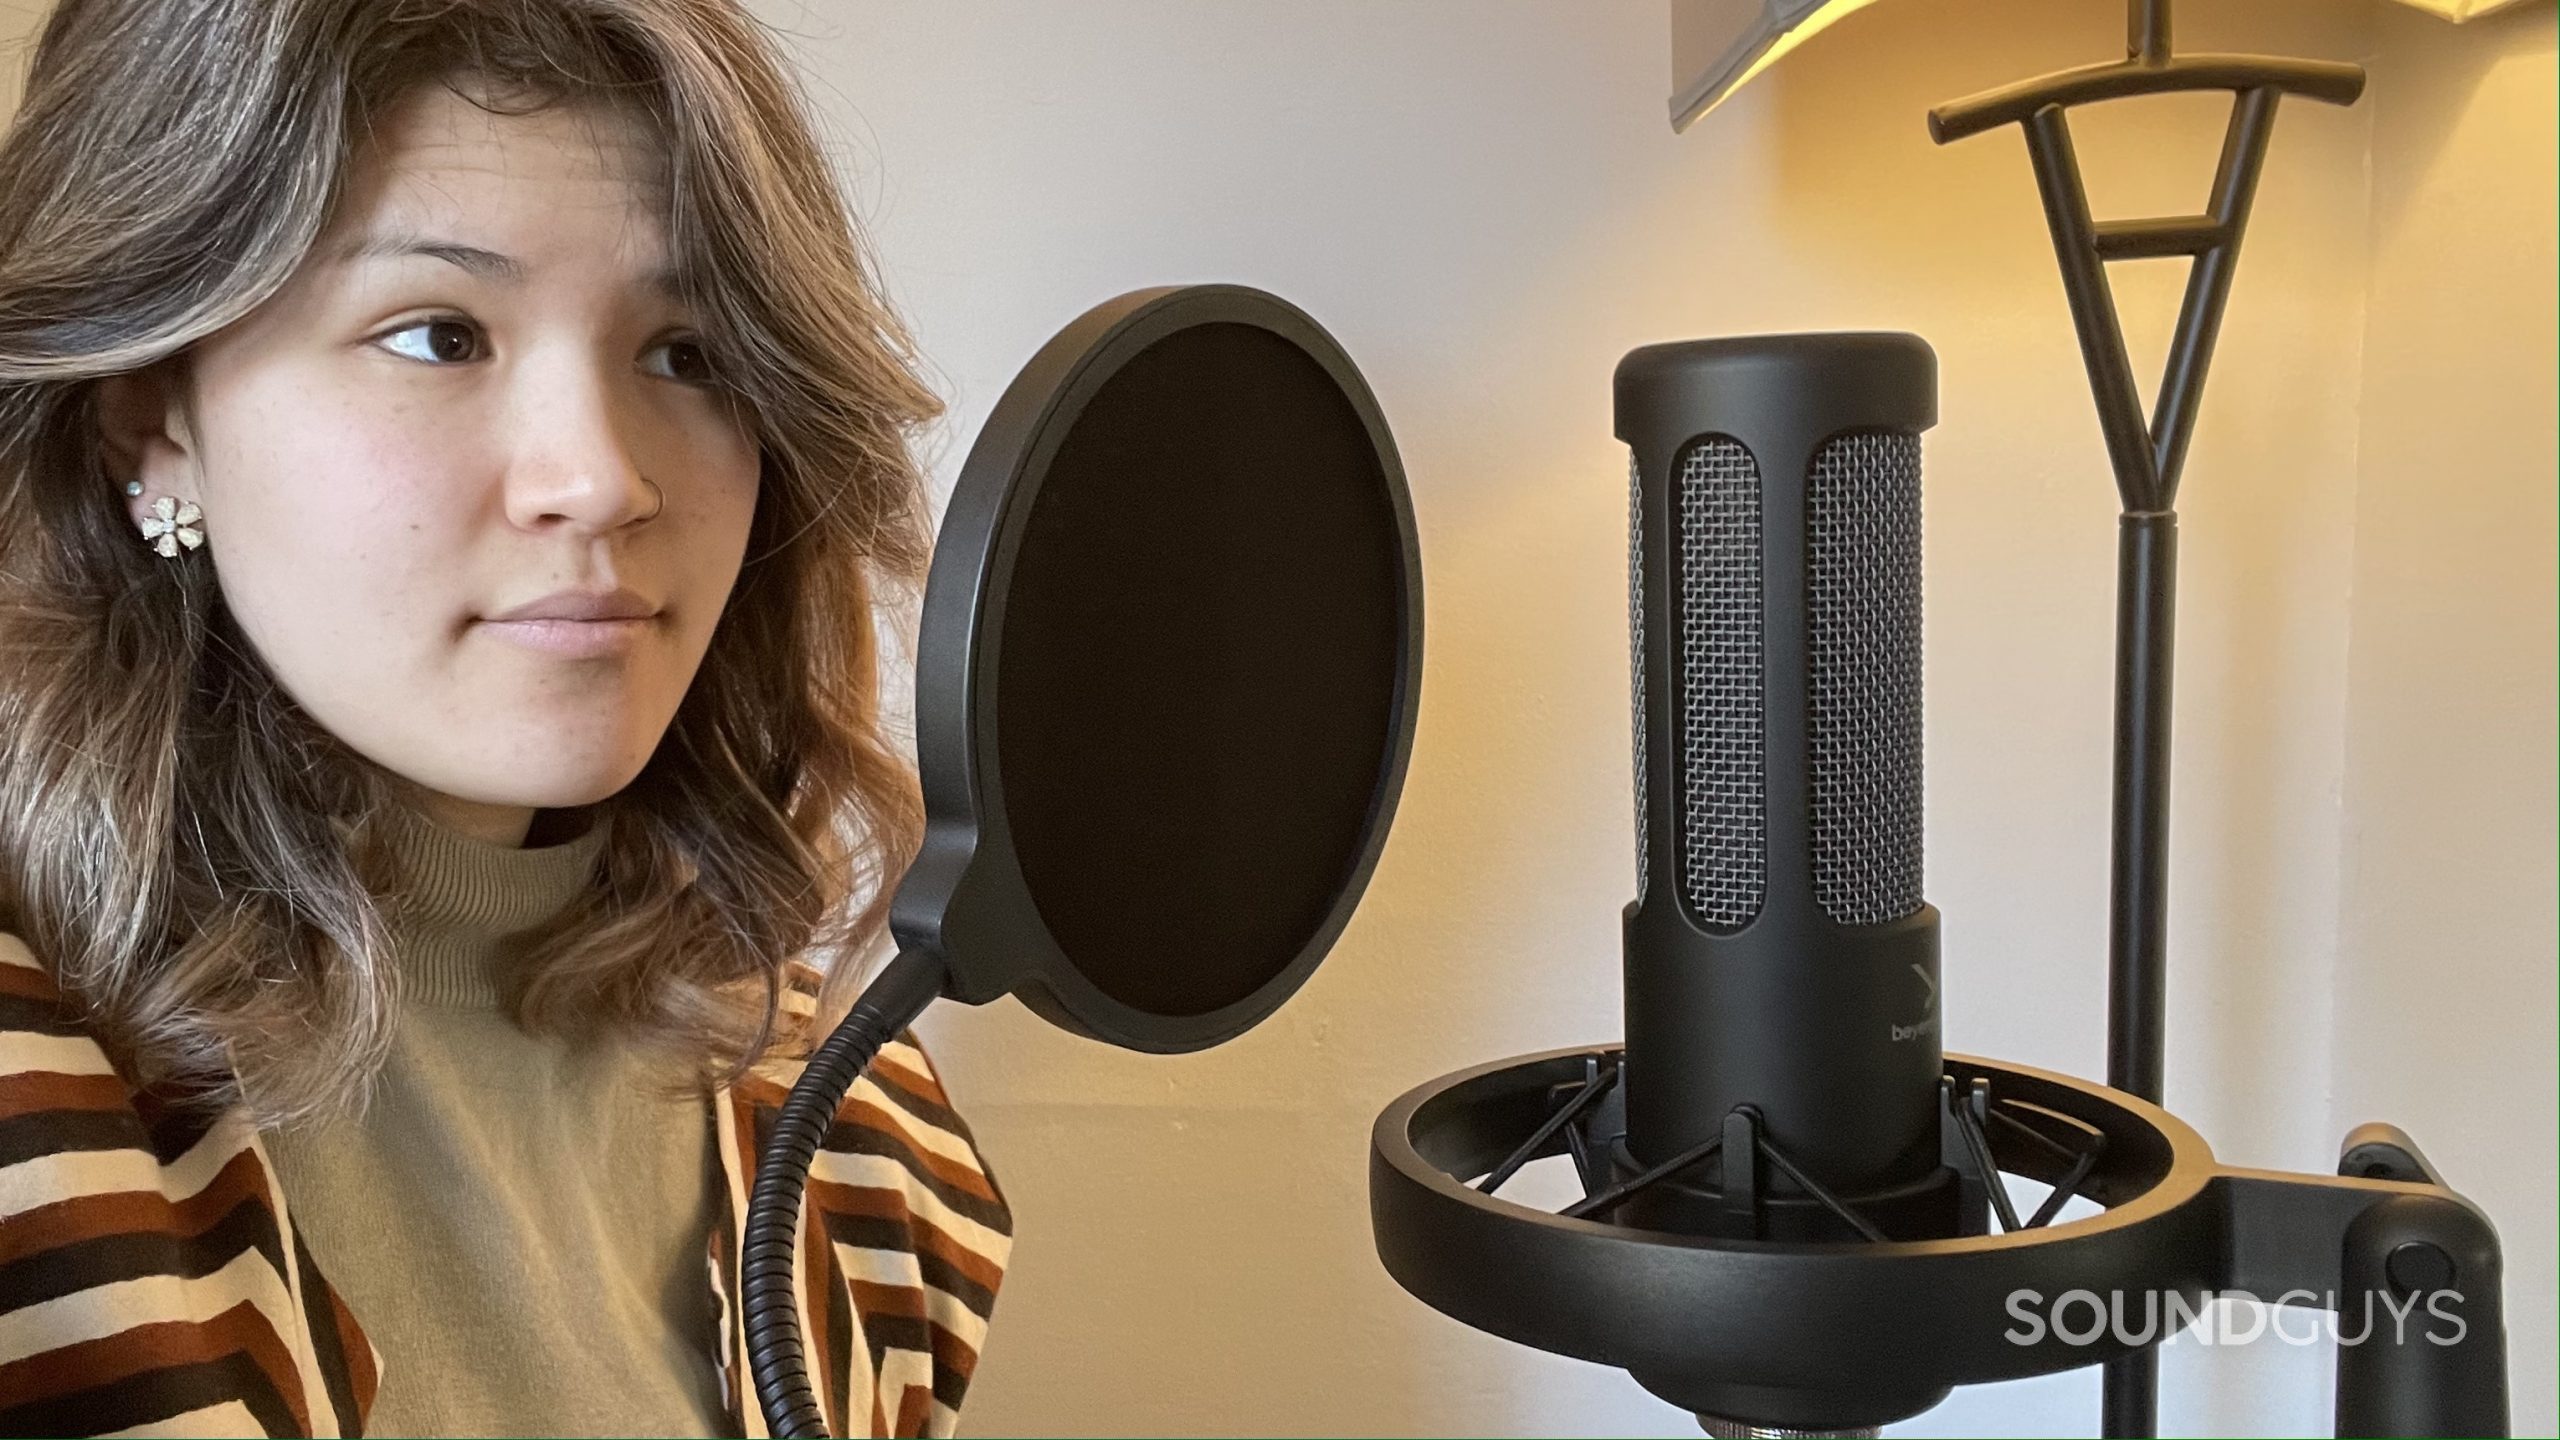
One of the traits condenser microphones are lauded for is the ability to pick up absolutely everything. While it’s true this is desirable in a fixed and controlled setting, like a studio, they’re really not suitable for use out in the field. The high sensitivity of studio condenser mics also means they are very sensitive to shocks and damage, but not all condensers are created equal. Most studio condensers are not as rugged as their purpose-built field counterparts. A good rule of thumb is that if it looks like a singer would use it in a studio, it probably doesn’t belong outside. With the wrong mic, your intended subject can get lost in the deluge of other sounds, which just means more otherwise avoidable editing in your DAW.
Shotgun mics are often condenser microphones, but due to their tough build and controlled polar pattern (more below) they’re exceptional, as are the condensers built into Zoom and Tascam handheld recorders. With that said, even handheld recorders will sometimes still pick up unintended handling noise that a Shure SM58 will reject. Lav mics come in both condenser and dynamic versions, but because of the small capsule size, they tend to pick up only nearby sound sources.
How to combat wind when field recording
Nature can be great, but it can also be a nuisance if you’re trying to record outside. Unless you’re reporting live from the eye of a hurricane, it’s unacceptable to have windy audio. Besides crackling and making it harder to hear your subject, it’s also just super annoying to listen to. So how do you record outside without wind getting in the way?
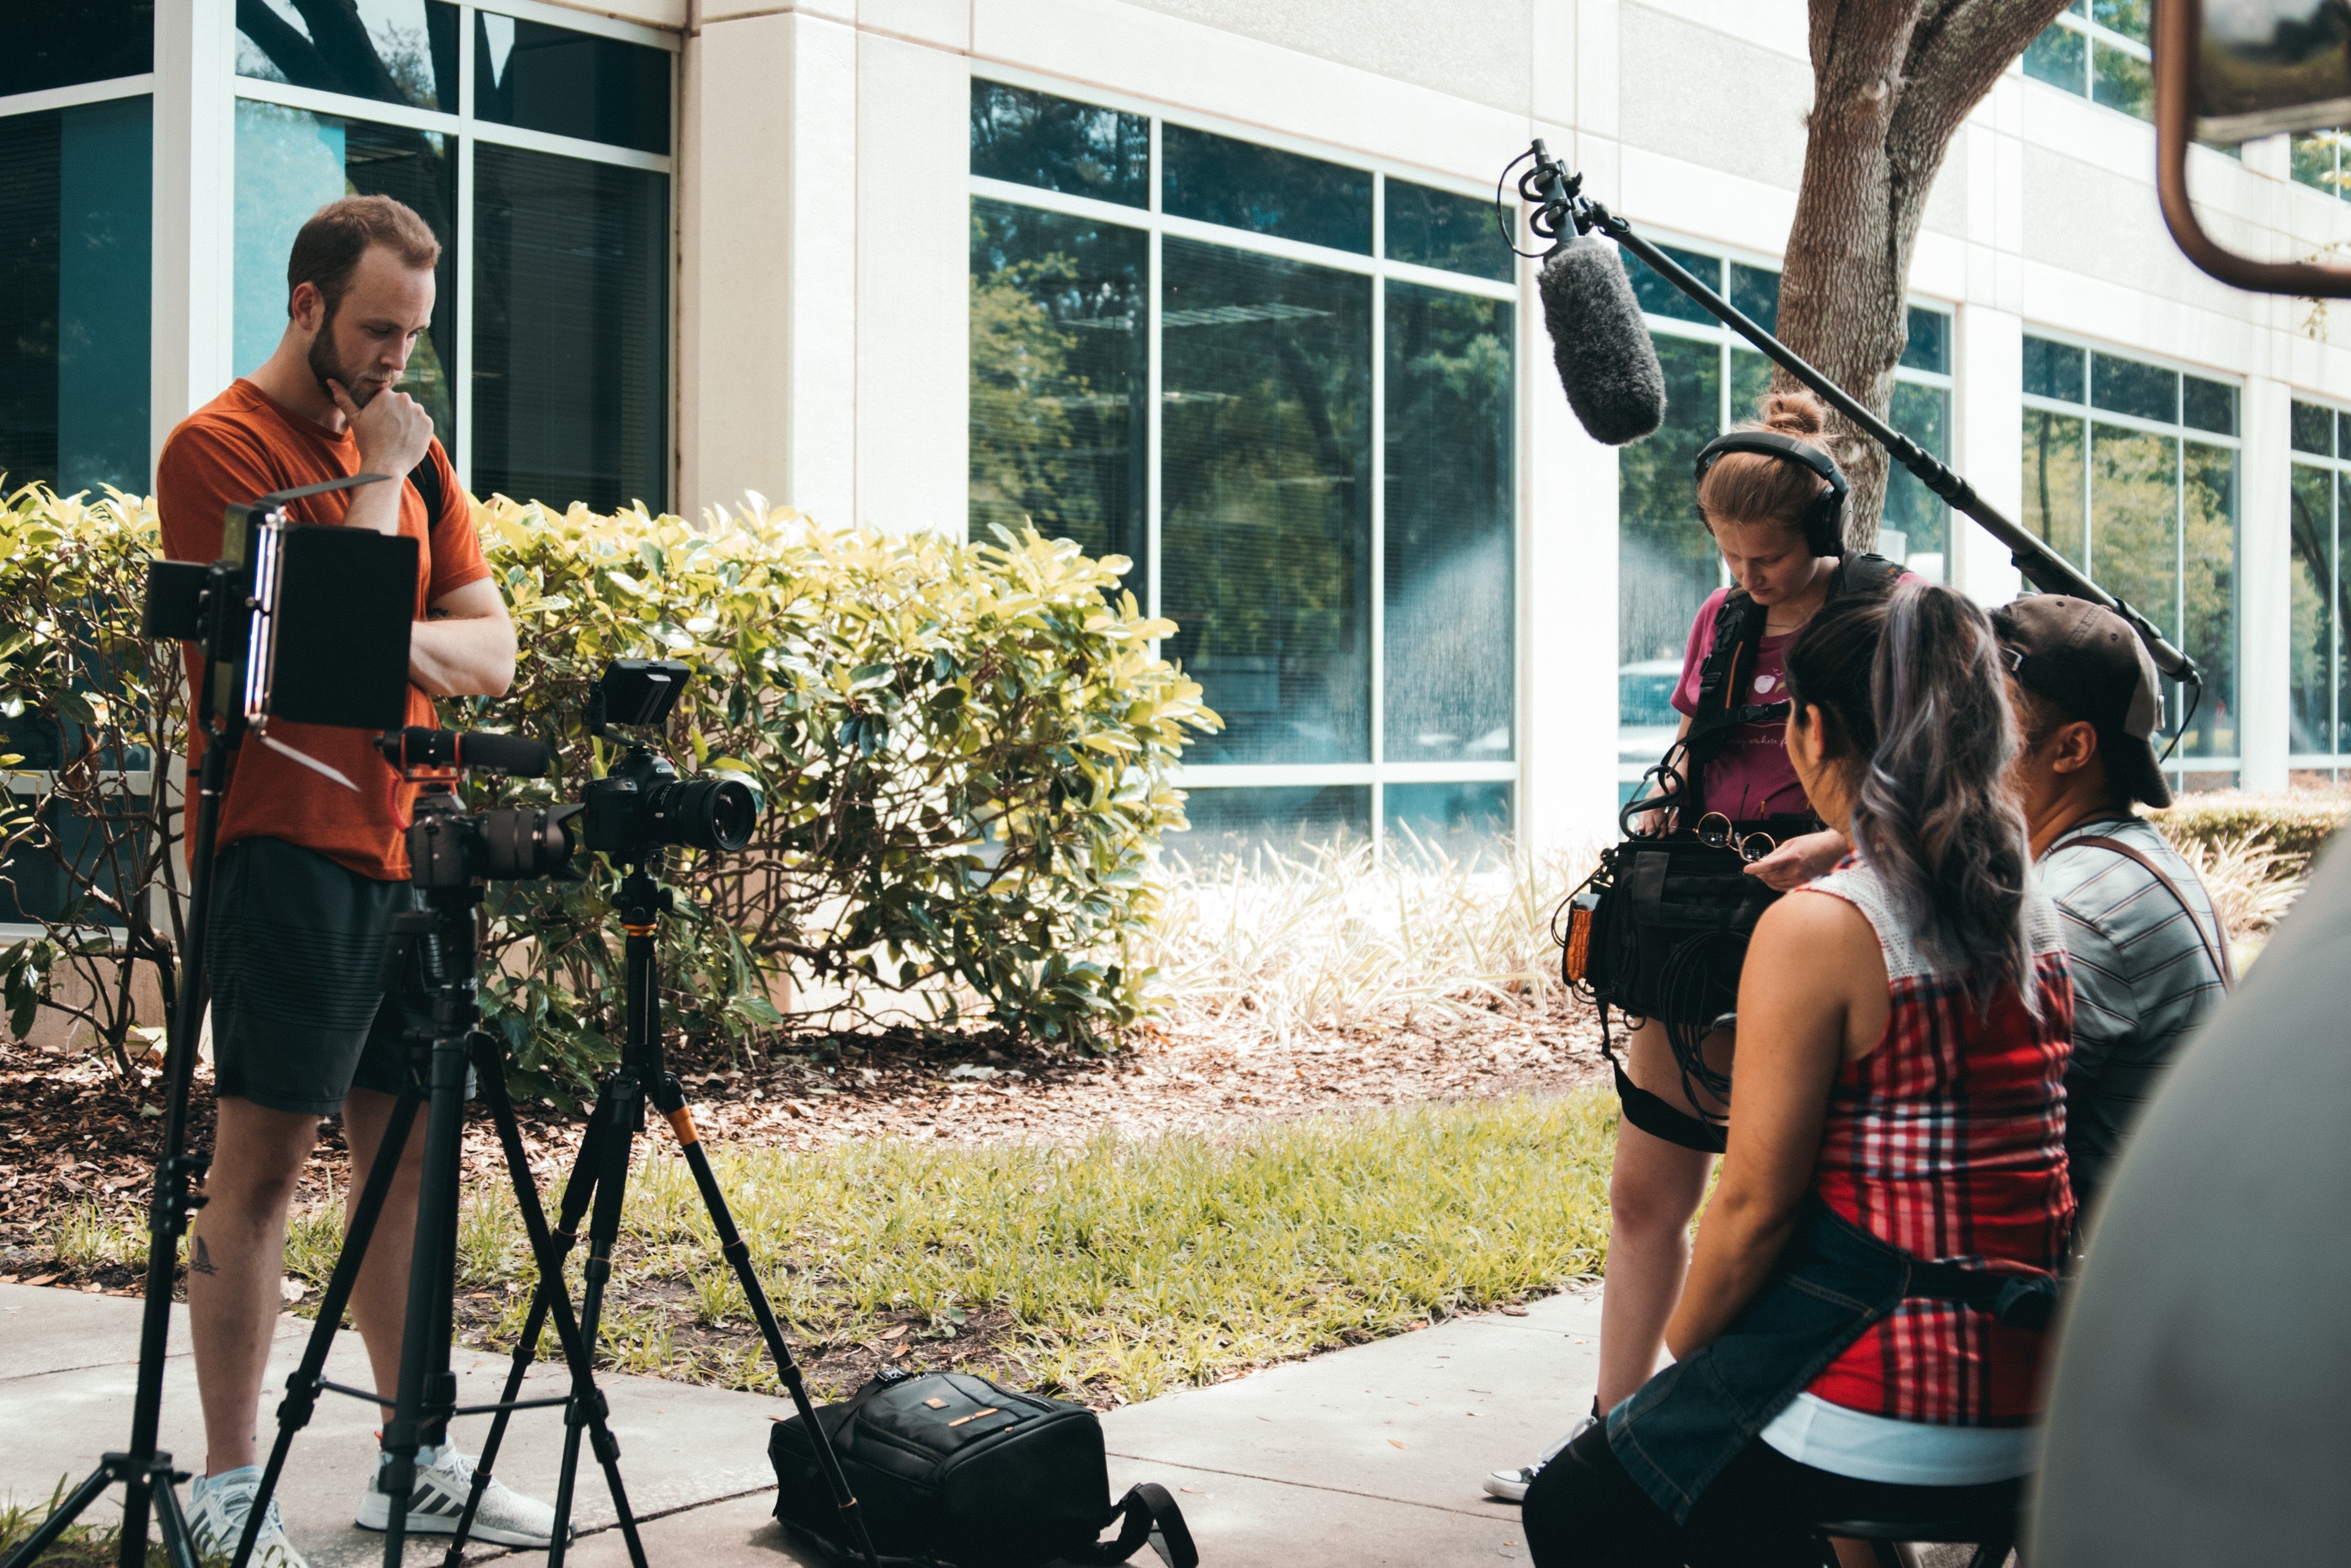
The most effective way to reduce wind noise is something called a windshield. For regular outdoor use, you can probably get by with just the foam that comes with most microphones. In more intense wind, you’ll have to use something gruesomely referred to as a dead cat.
Thankfully, the name is a bit of a misnomer—it’s actually made of synthetic materials instead of poor ol’ Fluffy. This is that infamous furry cover that you put around your microphone. Not only does it make it look like the tail of a very fluffy cat, but it also helps reduce wind noise. The fur will break up and disperse the wind before it actually gets recorded into your microphone.
Bring the right tools for the job. If it's windy you'll need a dead cat and maybe a blimp. At the very least you'll need a foam windshield.
When you’re recording in windy conditions, you may need to upgrade to a blimp: a plastic housing for your shotgun microphone which acts as both a windscreen and shock-mount system. As an extra cherry on top, wrapping the blimp in a large dead cat—sometimes called a “dead wombat”—will help eliminate light to moderate wind noises from your recordings.
Before going out to record audio, make sure to anticipate your shooting conditions to make sure that you’re bringing the right tools for the job. After all, using one of these can be the difference between getting usable audio and you needing to go out and re-record (if you’re even able to).
Tips and tricks that you should know for field recording
Bring headphones to monitor your sound
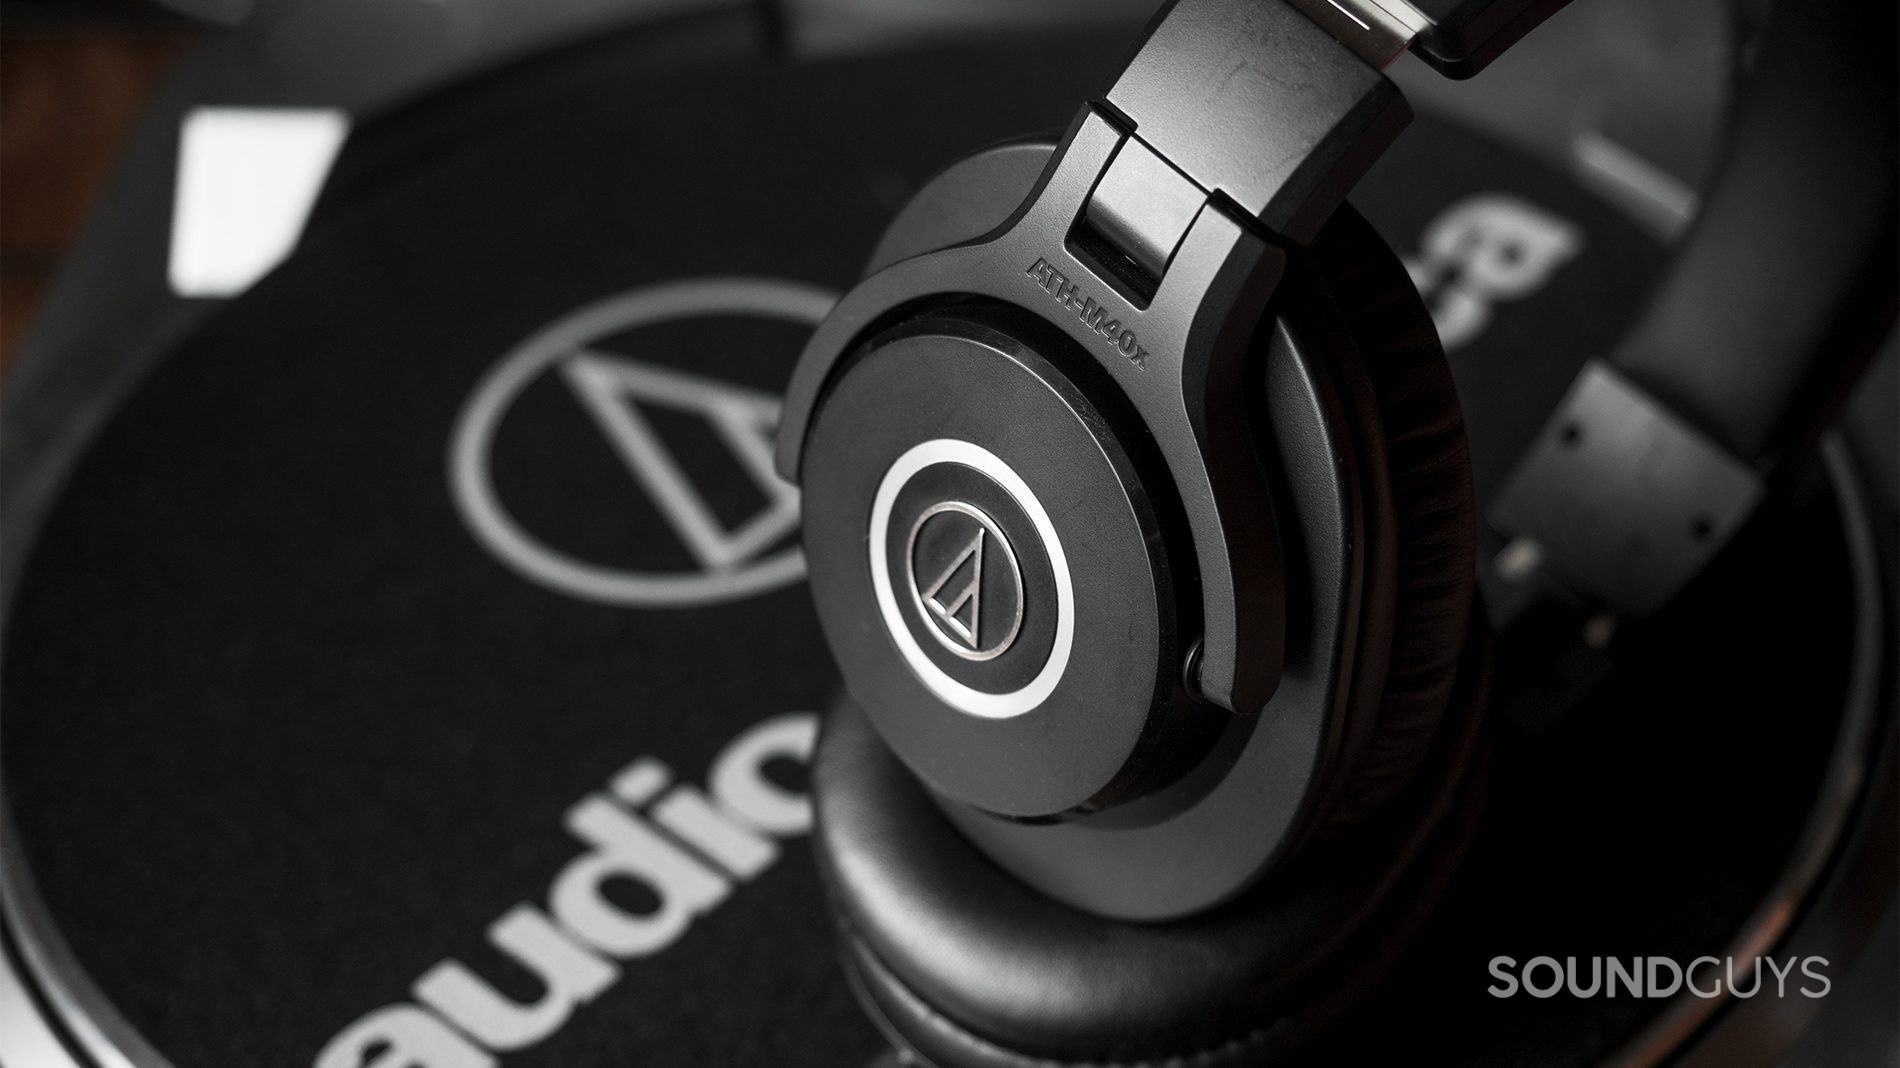
If you are interviewing someone, headphones might get in the way of being fully present and interacting with your subject, especially if they aren’t wearing headphones too. You should, however, at the very least wear headphones to test the levels of everyone and environmental elements like wind noise before beginning your recording in earnest. Assuming nobody starts screaming, you can probably take the headphones off if you’re just recording a conversation once levels are set and mics checked.
This might seem obvious to some, but it’s worth mentioning because setting the gain at the wrong level or pointing the mic in the wrong direction are all easy mistakes to make without headphones, and will ruin a recording no matter how nice your gear is. There’s only so much you can fix in post production, but some problems are avoidable. Sometimes headphones are not an option, but in a scenario where you’re in control, like an interview or filming an outdoor scene, don the headphones.
Polar patterns
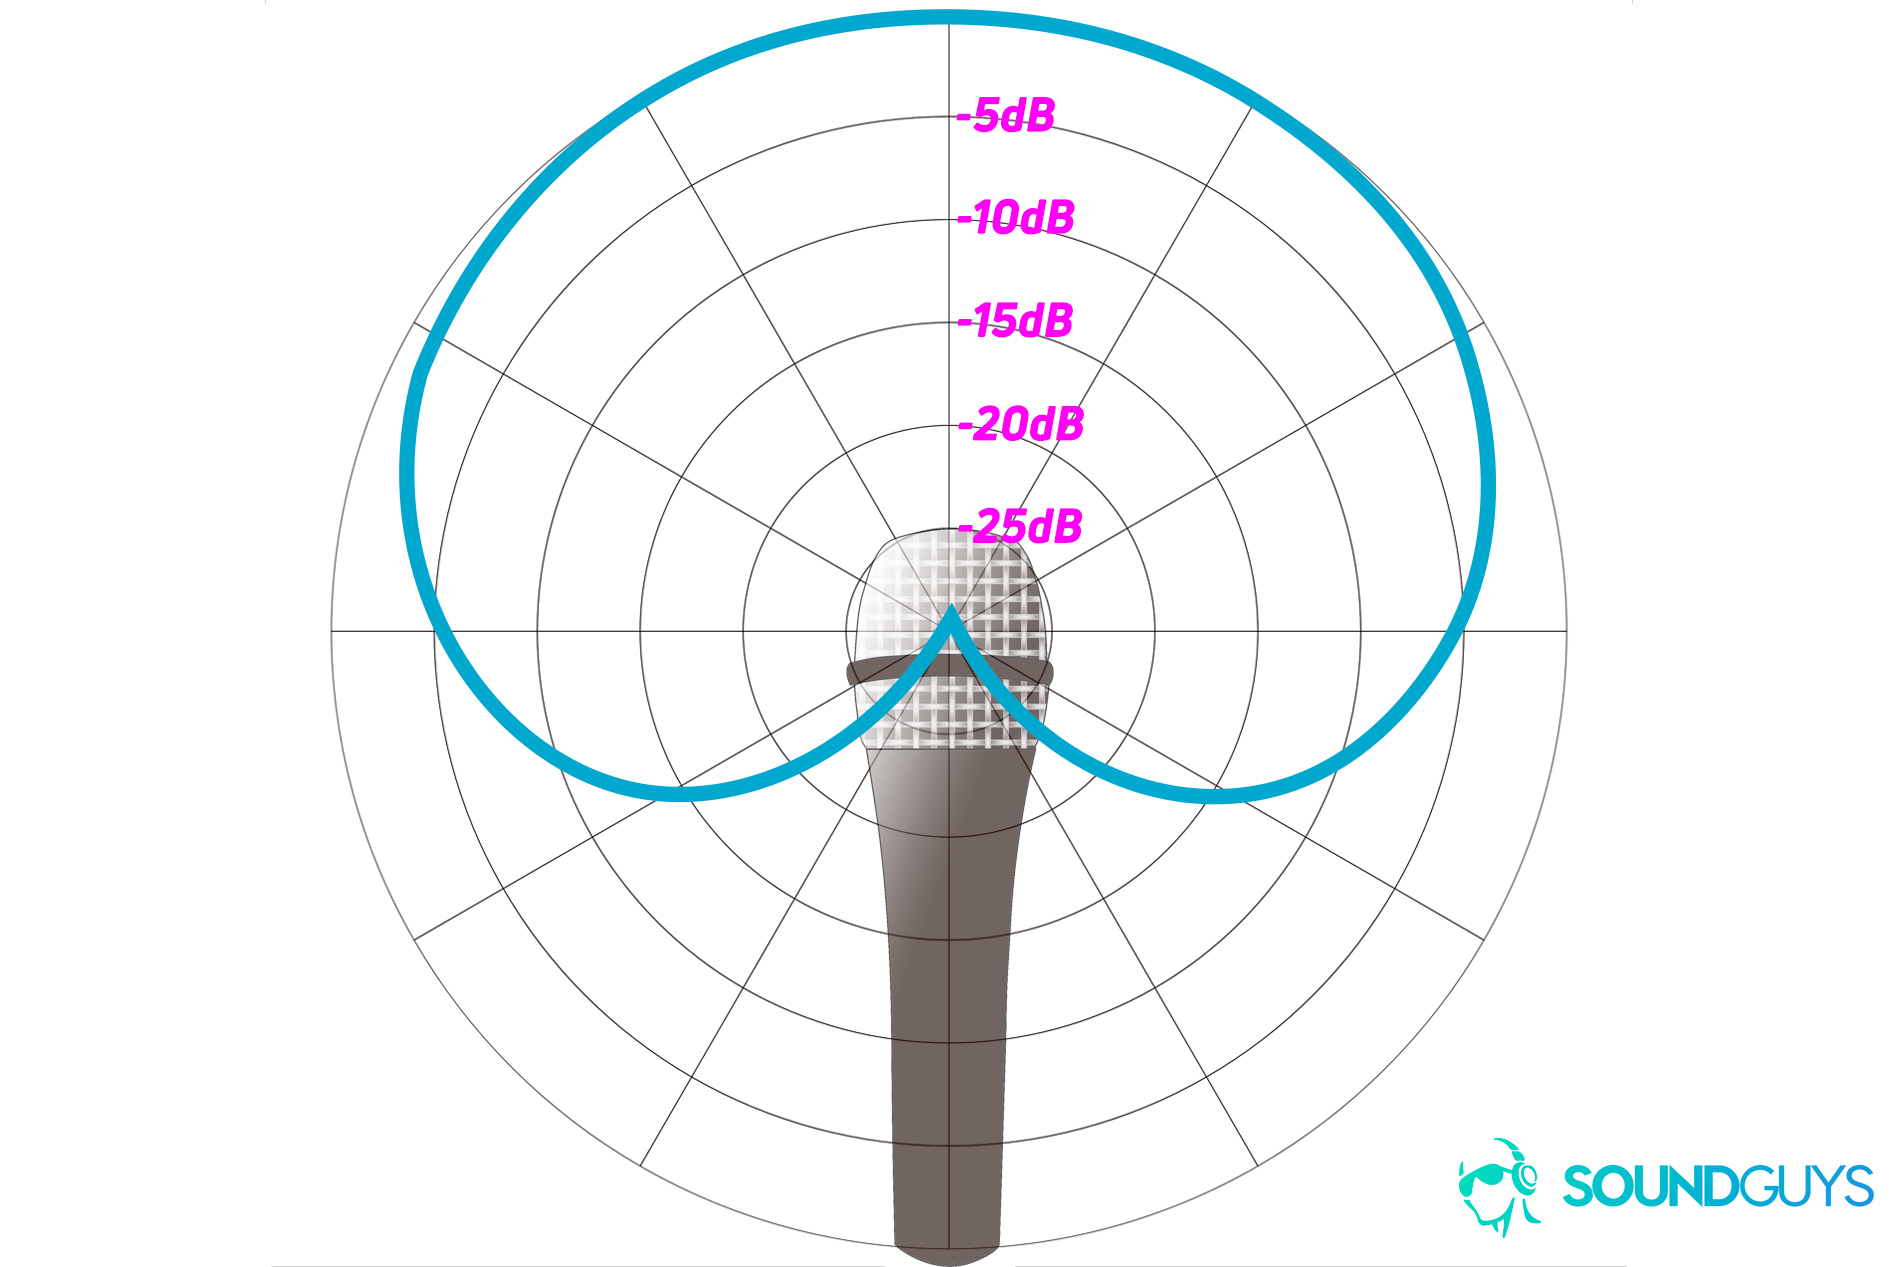
Why do some products make the cut when others don’t? Aside from practical reasons like size and portability, one key reason is their polar patterns. A polar pattern is basically a graphical representation of the directions a microphone can pick up sounds in.
The Shure SM58 has a cardioid (heart-shaped) pattern which is perfect for picking up sounds directly in front of it and slightly off to the sides as well. This is great if you’re going to be moving around or constantly holding out the microphone so someone else can speak. In short, your placement doesn’t have to be perfect every time since the microphone can pick it up anyway. In field recording that flexibility is super helpful.
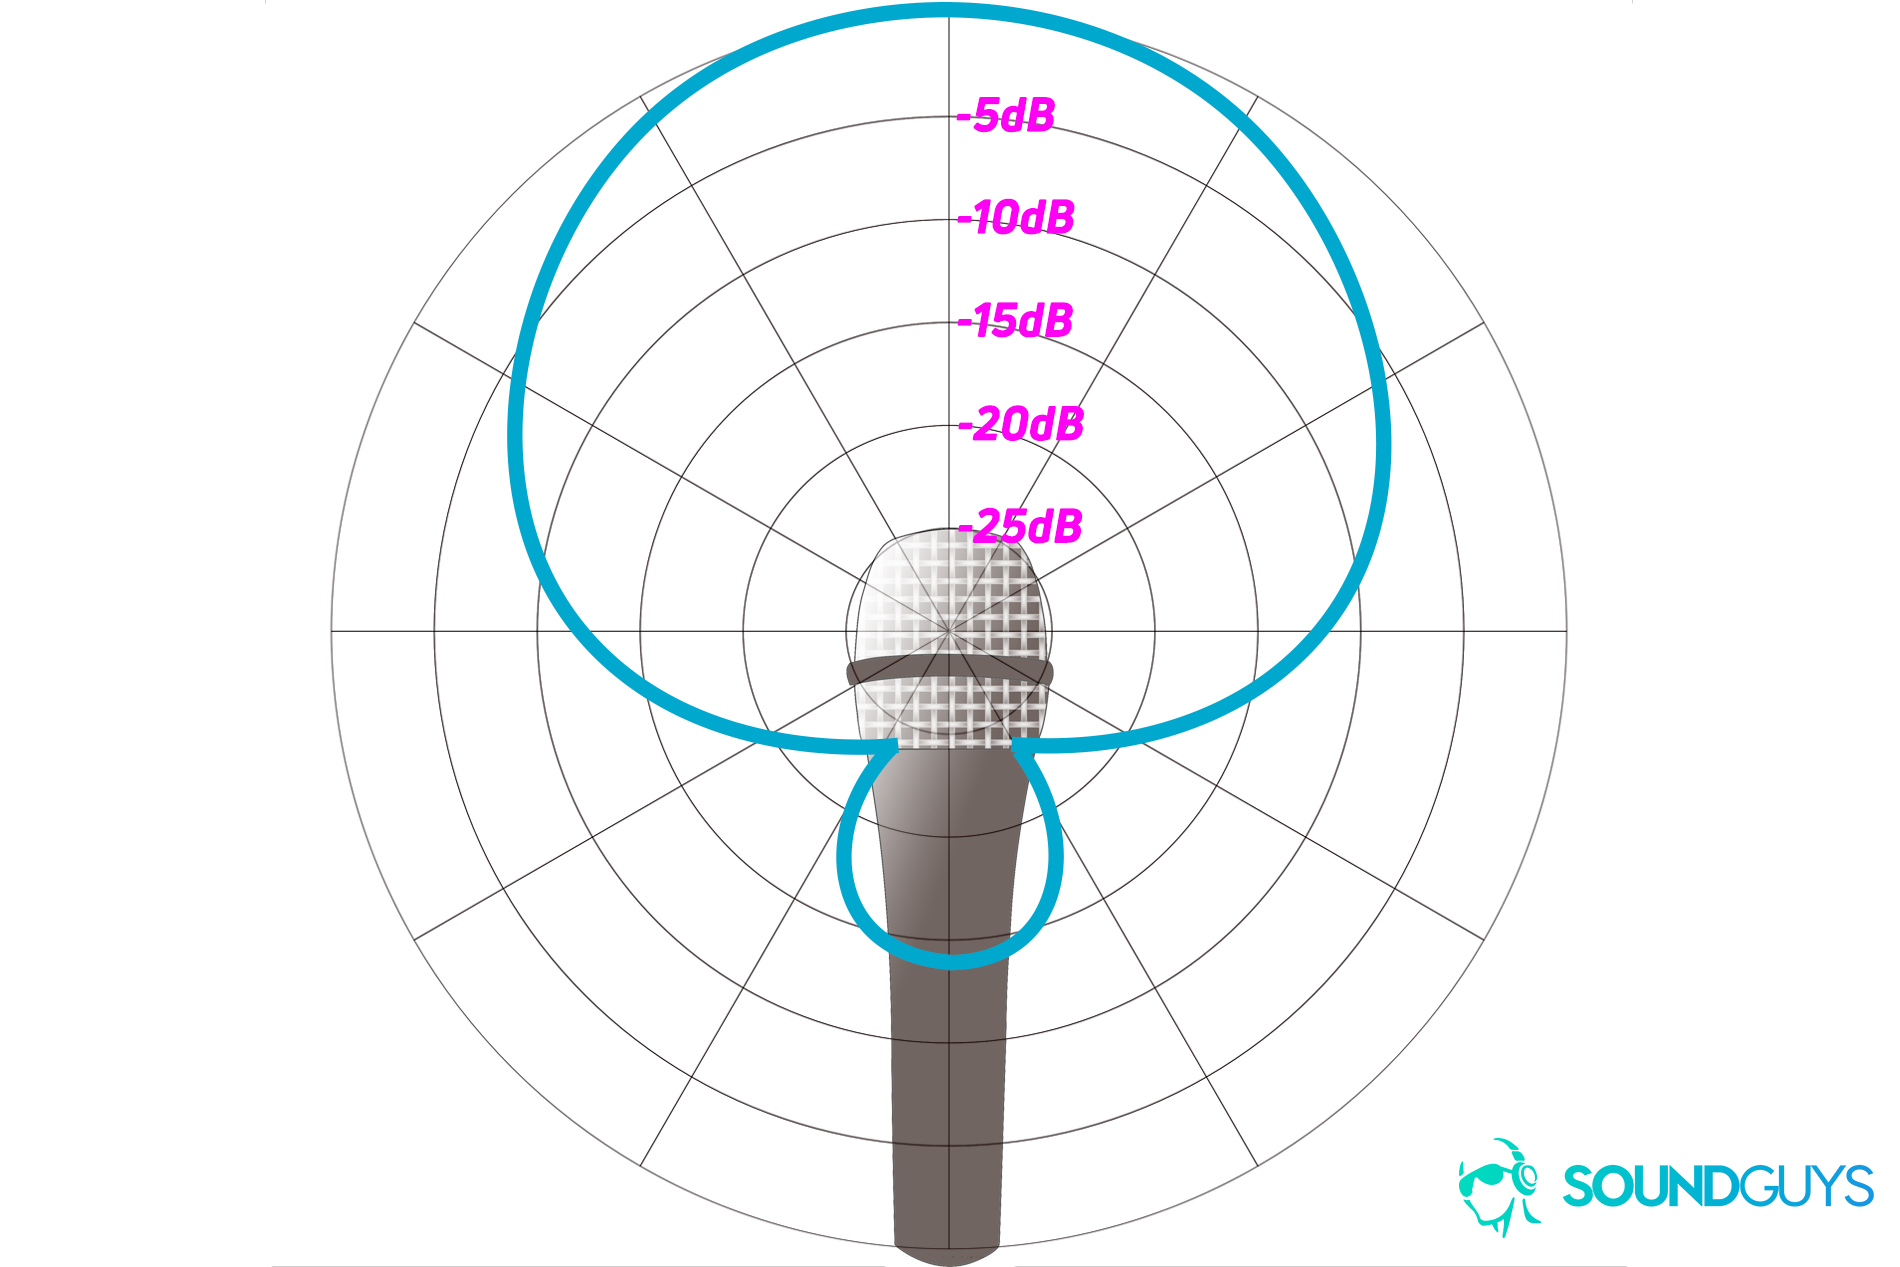
Shotgun microphones are usually supercardioid or hypercardioid. This pattern doesn’t give you much flexibility as you need to be aiming it pretty much perfectly at the audio source at all times, but it does the best at picking up only the sound you want and nothing else.
Unless you’re on a set, keep it light
Field recording requires you to move around a lot, and the last thing you want to worry about is setting up your laptop, audio interface, and stands at every location. If you’re looking to get in and out, keep it lightweight. While that’s easy to do with lav mics, it’s a little more difficult with something like a shotgun microphone.
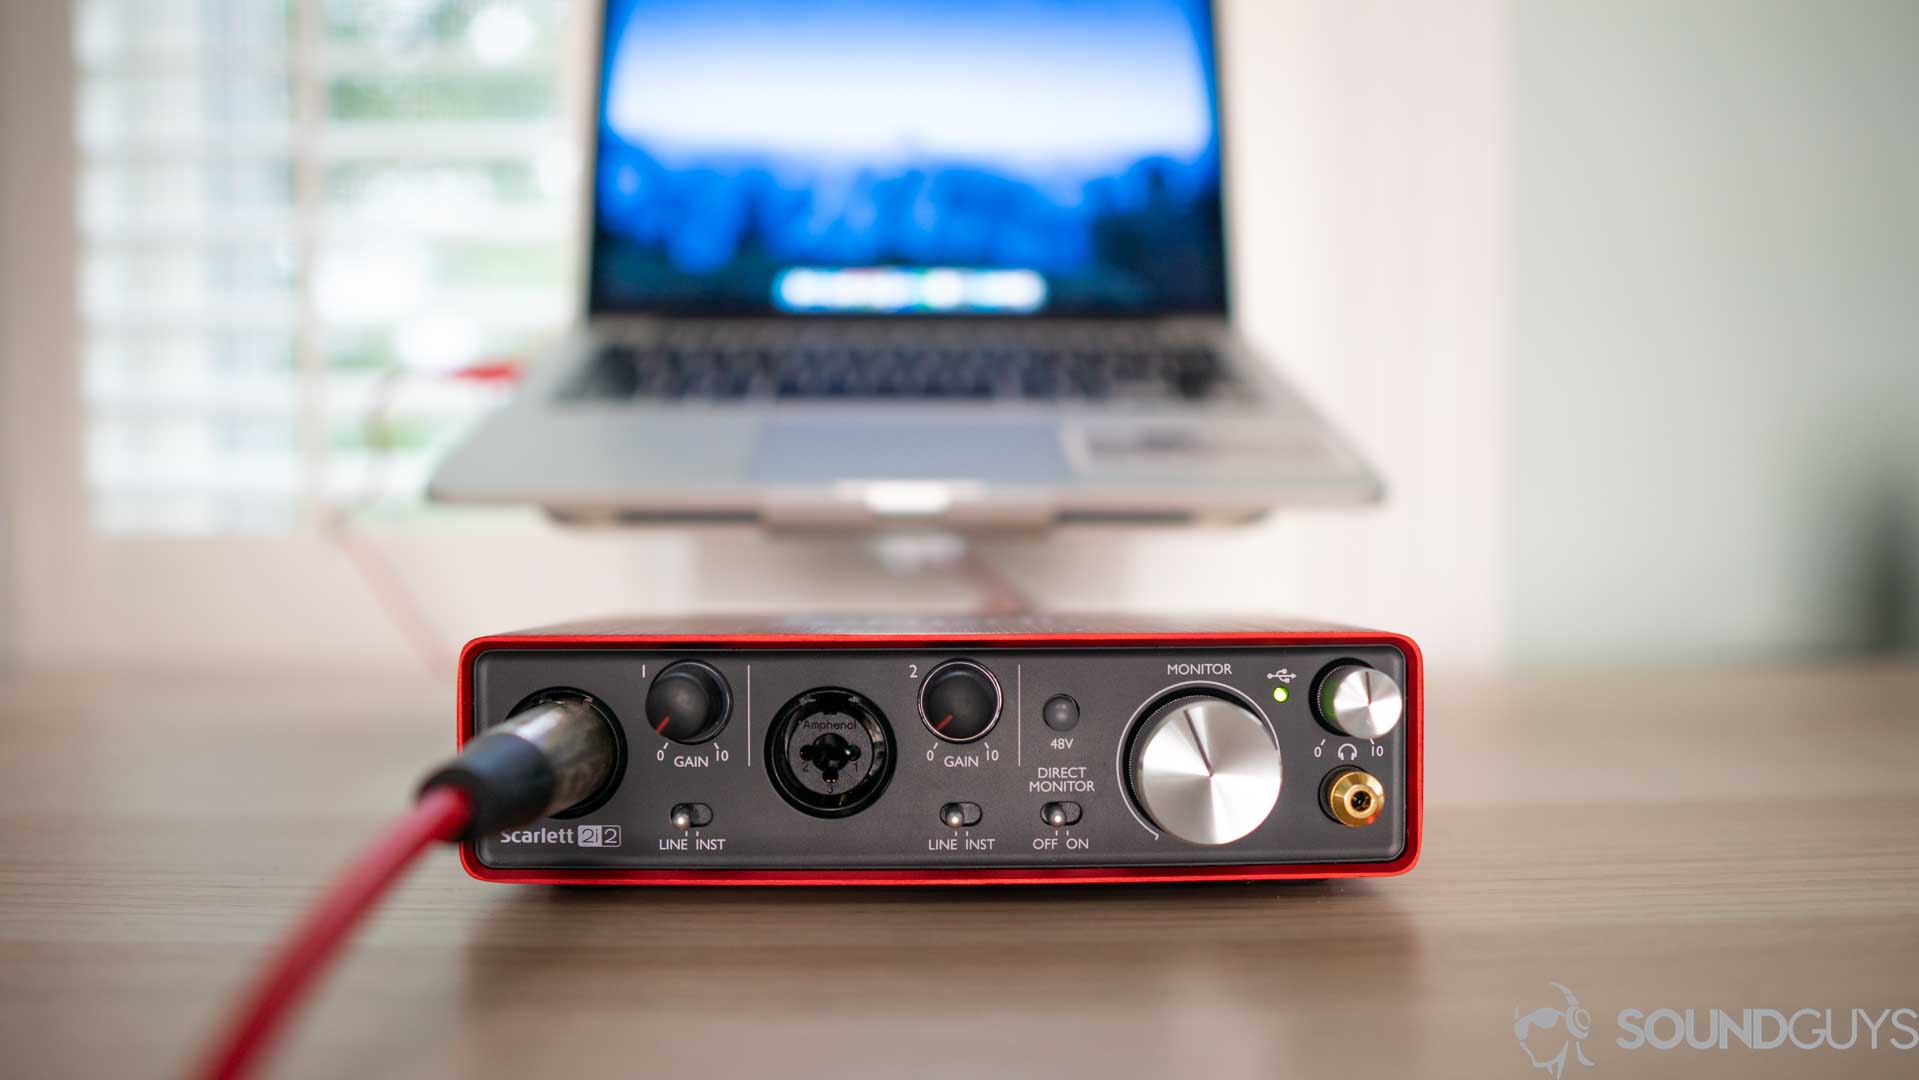
In that case, it’s probably best to also invest in a digital recorder like the Zoom H5. Not only is it a great outdoor recording option thanks to its built-in mics and camera mount if you’re shooting video, but there are also two XLR inputs on the bottom should you decide to add an outboard mic. Skipping the laptop altogether, you can record straight to a memory card.
Have fun with sound effects
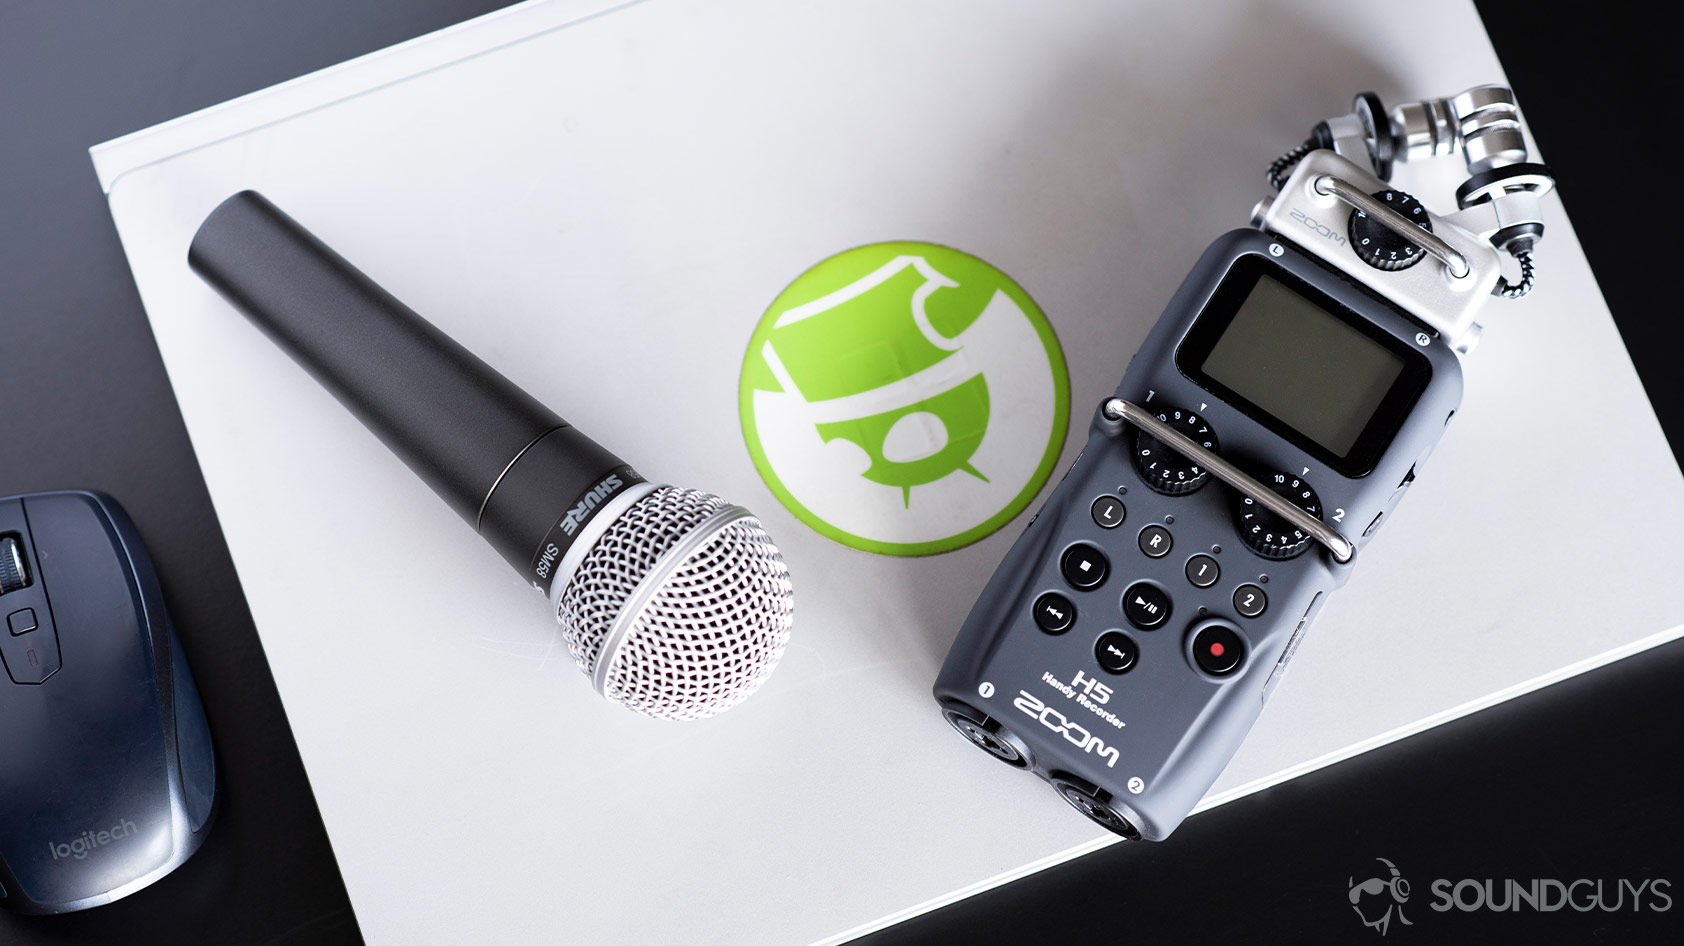
If you’re capturing decent audio, you can turn almost any weird sound into a fun sound effect to add to your final project. A loud crowd walking by may seem like a nuisance at the moment, but instead of throwing that audio in the trash, you can save it to use later. Just make sure to name it something descriptive like “LoudCrowd.wav” to make it easier to find later.
Frequently asked questions about recording outside
While iPhones are very versatile, they won’t quite get you to professional-grade recordings. Understandably, not everyone has the budget for dedicated equipment; in that case, make do and instead, pick up a microphone for some smartphone recordings. Readers with more flexible budgets, though, should swing for a digital recorder. There’s a low barrier to entry for most competent recorders and even using one as a standalone tool can get you pretty far. If you really want to improve your production quality, consider getting an external microphone mounted on a boom pole.
Using programs like Adobe Audition or Adobe Premiere, or most any digital audio workstation you can use different audio filters, like high pass and low pass, to clean up some of the sounds of rain or wind. However, adding software filters can make audio sound artificial, which is worse than the occasional noise in the background. Try to follow the steps in this article before going the software route.
It depends on what you’re recording, but let’s assume it’s people. Try for a basically weather-free day: think no rain and no wind. Stay away from high traffic areas when you can, or use a lavalier mic in those instances. Reflective building walls are not ideal either. You know, a field in the middle of nowhere is likely the best, but the point is you’ll rarely be in ideal circumstances. Take some of the principles of how sound waves reflect to make judgments about where to set up your mic. Ever notice how your voice echoes in caves, or how in a dense forest small sounds seem very close?
Both the Zoom H5 and Zoom H6 ($229 at Amazon) are great choices and they record at the same quality up to 24-bit/96kHz. Unless you plan on plugging in more than two additional outboard mics, most people will prefer the price tag of the Zoom H5 and its comparatively lighter weight. The H6 has a greater battery life, which might be important depending on how long you record for at a time, and it has a full color screen.
Otherwise, get a windscreen for your recorder, and a good quality SD card. To reduce handling noise mounting the recorder on a tripod or your DSLR is a good idea as well. Most of the standard rules of recording apply, such as checking gain settings to avoid clipping your audio. If you have time to experiment, that’s the best way to learn what your mics are good at, and what needs improvement. Zoom equips its recorders with purpose built microphones, so it’s possible you won’t need outboard mics to achieve the results you want. Your next step is to get out there with your recorder.
Thank you for being part of our community. Read our Comment Policy before posting.