All products featured are independently chosen by us. However, SoundGuys may receive a commission on orders placed through its retail links. See our ethics statement.
DJI Mic 2 review
April 16, 2025
DJI Mic 2
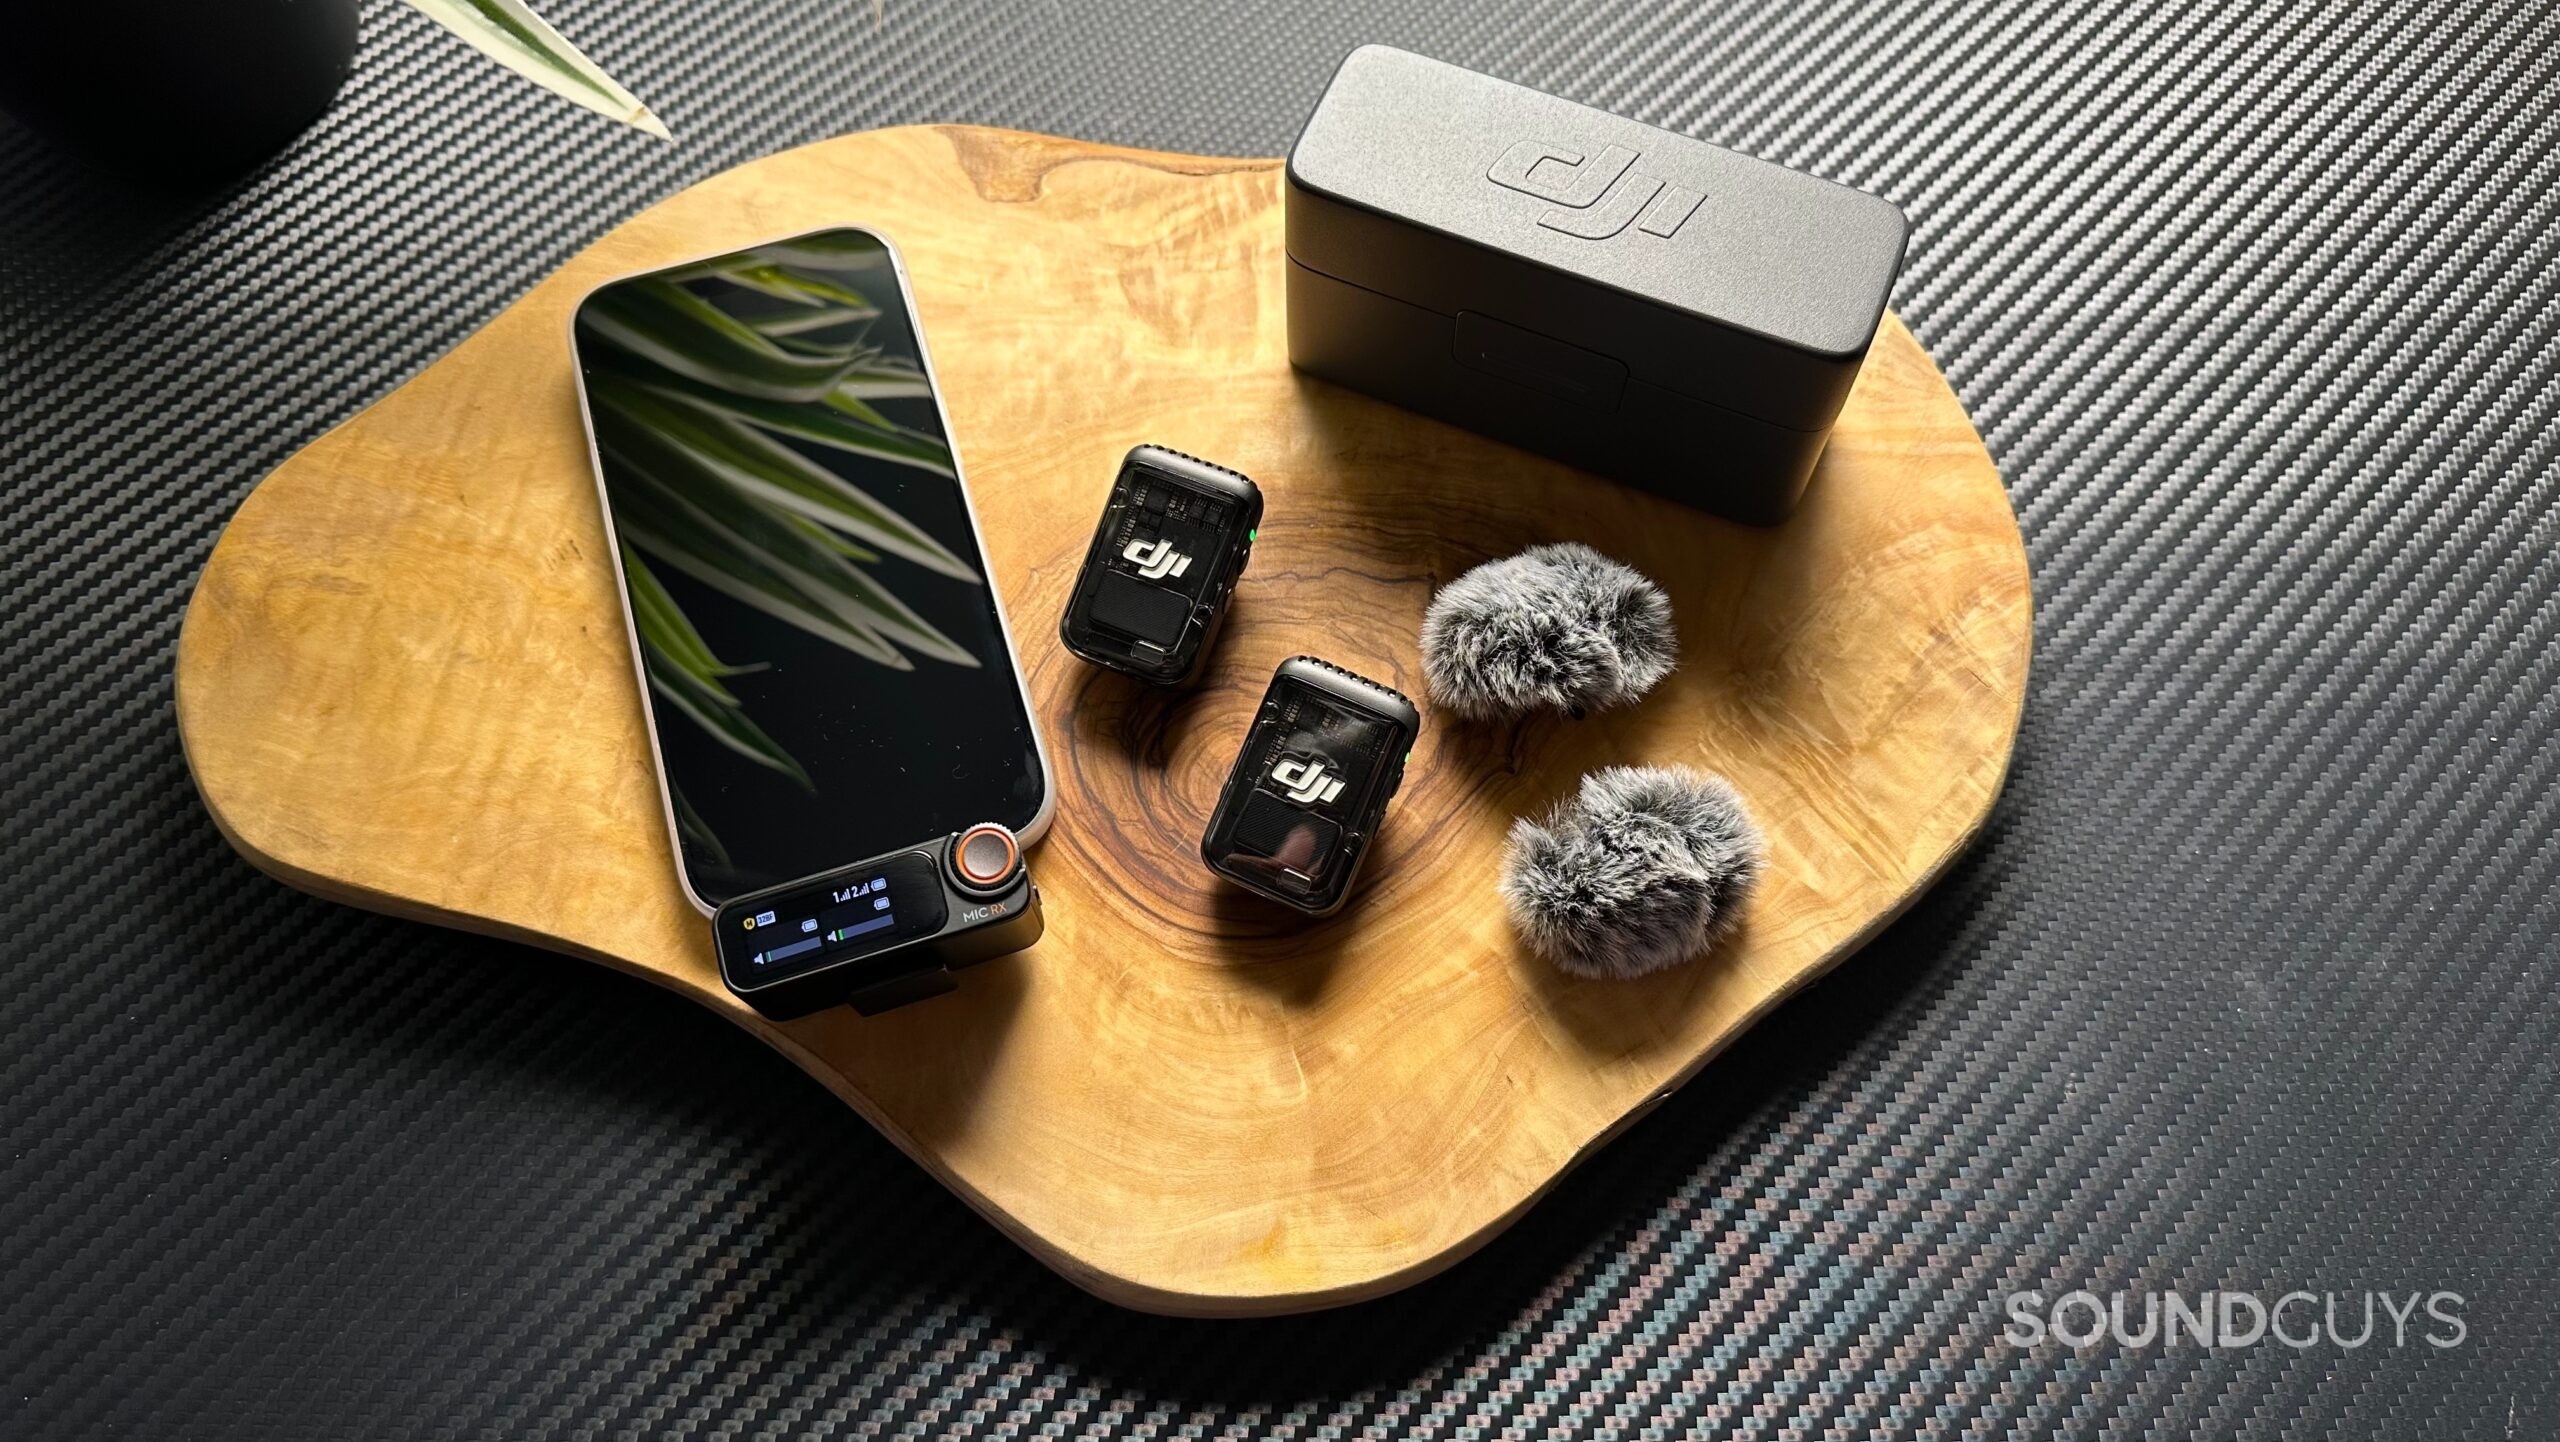
DJI has released the second iteration of its popular, all-in-one, dual-channel wireless microphone system, the DJI Mic 2. Designed with all types of content creators in mind, this portable wireless microphone kit aims to provide you with quality audio recordings for your videos, podcasts, or streams. Although the original DJI Mic was already loaded with features, we discovered some limitations for Lightning iPhone users. So, let’s dive into the redesigned charging case and find out precisely what DJI has been able to improve upon.
- On April 16th, 2025, to add the DJI Mic Mini and Sennheiser Profile Wireless as alternatives
YouTubers, streamers, and content creators of all types will appreciate the convenience this all-in-one wireless audio capture package provides. Whether you’re interviewing at a trade show, vlogging your way through a hike in the forest, or live streaming at home, the DJI Mic 2 is ready to help capture your voice.
What’s it like to use the DJI Mic 2?
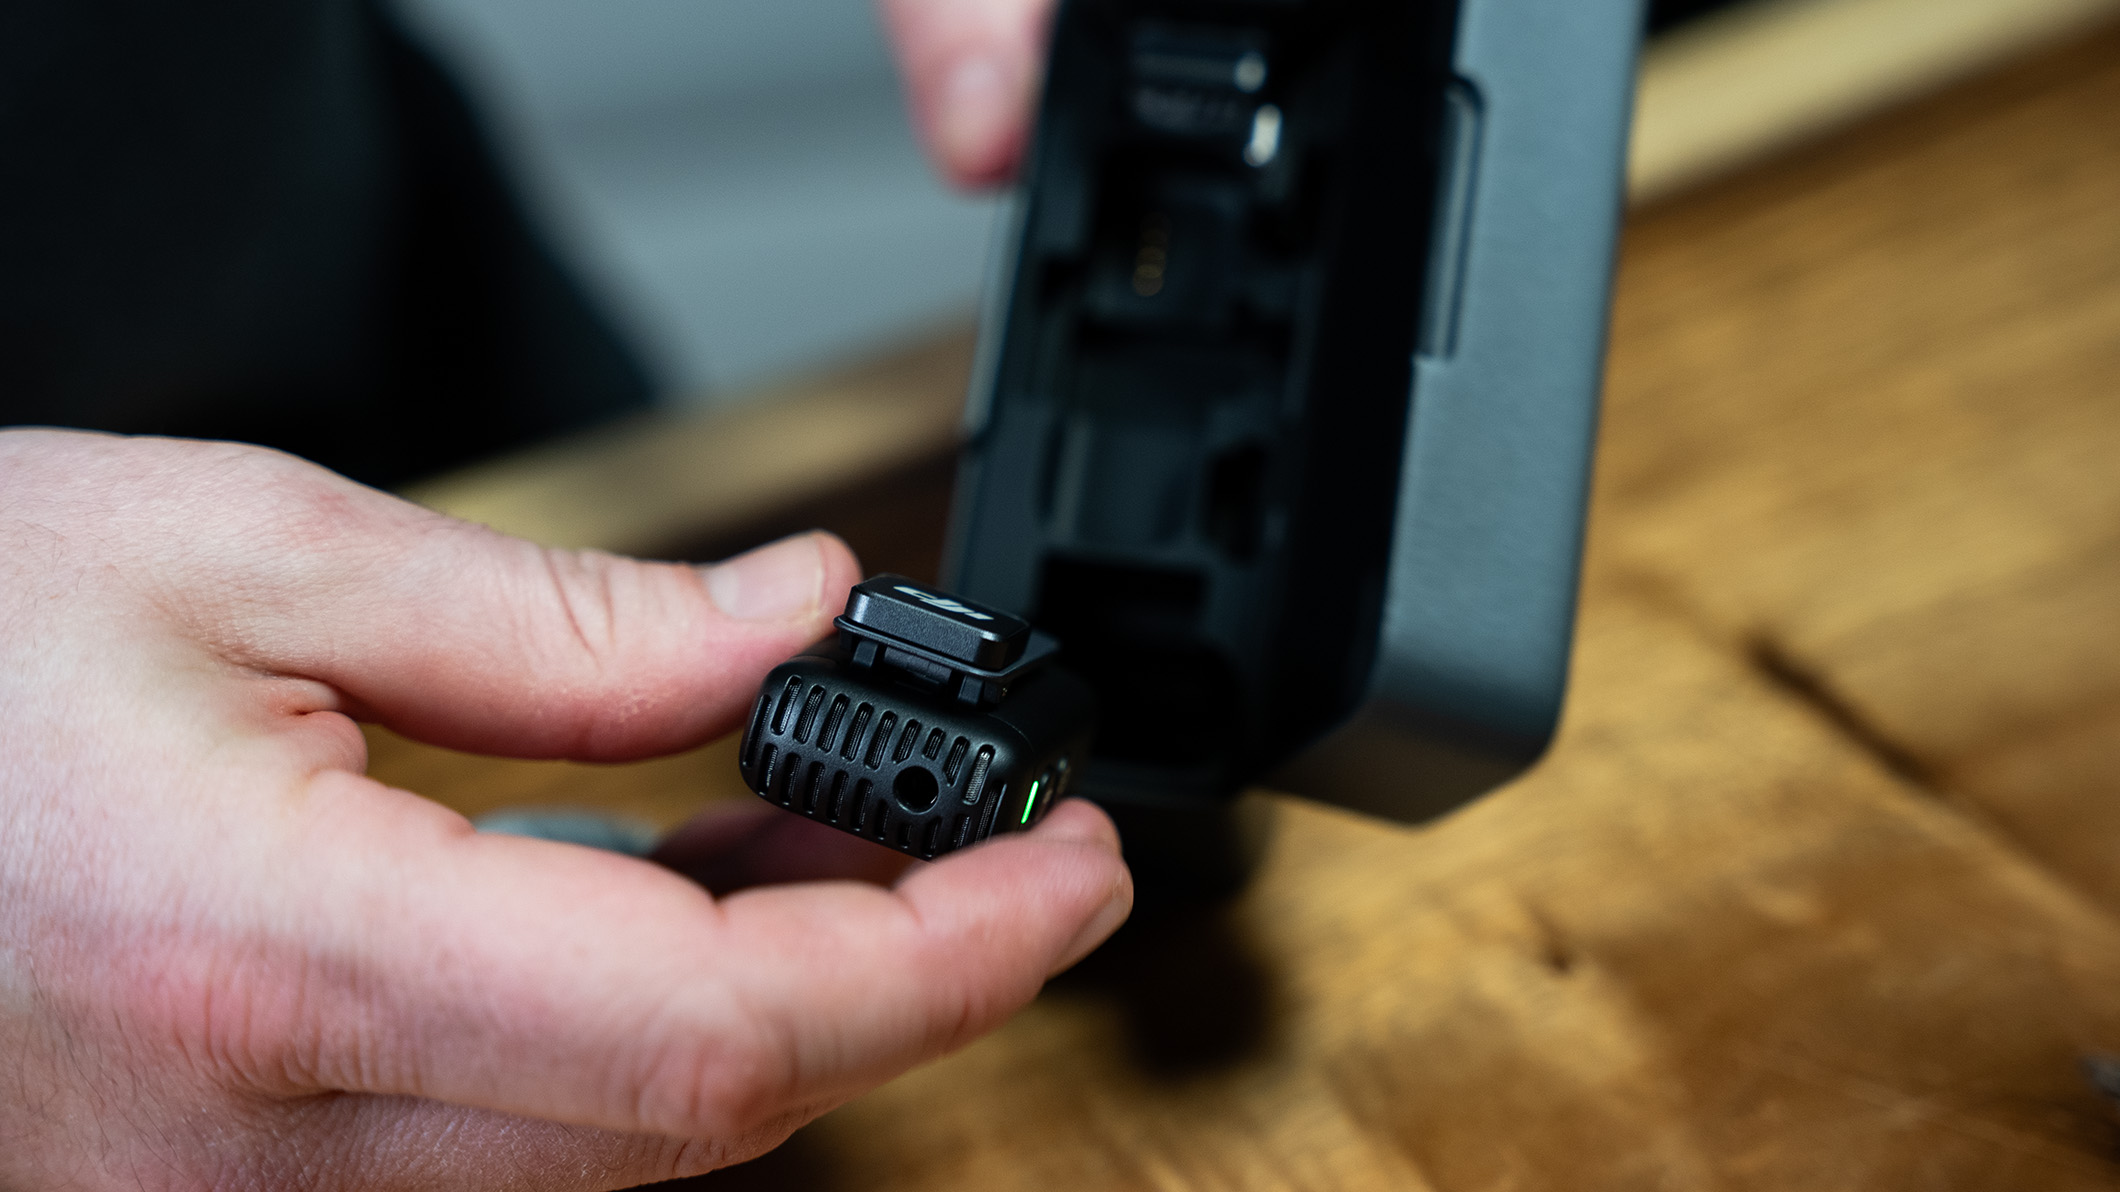
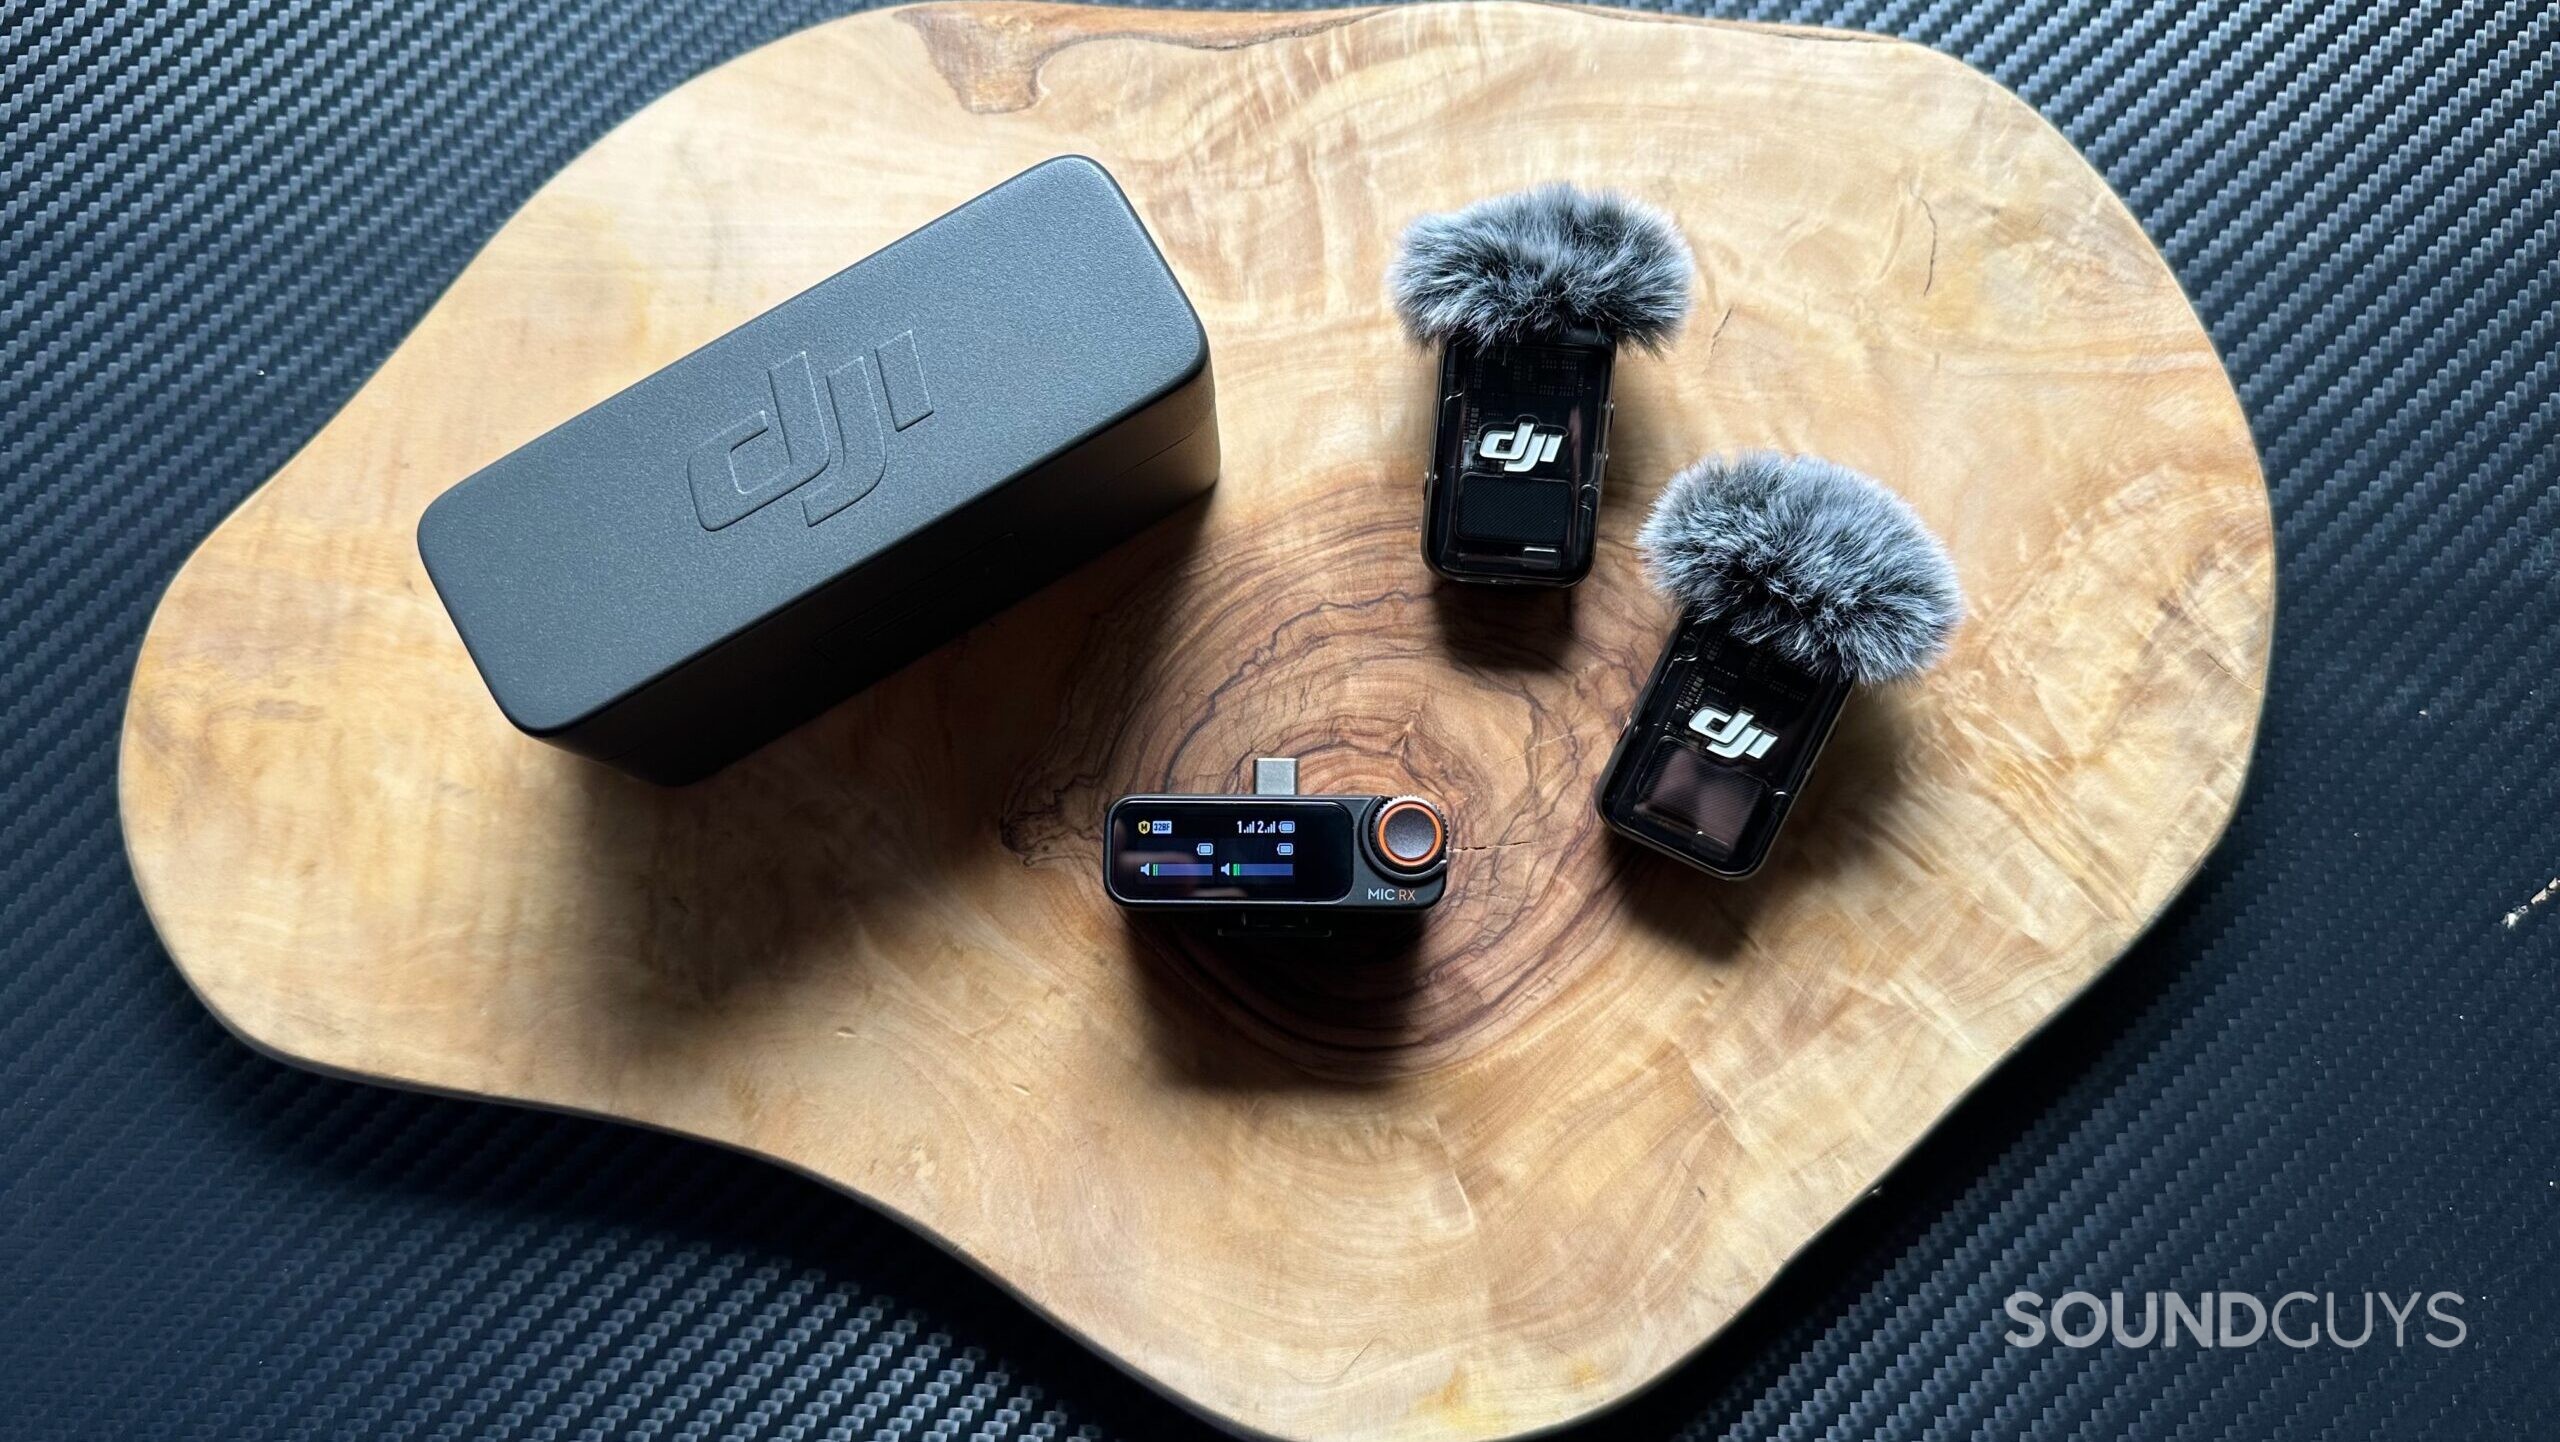
The DJI Mic 2’s refreshed components are stored inside a revamped charging case. The grey metal case, which includes a push button latch for extra security, carries two wireless transmitters with built-in omnidirectional microphones, a receiver with touchscreen controls, a new physical control wheel, and Lightning and USB-C adaptors. The hot-shoe mount, previously an included adaptor, is now built permanently into the receiver’s design.
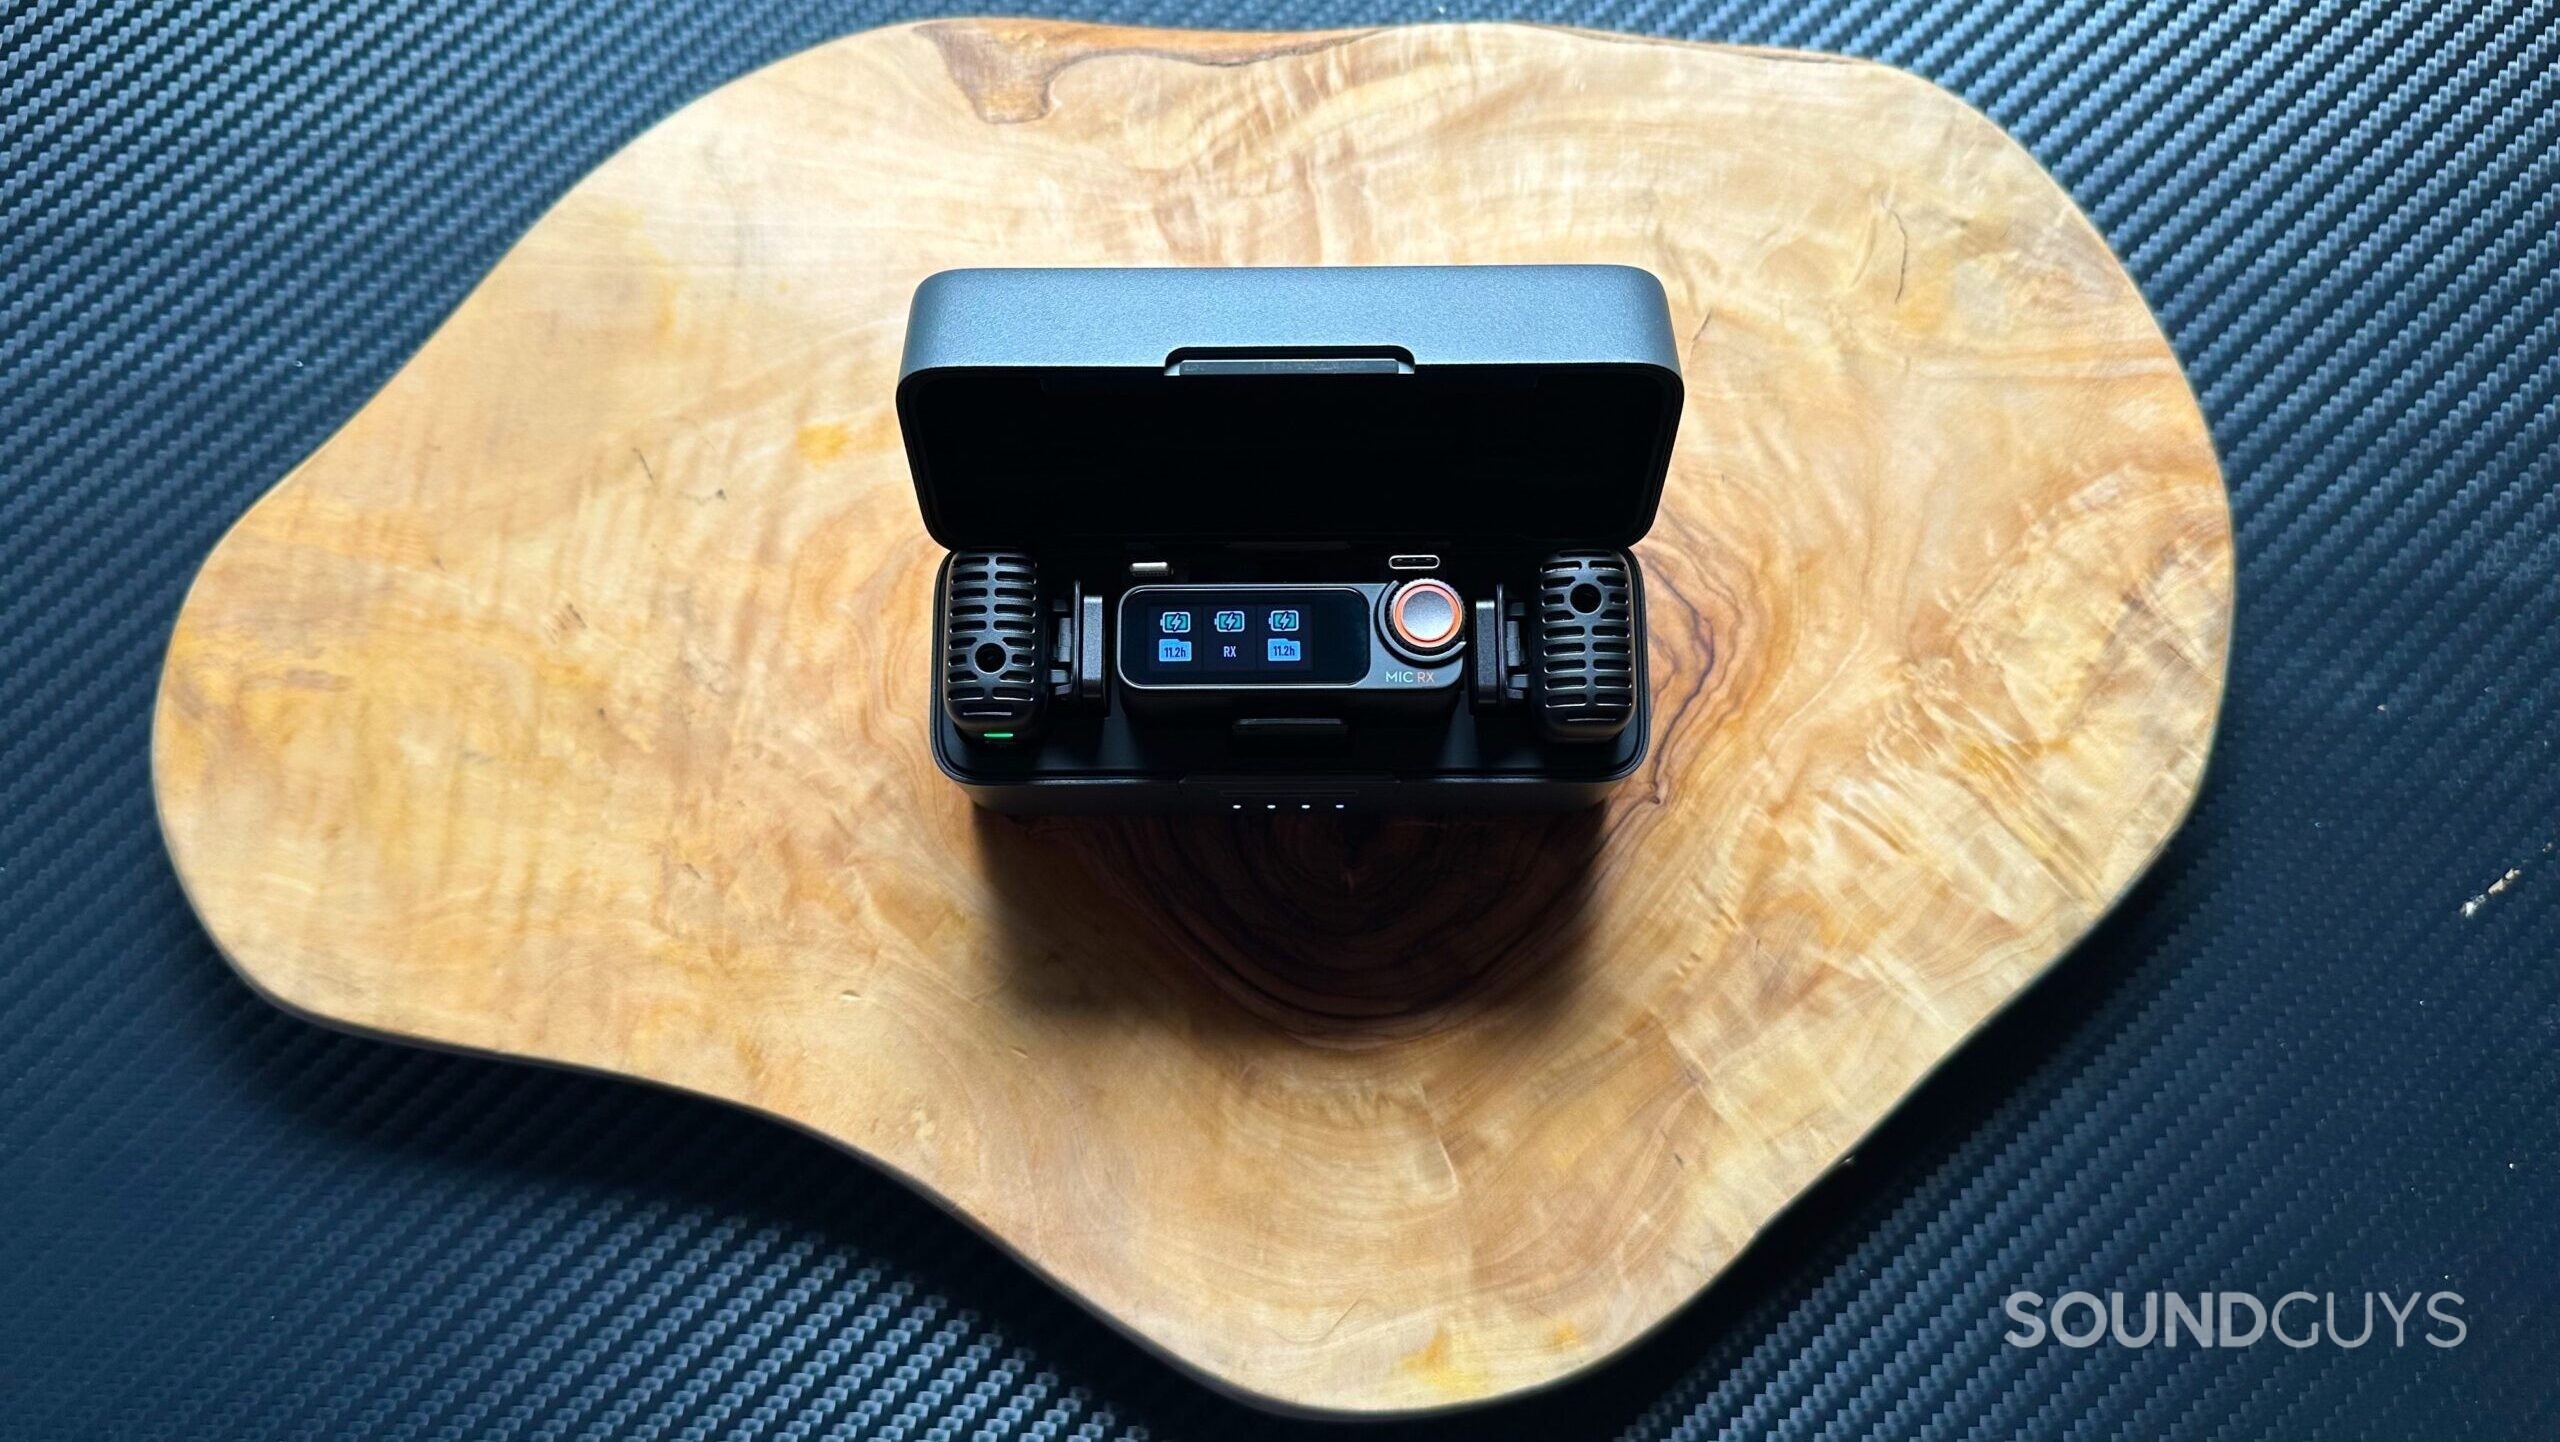
Unlatching and flipping open the lid, four white LEDs on the front show the charge level of the case, and an excellent clear display pops up on the slightly larger OLED touchscreen of the receiver. This display also provides the battery status and the remaining onboard storage available on each transmitter.
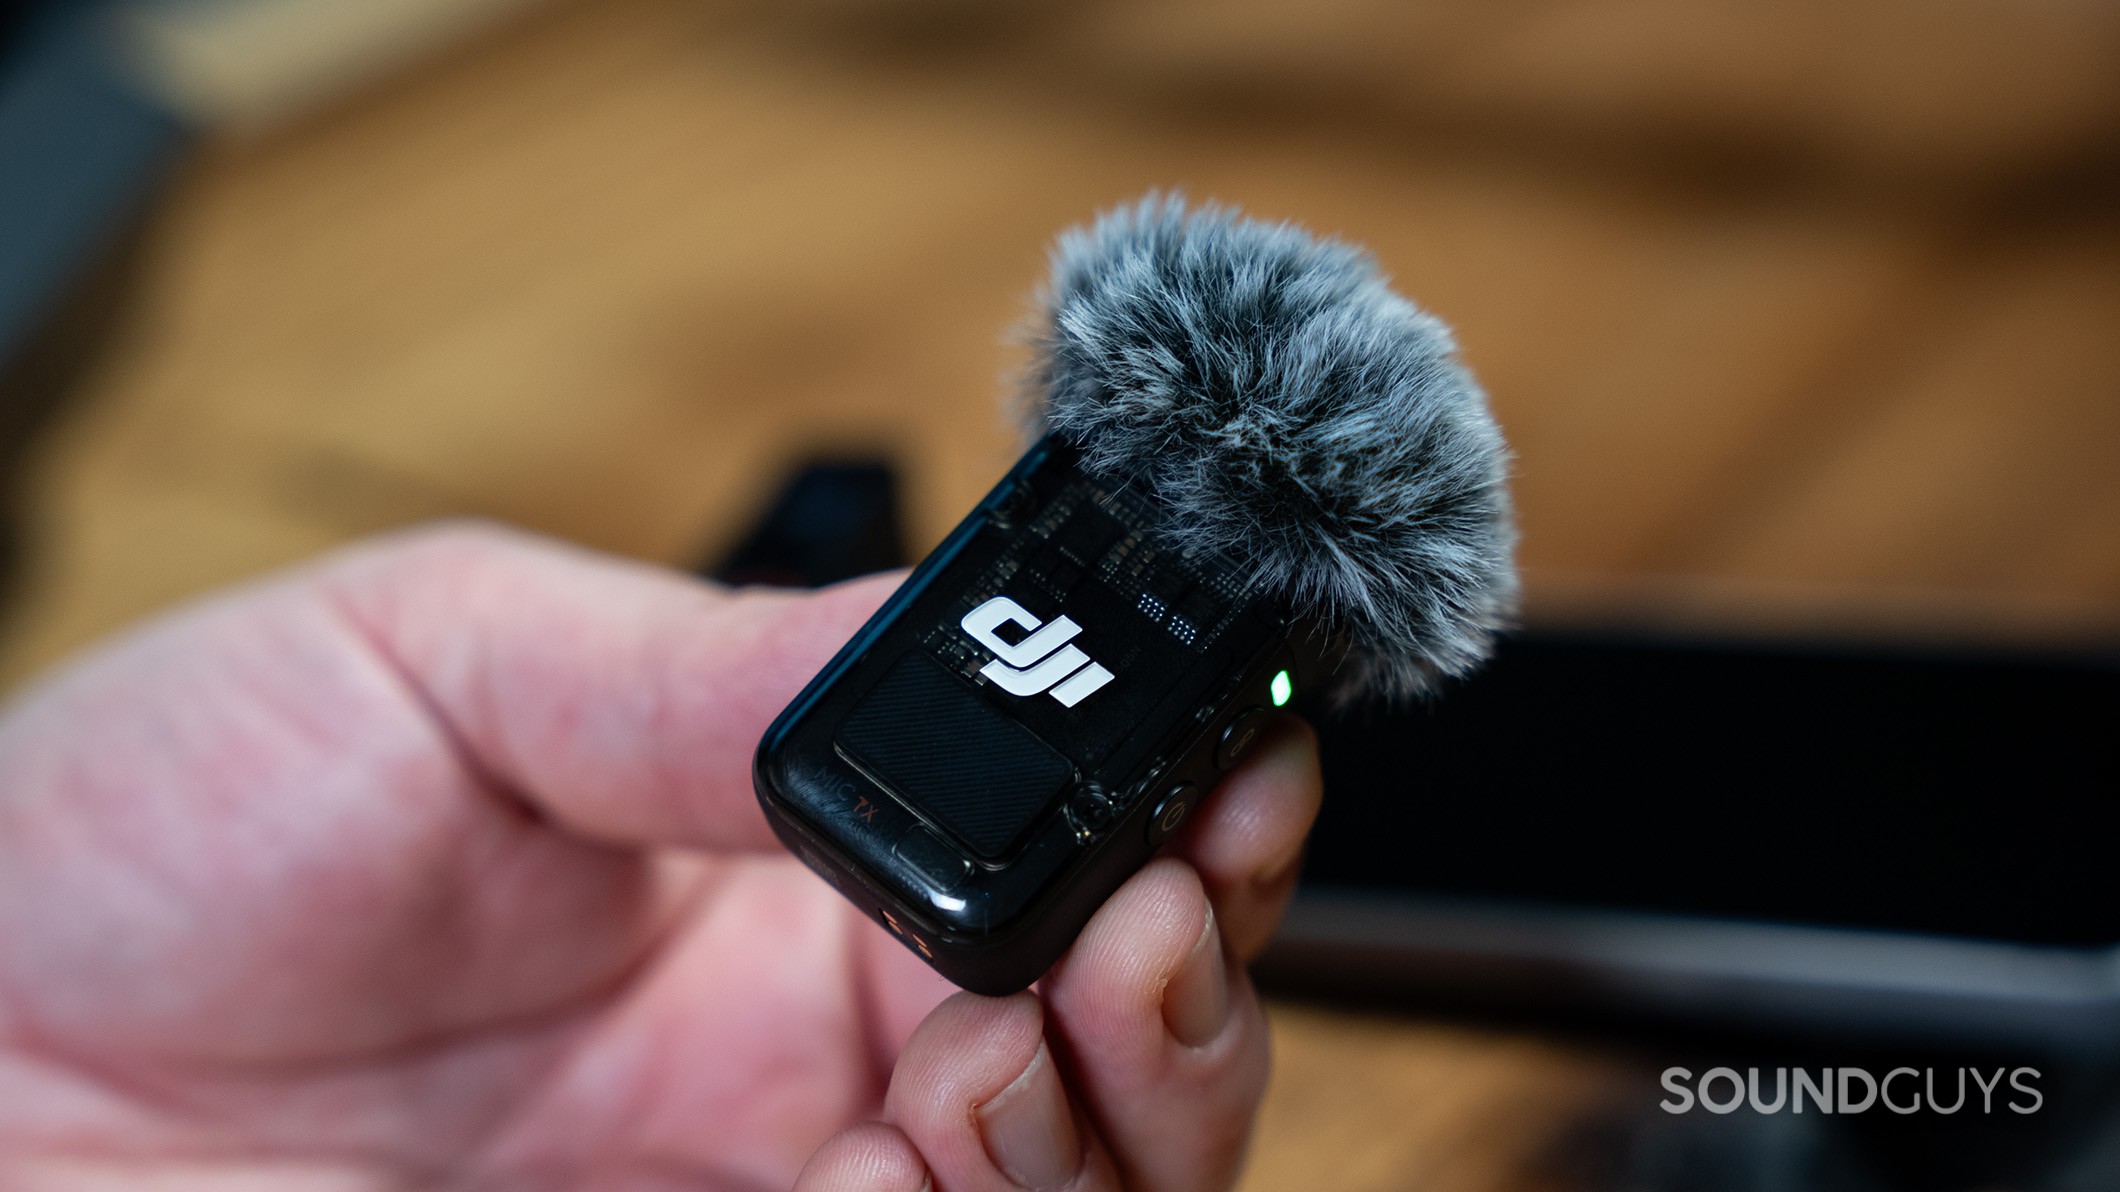
Removing the receiver and transmitters from the case immediately switches the receiver display to show you live input levels. Some noticeable differences on the Mic 2 transmitters include a shorter but thicker design and updated button and connection light layouts. Previously, the link and record buttons were beside each other, and some users accidentally hit the link button when aiming for the record button. DJI remedied this by swapping the location of the record button with the power button, so it’s now isolated on the other side of the transmitter.
The wireless transmitters are automatically paired to the receiver, so once the receiver is connected to your device, you can clip on a transmitter, adjust your levels via the touchscreen, and start recording. The red and green lights that indicate when recording is engaged and linked to the receiver have also been moved to the side of the transmitters rather than on the front shoulder for a more discreet appearance.
If you’re just using one, you can manually turn off the other transmitter via the power button on the side, or simply leaving one transmitter in the charging case and closing the lid will have the same result. With the appropriate adaptor on the receiver, it’s ready to be connected to your device. There is also a 3.5mm headphone output jack for monitoring your audio signal directly.
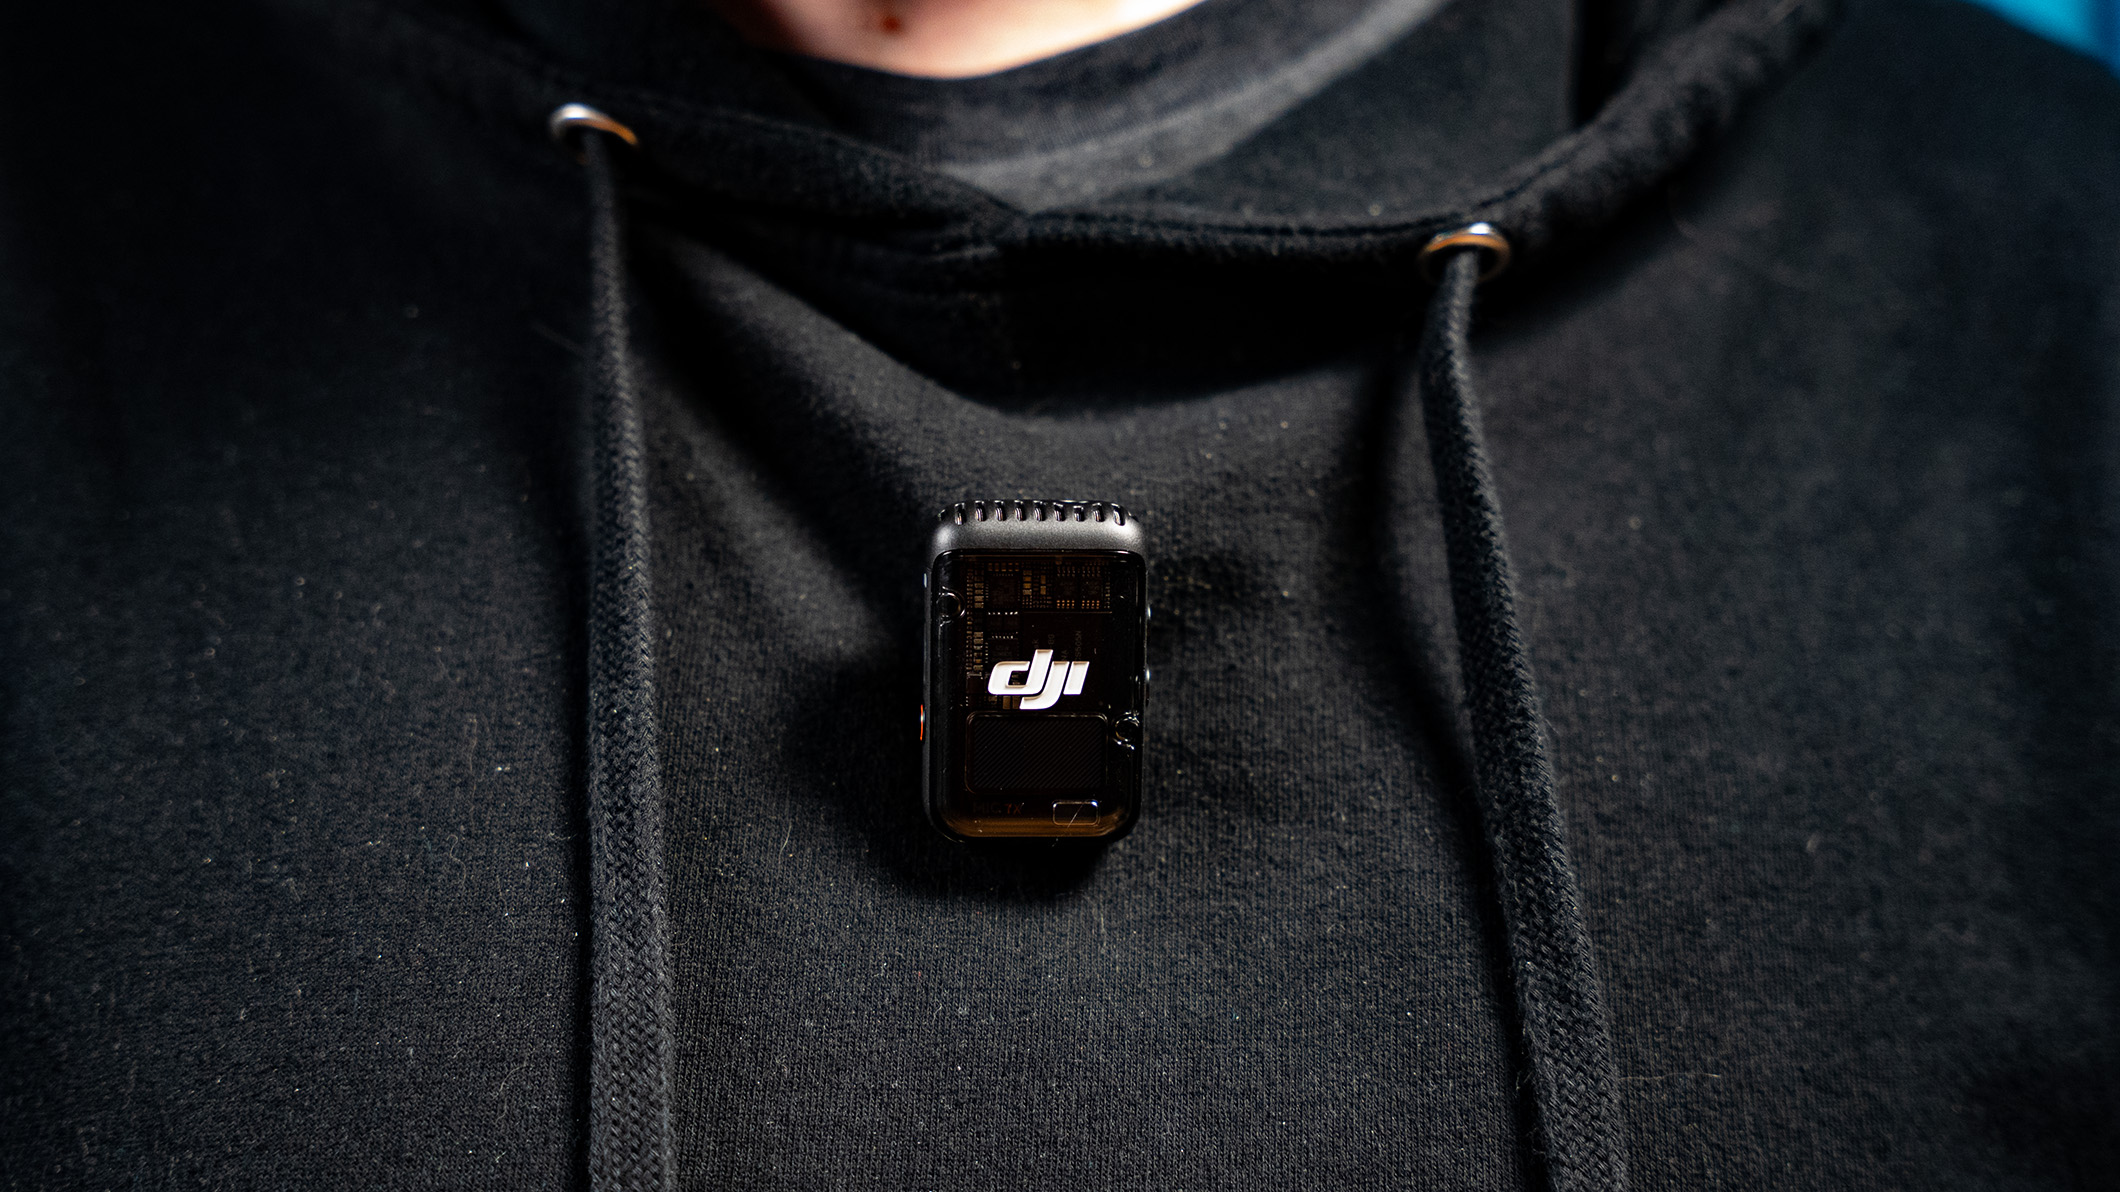
A solid green light on each transmitter indicates they’re linked to the receiver and ready to use. A solid red light means internal recording is engaged. You can clip the transmitter to your clothing like a traditional Lavalier microphone, but there is also the improved magnet attachment. This branded magnet is much stronger than the original version and allows various placement options, like underneath a lapel or jacket collar.
DJI has also updated the accessory bag design to feature more organization options. It’s also worth mentioning the improved windscreen design. The new windscreens use a dummy 3.5mm jack plug that snaps directly into the 3.5mm socket to improve the attachment strength.
How do you control the DJI Mic 2?
You control the DJI Mic 2 via the touchscreen and control wheel on the receiver. Each transmitter also features a. physical record, link, and power. Hitting the record button on the transmitters activates internal recording. You must activate internal recording to take advantage of features like mono-with-safety-track and 32-bit float recording modes.
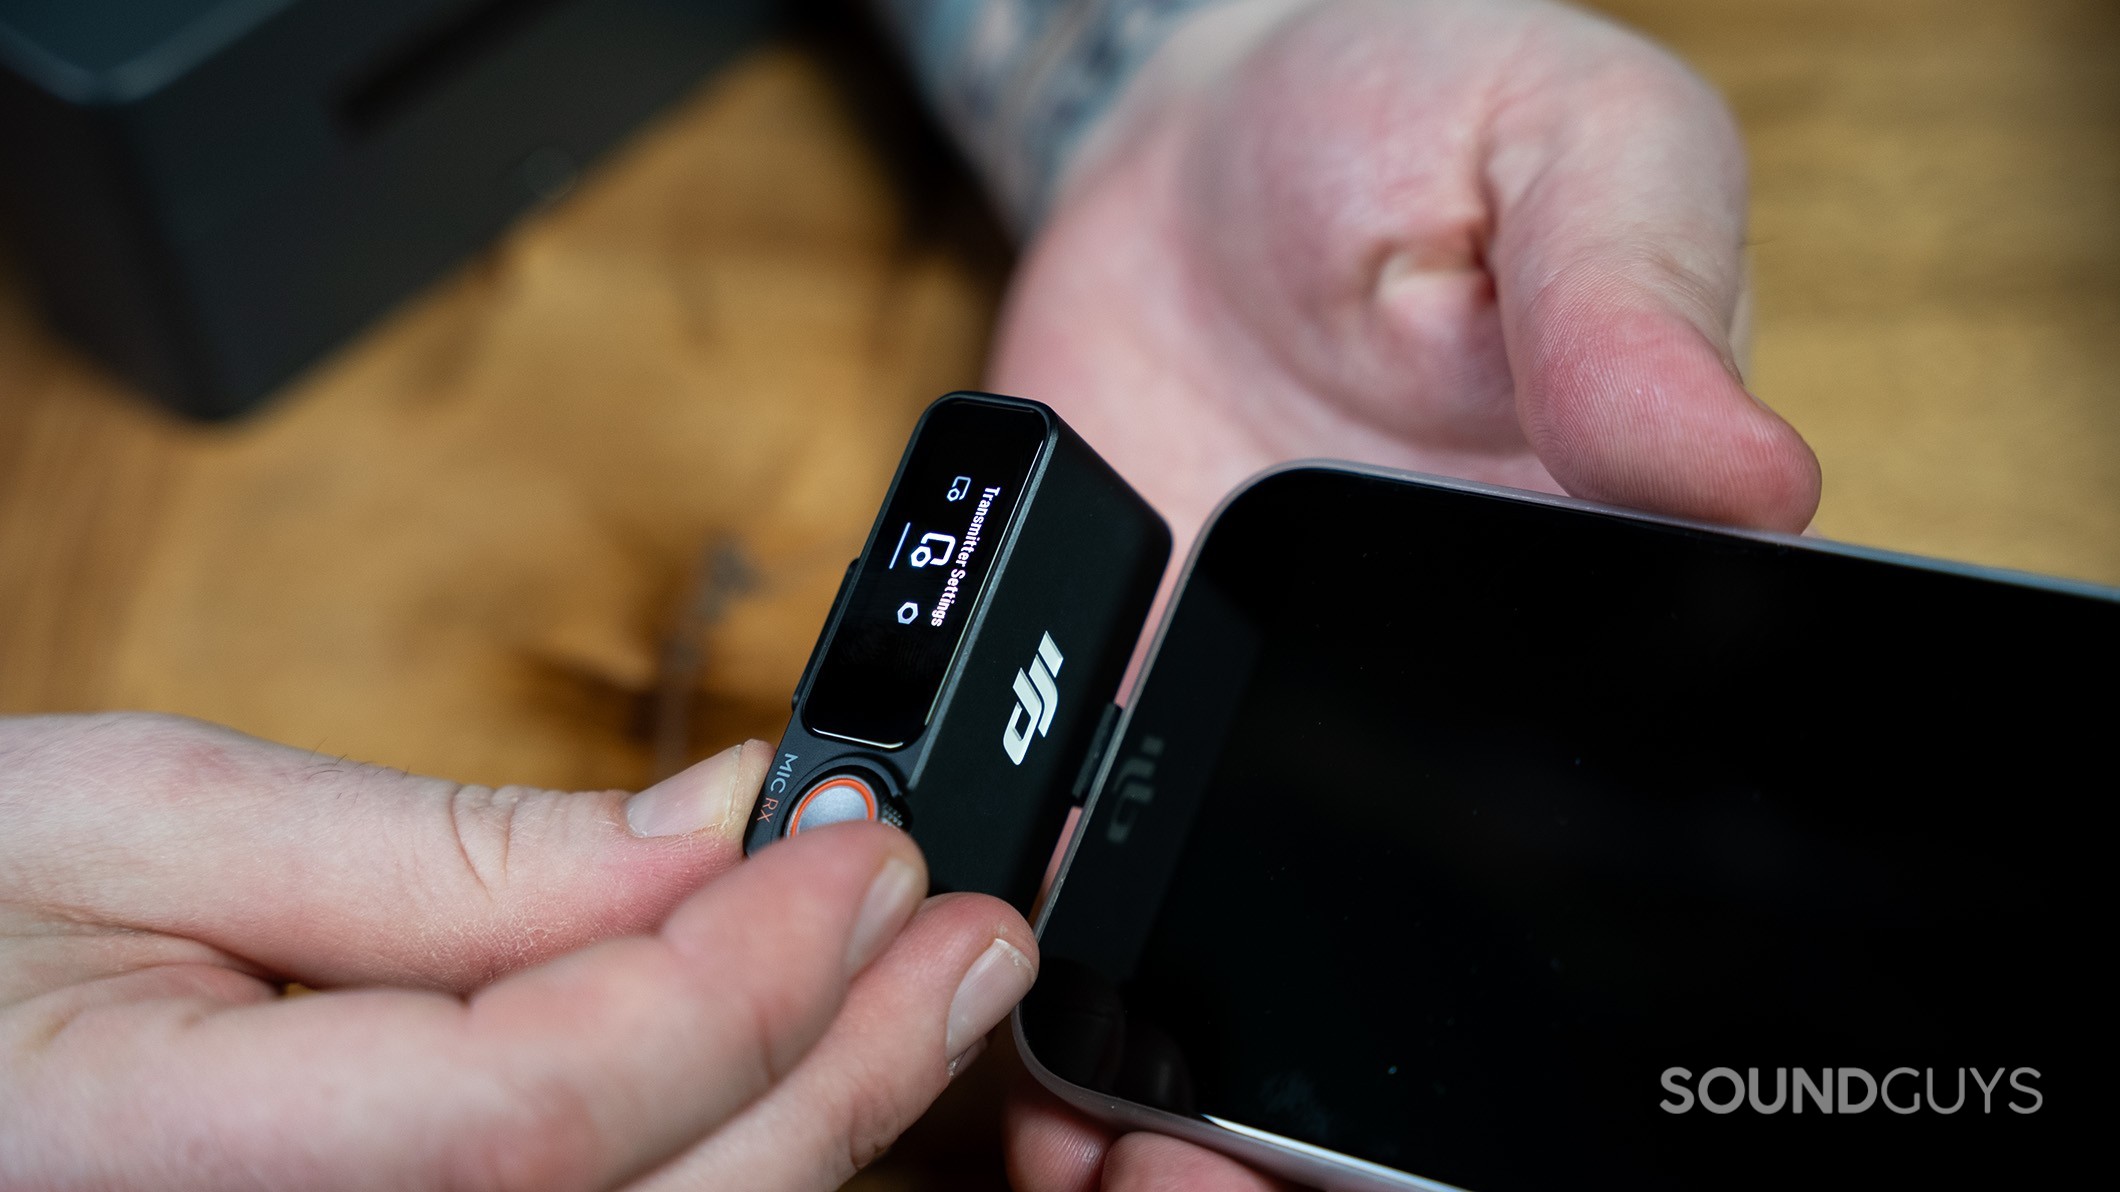
Swiping down on the touchscreen’s main display brings you to the upper menu and allows you to dive further into the DJI Mic 2 controls. Here, you can adjust receiver gain, headphone output level, transmitter settings (where you will find the option to engage 32-bit float recording), and display options like LED brightness. Under receiver settings, you can select from three recording modes: mono, stereo, or MS (mono-with-safety-track).
In mono mode, the audio you record with one or both transmitters will go to one track. In stereo mode, using both transmitters will separate the audio into left and right channels. Lastly, mono-with-safety-track offers a valuable feature: the DJI Mic will record a duplicate audio track (with 6dB less gain applied) as a backup if you run into distortion or clipping from unexpected level jumps while recording. Connecting the transmitter via the USB-C port and using your video editing software allows you to access this secondary track and your 32-bit float recording if engaged.
Lastly, swiping up from the main display takes you to the lower menu. The transmitters appear as TX1 and TX2. Here, you’ll find another way to record, mute, and toggle the noise canceling feature on or off.
During our time with the original DJI Mic, we were disappointed that it did not support stereo recording or the mono-with-safety-track recording mode for Apple Lighting device users (without a clunky workaround). We’re happy to report this is no longer an issue with the DJI Mic 2, and Lightning users can take advantage of all three recording modes.
How does the DJI Mic 2 connect?
The DJI Mic 2 receiver connects to your smartphone via the supplied Lightning or USB-C adaptor. For DSLR camera compatibility, you can use the built-in hot shoe mount. Simply clip it into your camera and plug in the supplied 3.5mm audio cable.
The DJI Mic 2 does have Bluetooth technology but for a specific purpose: to connect the transmitter to DJI apps and related devices. A Bluetooth connection does not support noise canceling technology or onboard recording features, so it’s always best to use the receiver.
How does the DJI Mic 2 sound?
How does the microphone sound to you?
In our first test on a busy city street, the new noise canceling feature does a decent job keeping my voice front and center. While the passing cars and weather-related noises aren’t eliminated, they are suppressed enough to no longer be an audible distraction. In our reverberant room test, the background noises from the building and computer fans are almost gone, and the echo from the room has also been noticeably reduced, allowing you to hear my voice distraction-free.
Lastly, in our distance test with the Mic 2, it does a great job of suppressing the bustling city sounds and drizzly weather. However, at 1:56 in the video, there is a minor transmission interruption while I’m moving. This type of transmission hiccup is the perfect reason to always engage the transmitters’ onboard recording feature as a safety backup. Once I reach the end of the walkway, the Mic 2 picks up my voice loud and clear with a stable transmission.
Should you buy the DJI Mic 2?
The DJI Mic 2 is an excellent buy for content creators, and we are happy to see that Lightning users now have access to all recording modes. While we didn’t see a boost in onboard storage or transmission range, with the refined physical design, better battery life, and new noise canceling technology, you can go to work confidently knowing the DJI Mic 2 will capture your voice.

What should you get instead of the DJI Mic 2?
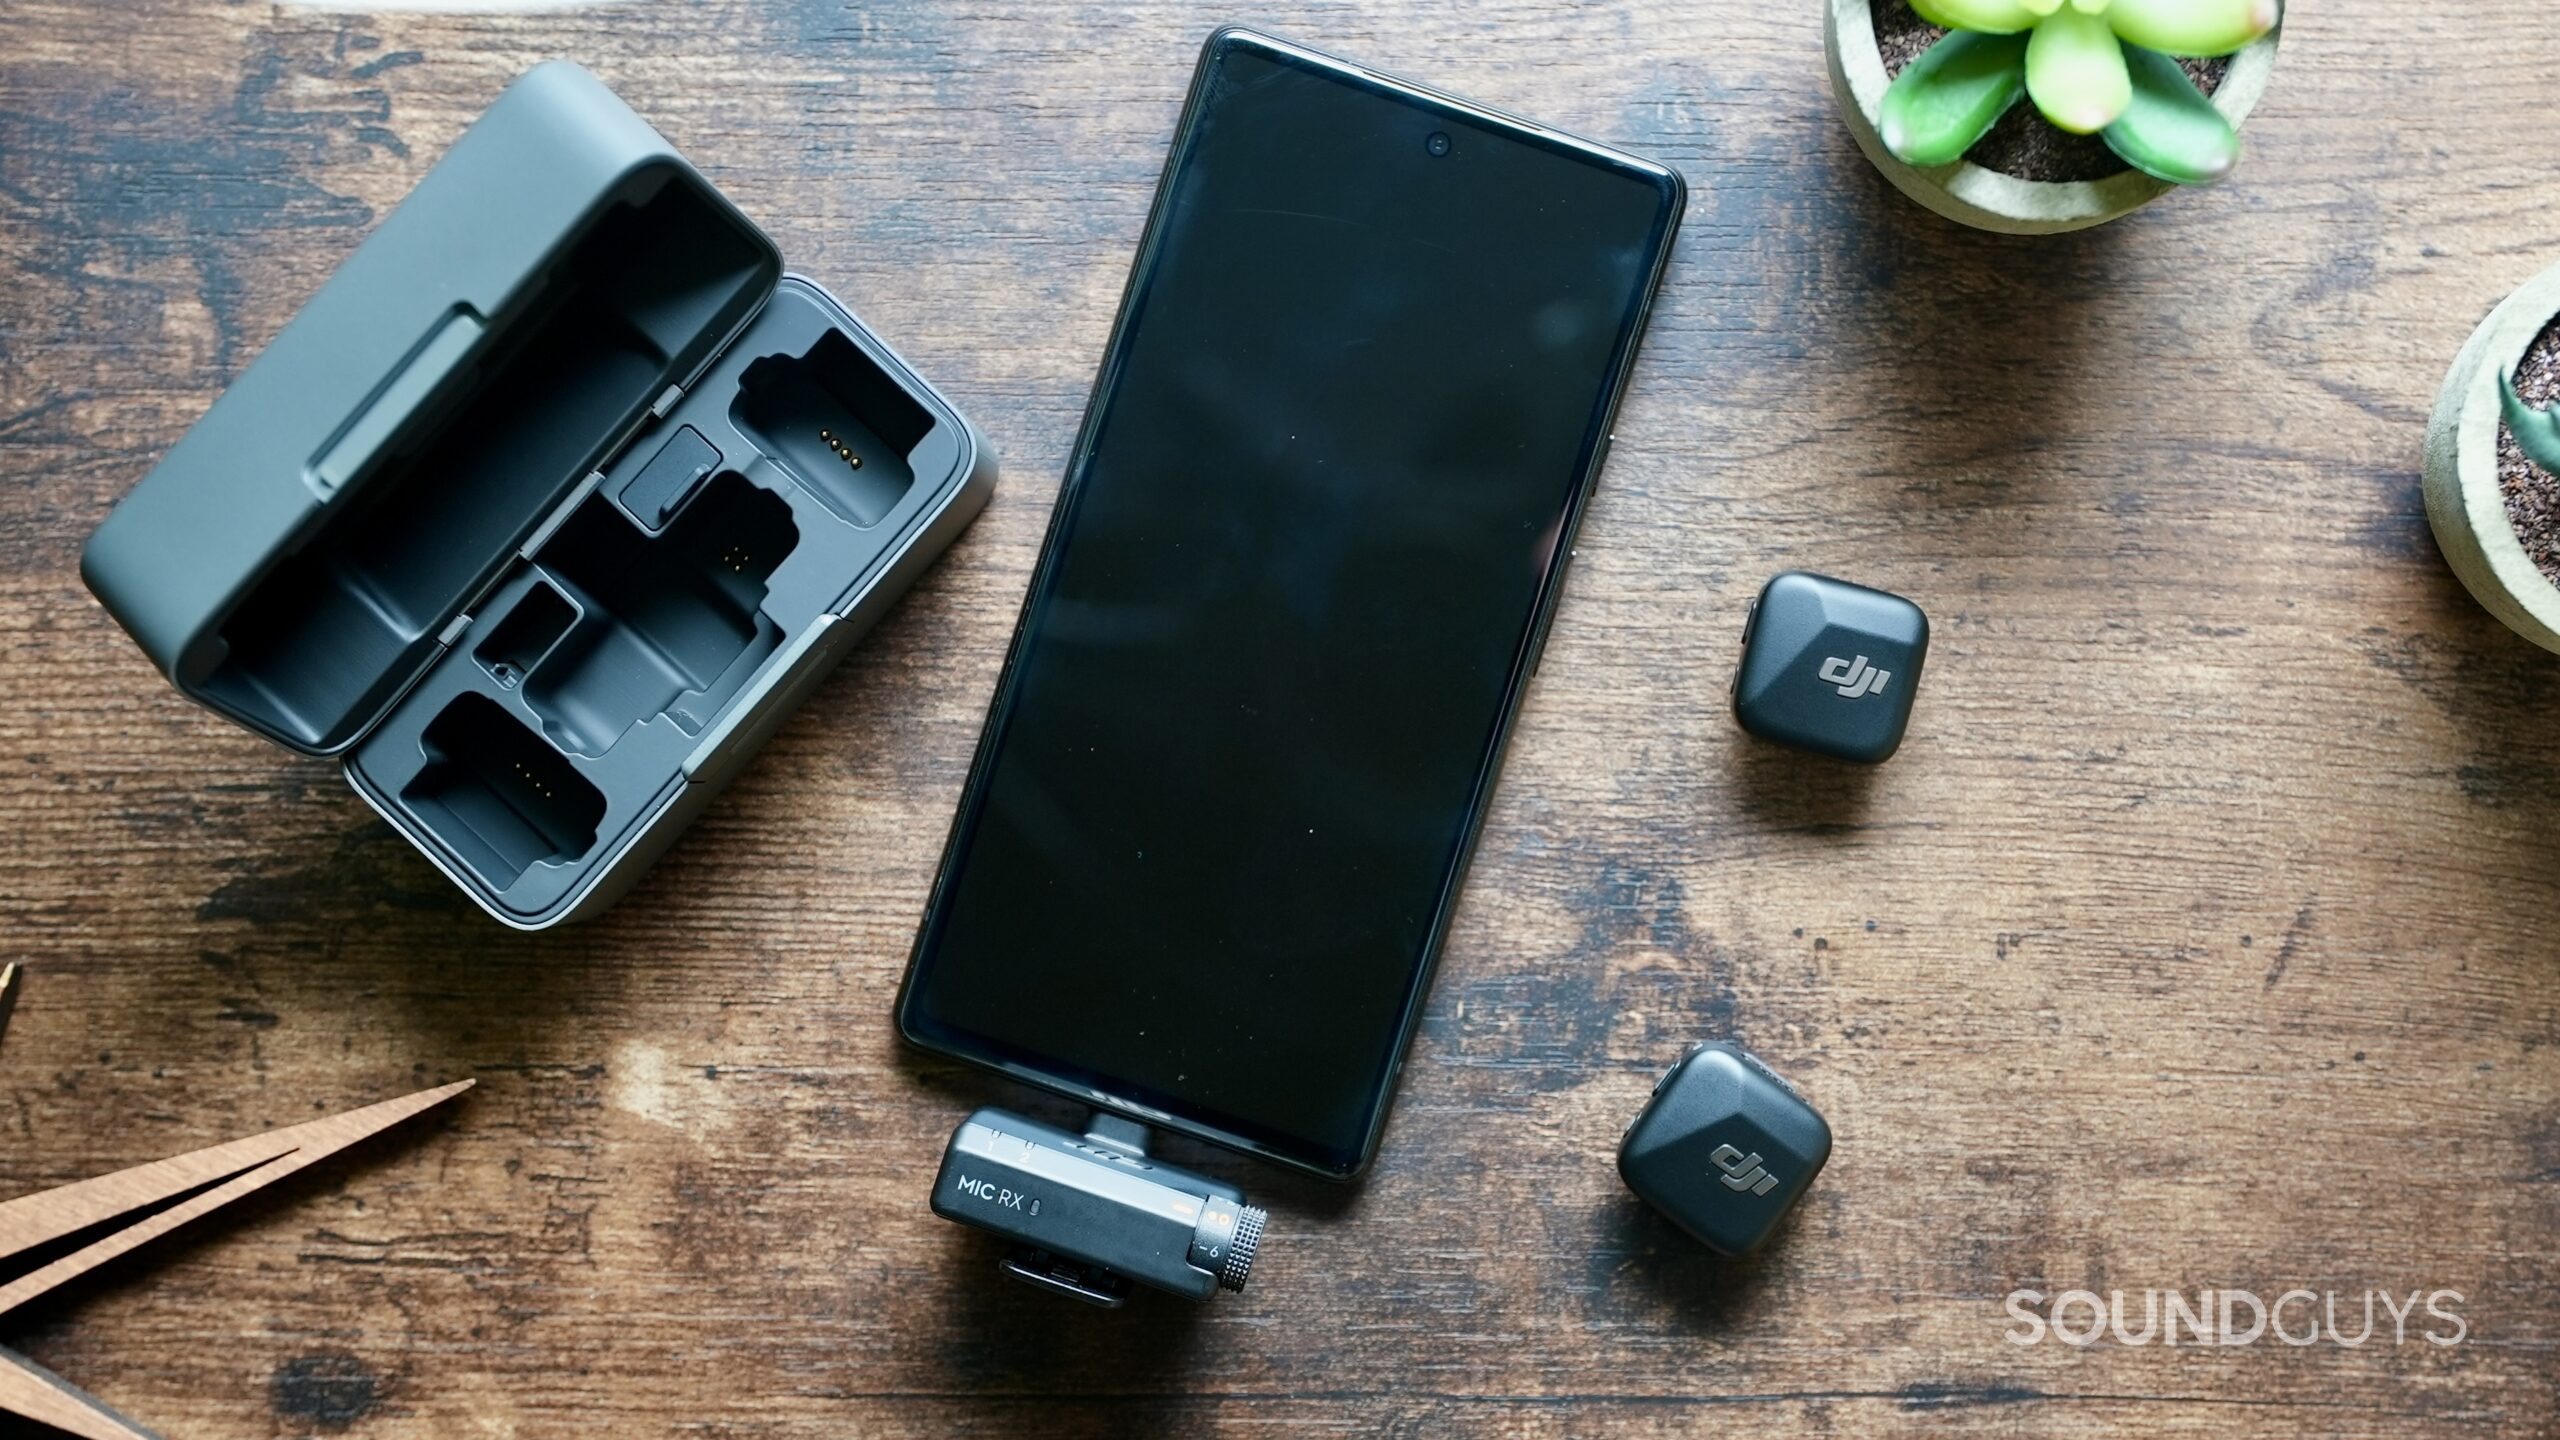
If the DJI Mic 2 is over your budget, consider the stripped-down DJI Mic Mini ($169.99 at Amazon. Although this smaller, more affordable DJI Mic skips the touchscreen and onboard recording, it’s still a strong pick for casual content creators. You’re getting the same all-in-one charging case, stereo recording, and universal connectivity that works seamlessly with smartphones, laptops, and cameras.
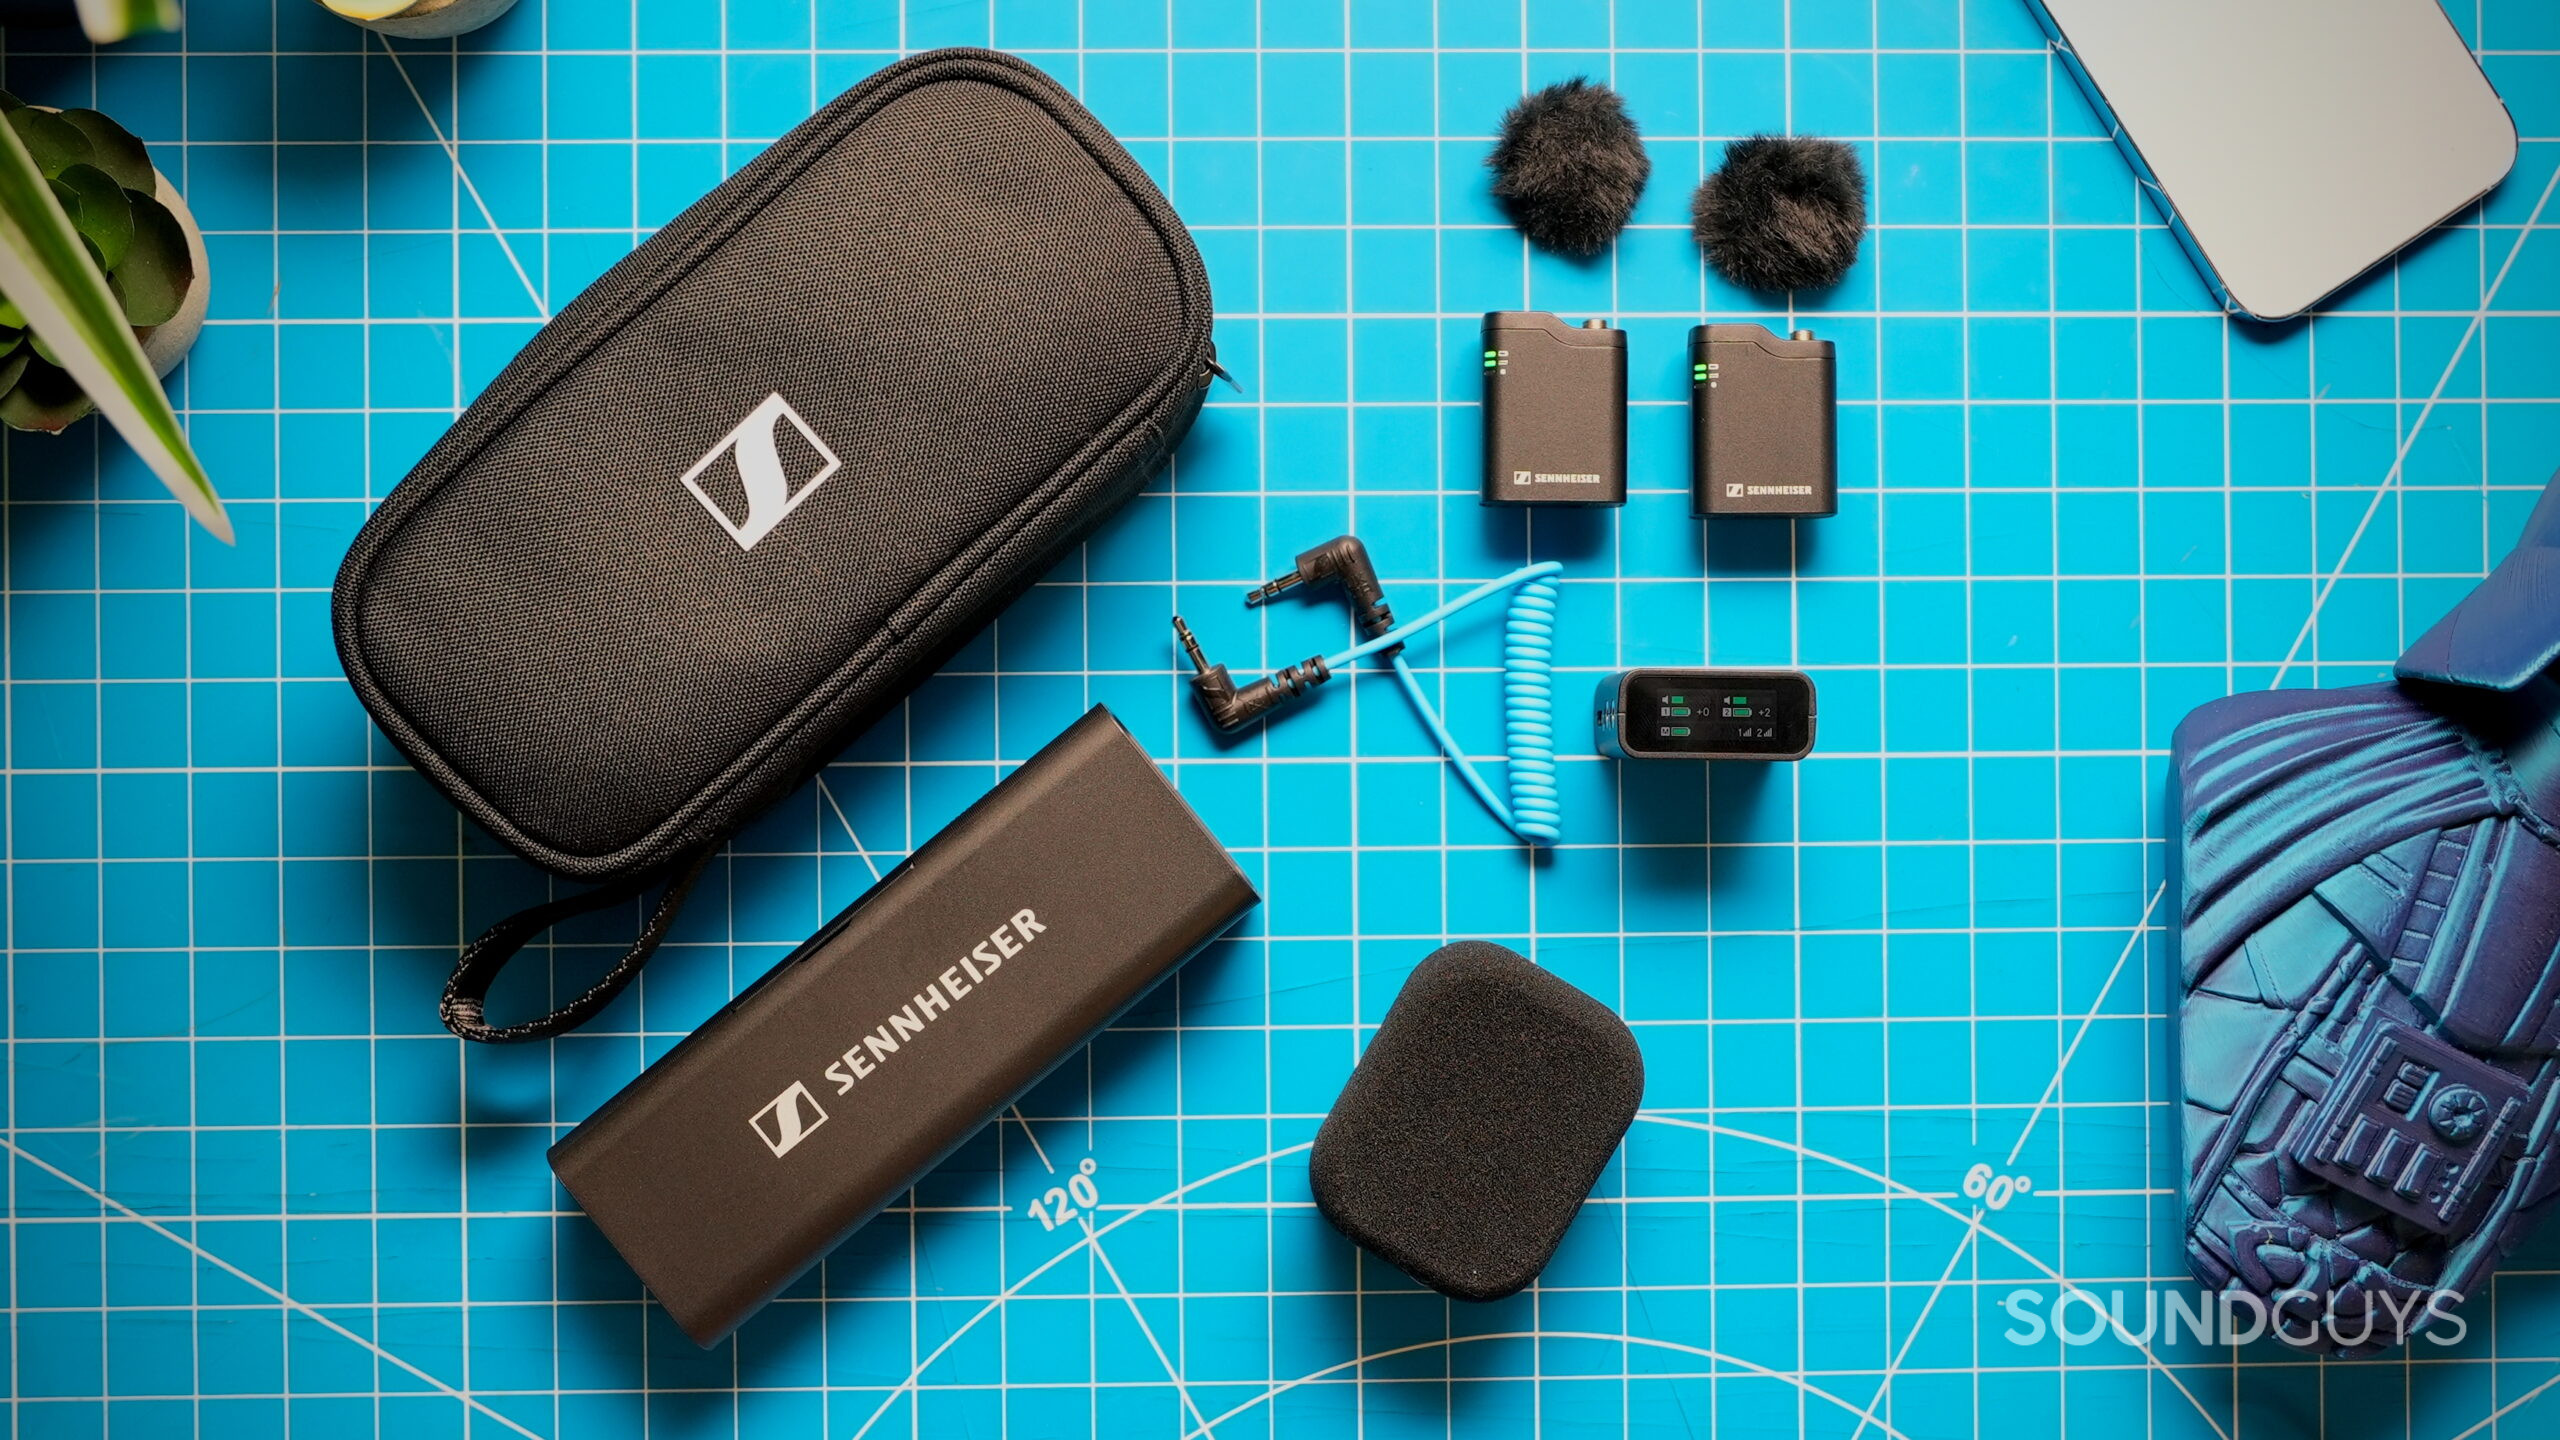
The Sennheiser Profile Wireless is another solid option. Its bar-shaped charging case doubles as a handheld mic for added versatility. Just like the DJI Mic 2, it offers onboard recording, a touchscreen display on the receiver, and universal connectivity. Find one for $299 at Amazon.
Frequently asked questions
If your GoPro camera accepts the GoPro “Pro 3.5mm Mic Adapter”, you can use the DJI Mic 2 for capturing audio.
No, the Mic 2 is not waterproof.
Yes, the Mic 2 can connect to an iPhone or Android phone via the supplied Lightning or USB-C adaptors.
Yes, the Mic 2 offers Bluetooth connection, but its primary use is to connect to DJI-related products like the Osmo Pocket 3. Internal recording and noise cancelation are also not available over Bluetooth.
Thank you for being part of our community. Read our Comment Policy before posting.