All products featured are independently chosen by us. However, SoundGuys may receive a commission on orders placed through its retail links. See our ethics statement.
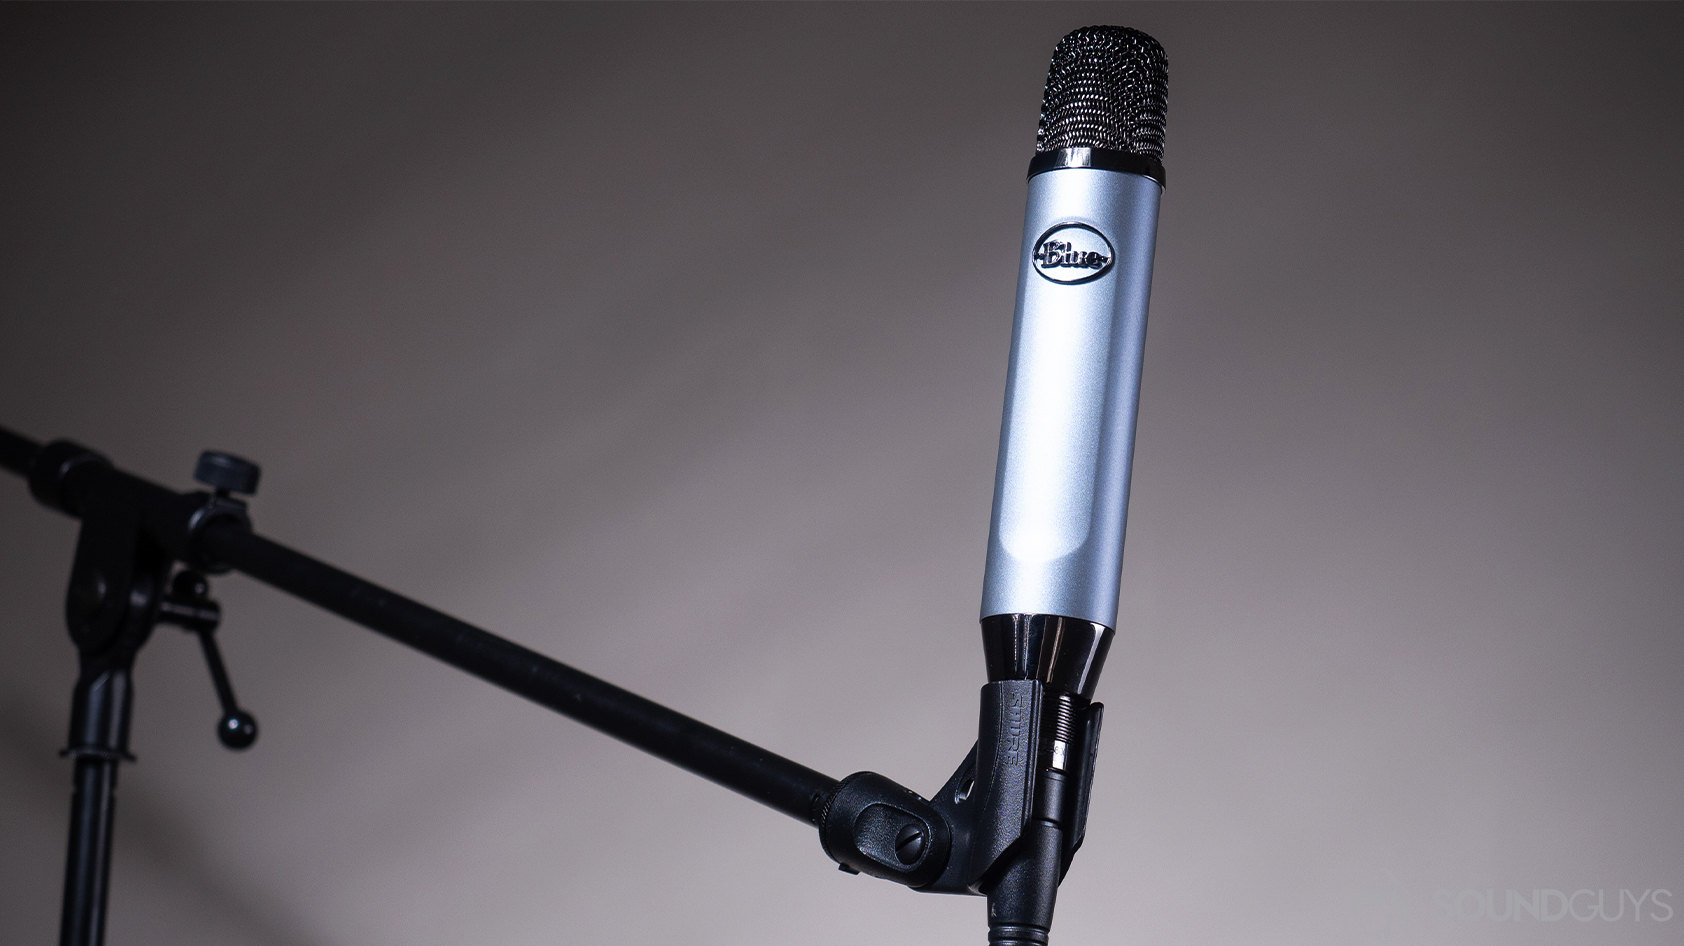

Blue Ember review
June 22, 2021


Blue Ember
Live streaming, YouTubing, and podcasting has ballooned in the past few years. With the increase in content creators, there’s been an increase in user-friendly microphones, namely USB mics. What should you do, though, if you want the ease of use offered by a USB mic and the sound quality of a studio-grade XLR microphone? The Blue Ember is an XLR condenser mic engineered to reject off-axis noise and facilitate clear voice recordings.
If you don’t want to spend much more than $100 on a microphone and want to get every penny’s worth with regards to audio quality, this may be the mic for you.
Editor’s note: this Blue Ember review was updated on June 22, 2021, to include more buying options and address an FAQ about mic stands.
Who should get the Blue Ember XLR?
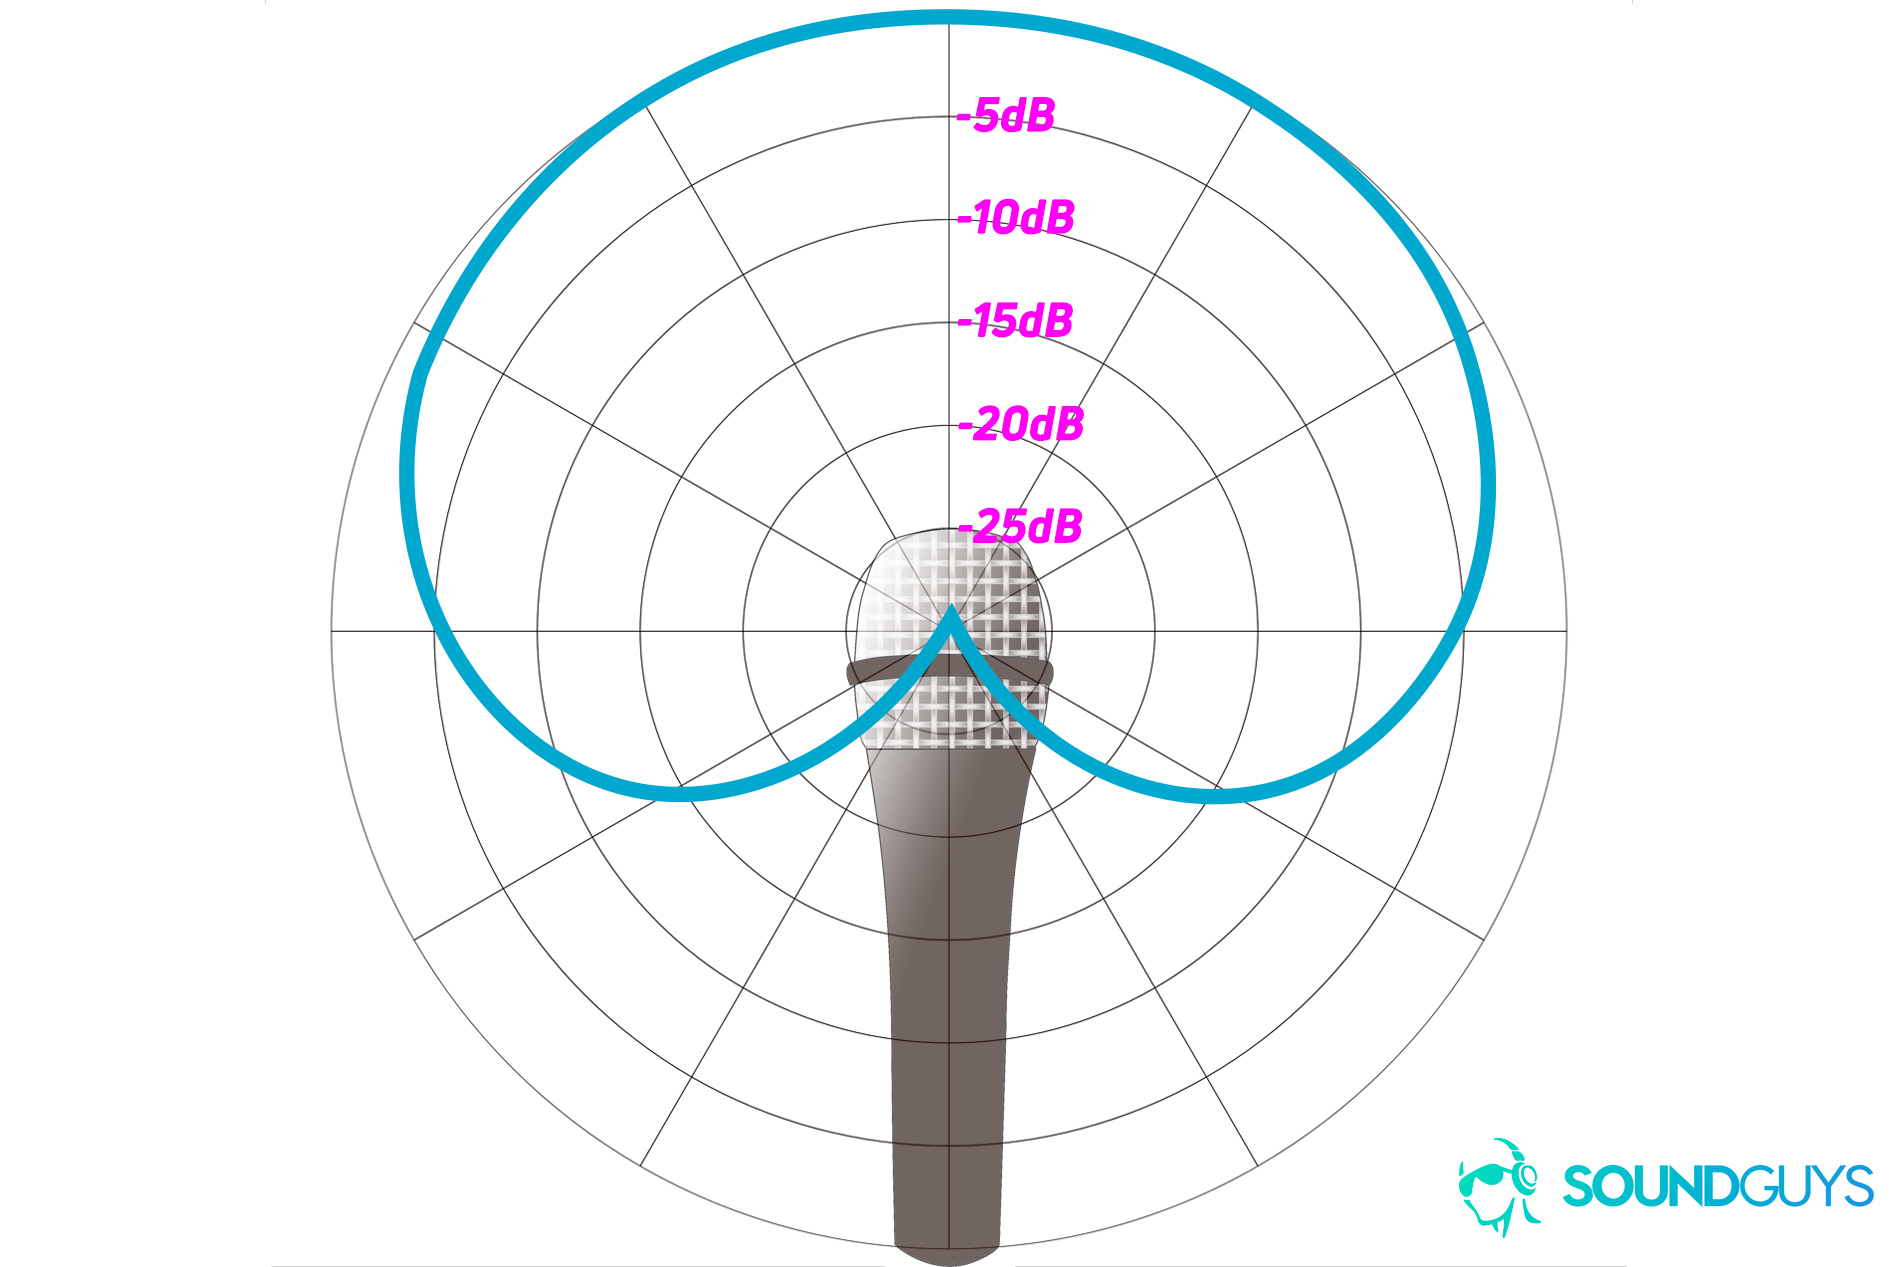
The Blue Ember serves a vast array of content creators from musicians, to podcasters, and YouTubers. The slim, sophisticated design means it can appear on screen without being an eyesore or distraction, while the analog XLR connection maintains excellent audio quality and provides flexibility for those needing a more professional studio setup. Its cardioid recording pattern is forgiving, while effectively lessening off-axis noise. This results in a cleaner recording and less time spent post-processing.
If you’re having trouble figuring out which mic is best for you, check out our guide here.
Related: Best studio headphones
What’s it like to use the Blue Ember?

One of the first things to know about the Blue Ember is that, unlike a USB microphone, it requires a little more effort to set up. If you don’t already have an audio interface, you’ll need to invest one. There are plenty of simple USB interfaces to choose from; we tend to stick to the Focusrite Scarlett 2i2. Regardless of what you get, make sure it supports +48V phantom power, since it’s a requirement for the Ember to function.
In order to use the Blue Ember, you need an audio interface that supports +48V phantom power.
Onto the microphone itself: Blue constructed the Ember to be as compact as possible without making many compromises. The side-address design was useful when recording at my desk as it required minimal effort to maneuver it around my monitor and accrued decor. What’s more, the tiny form factor looks good on camera, and avoids being an obstruction.
The metal chassis gives the Blue Ember a premium feel that—while hefty—is anything but cumbersome. Its desaturated blue and ash-gray color scheme looks great and goes well with the grill. While the absence of knobs and buttons may be odd if you’re coming from something like the Yeti X USB mic, basic controls like gain can be adjusted from an interface.
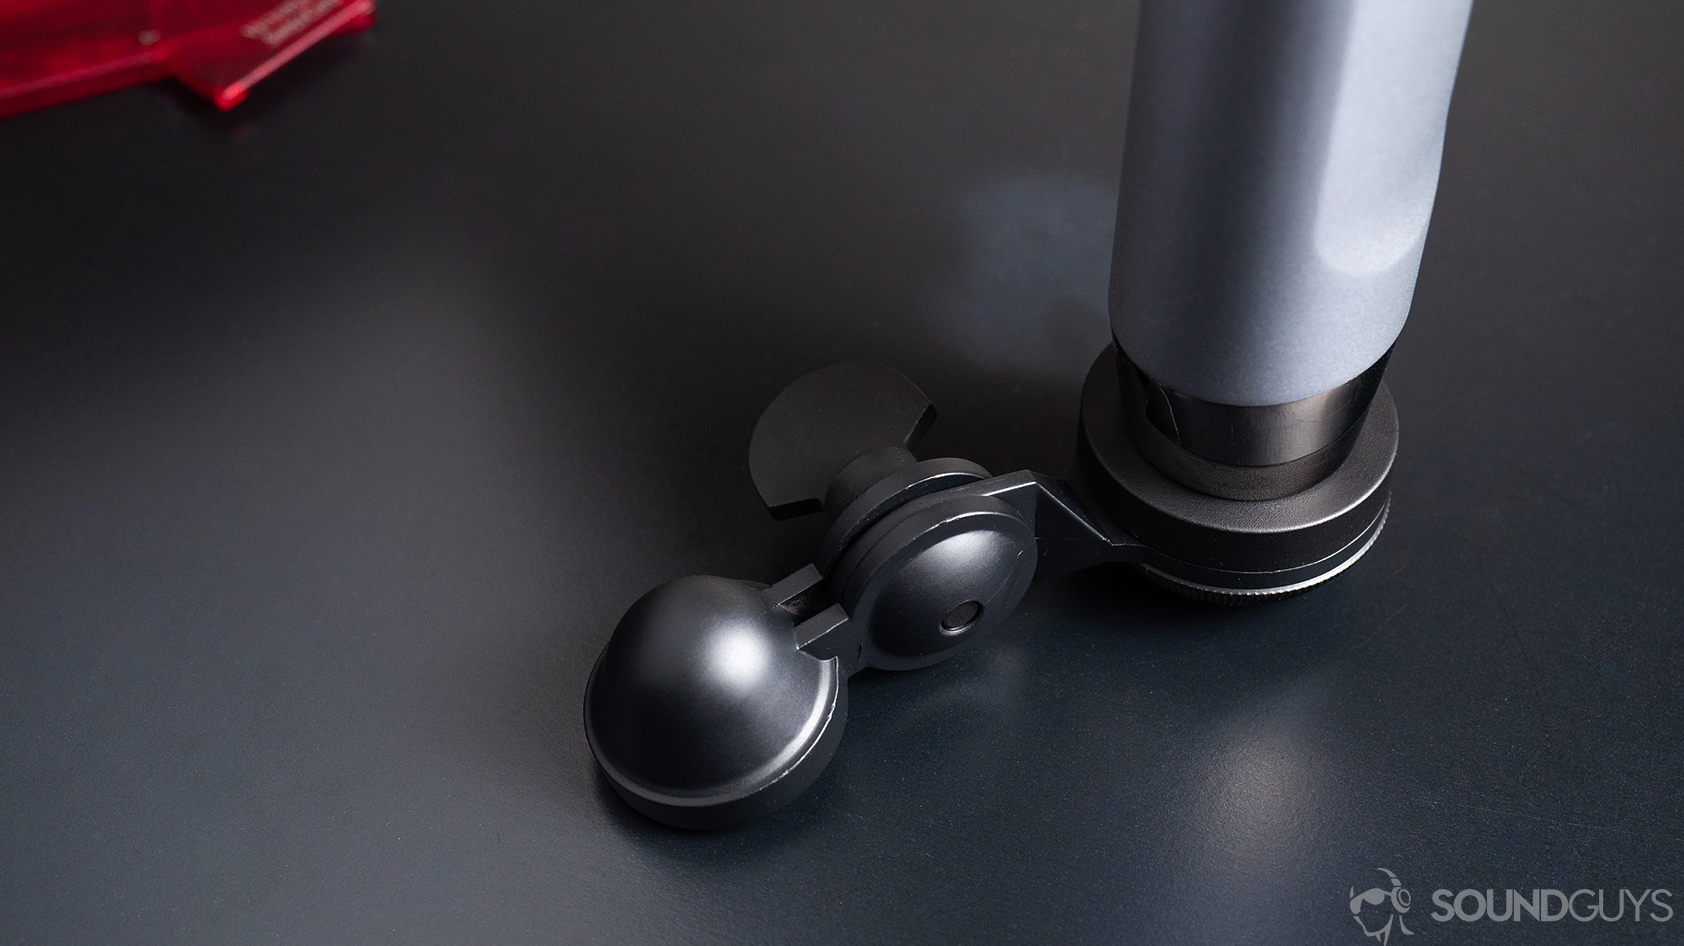
When speaking into the microphone, keep the capsule parallel to your face as it picks up sound from directly in front of the grill, rather from the top like the Shure SM58. If you forget which side is the front, just remember to keep the embossed Blue logo facing you. Proper positioning maximizes off-axis noise rejection, improving clarity.
Do you need extra equipment to use the Ember XLR?
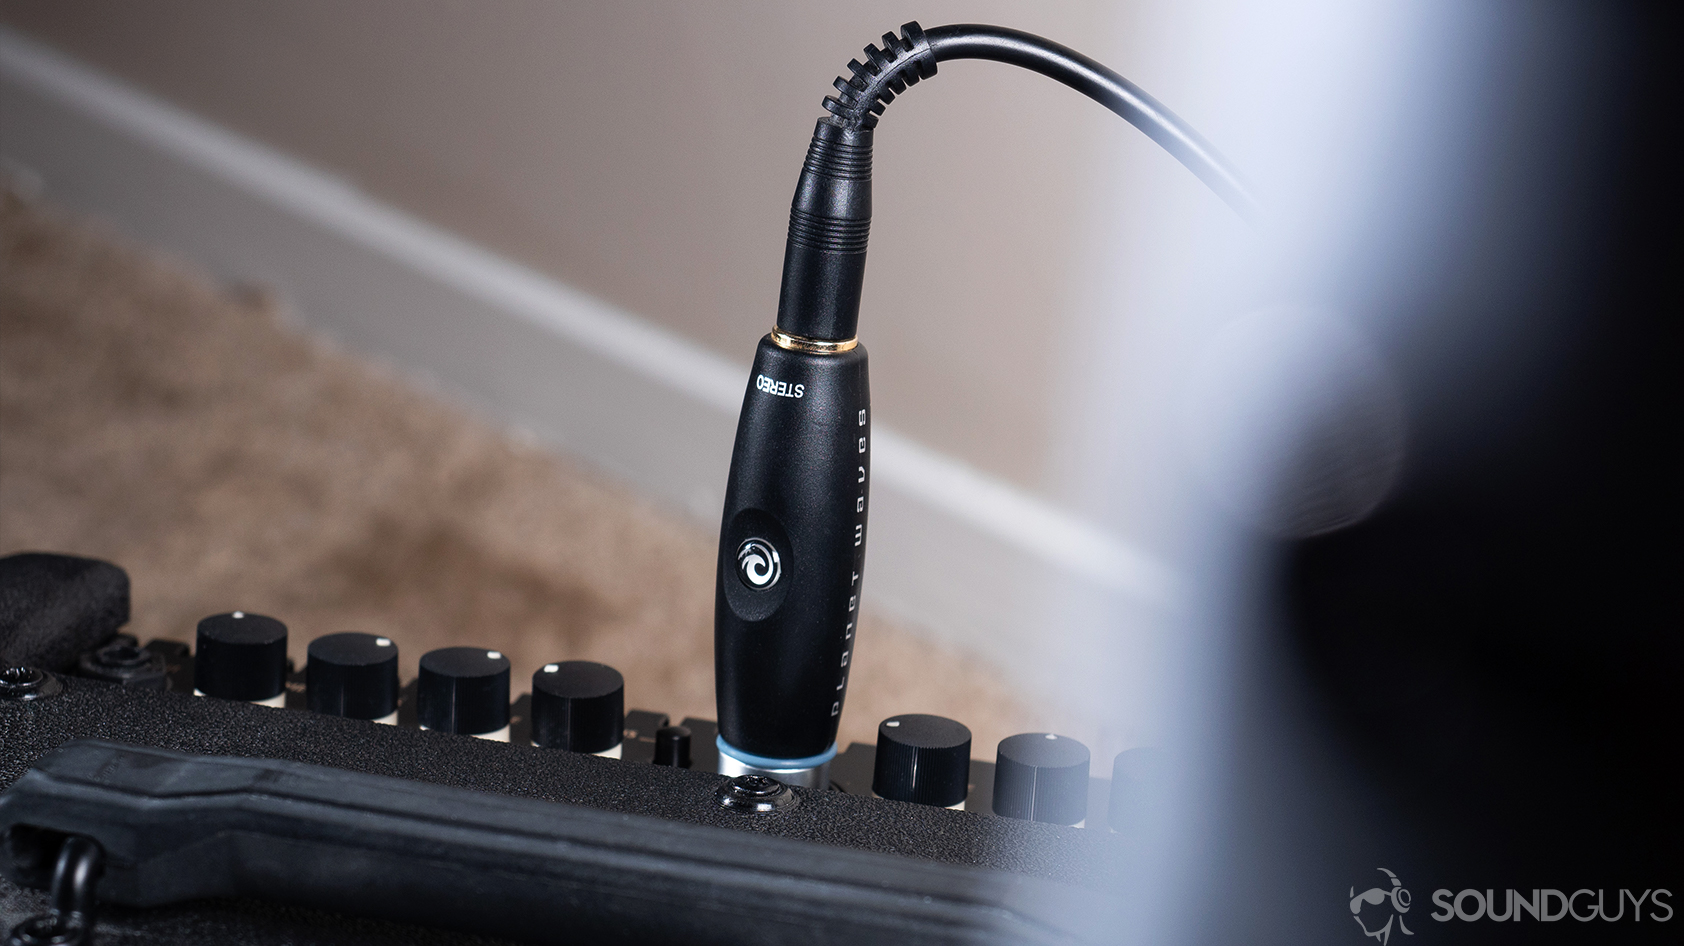
- A recording interface with +48V phantom power to support the Ember’s power requirements.
- An XLR cable. I initially made the mistake of using an instrument cable with an XLR adapter connected to the Scarlett 2i2. However, in order to be phantom power-compatible, you need a dedicated XLR cable.
- A mic stand. Blue includes a mic stand mount, but you’ll need a mic stand. Otherwise, you’re left to hold the microphone while recording, which will compromise audio quality.
- A pop filter. In order to combat plosives and fricatives, you’ll need a pop filter. While you can invest in Blue’s there are plenty of affordable third-party options, too.
Related: What is an audio interface?
If your microphone sounds bad

You may be encountering any number of common recording problems. First and foremost, you want to make sure all of your hardware meets the needs of the microphone which are listed above. Assuming the problem persists after you’ve checked off the necessary equipment, you’ll have to look at how you’re recording.
Related: Home studio recording: Everything you need to record on a budget
Oftentimes we stand too close or far in relation to the microphone. When you’re too close, the proximity effect takes hold: this is when low-frequency sounds increase in volume due to the speaker being too close to the mic. This often happens with smartphone handsets because the mic is nearly touching the face. An easy way to avoid this is by standing a consistent distance from the mic, six inches is a good starting point. If that fails in conjunction with a pop filter, you may just need to apply a high-pass filter in post-production.
While the Blue Ember doesn’t include many bells and whistles to users, it performs reliably and well especially given its ~$100 price.
If you want a truly clean, professional sound, you’ll have to treat your room with sound-absorbing foam panels. These mitigate the resonant impact of interior echoes and external street noise that could degrade your raw recording. Anyone on more of a shoestring budget can manage the same effect with a basic blanket fort.
Does the Blue Ember XLR sound good?
It can’t be overstated: the Blue Ember sounds phenomenal for the price. While there are a few deviating dips and bumps in frequency response, this doesn’t result in any dramatic masking. What’s more, the most important part of the Ember’s recording signature is the voice band (shown in the second chart). Here you can see a more level response. This is great as it means the microphone will perform well, and accurately represent your voice no matter what kind of register you have.
Don’t miss: Audio mixing 101: Everything you need to know to create your first track
As it applies to vocal recordings, you’ll benefit from using a pop filter. As you can hear in the speaking example below, plosives and fricatives remain audible. That said, most pop filters will do the trick and mitigate if not completely rid your recordings of those harsh “p, pf, and sh” sounds.
You can hear in the quick demo (below) of my amateur guitar playing that the chords are relayed clearly and the harmonic resonances, or vibrations that continue beyond the fundamental notes, are also audible. What stuck out to me most is how the Ember records potentially difficult sounds like the sliding of my fingers up the neck of the guitar. Sometimes, this is relayed harshly through recordings; however, the Ember gets the treble right without harsh emphasis.
How does the microphone sound to you?
Should you buy the Blue Ember XLR?
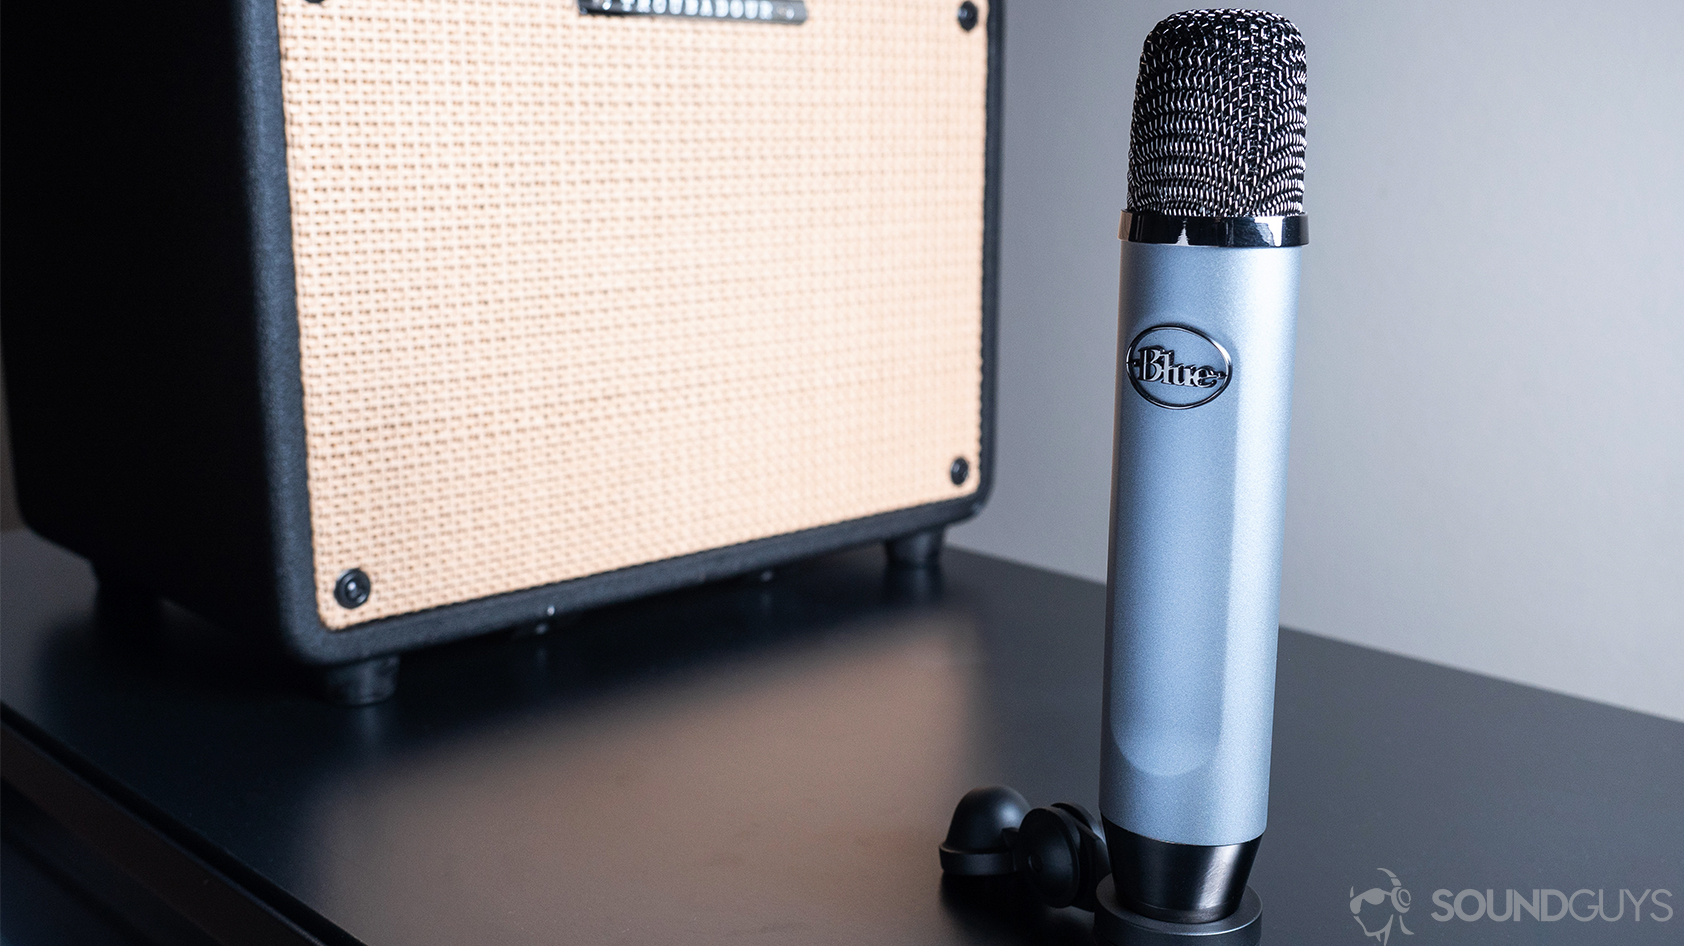
Yes, for $99, the Blue Ember is an excellent value, and worth configuring in your studio. The understated design is gorgeous in its modesty, and I found myself wanting to include it in the frame of a video. Although it may seem a hassle to run out and buy a recording interface to couple with the Blue Ember, it’s an inevitable bridge that’s crossed by content creators of all sorts who ultimately want a professional studio setup. There are shortages of the product on Amazon, but it’s always available from other retailers like Guitar Center or through Blue itself.


For greater flexibility, get the Blue Yeti
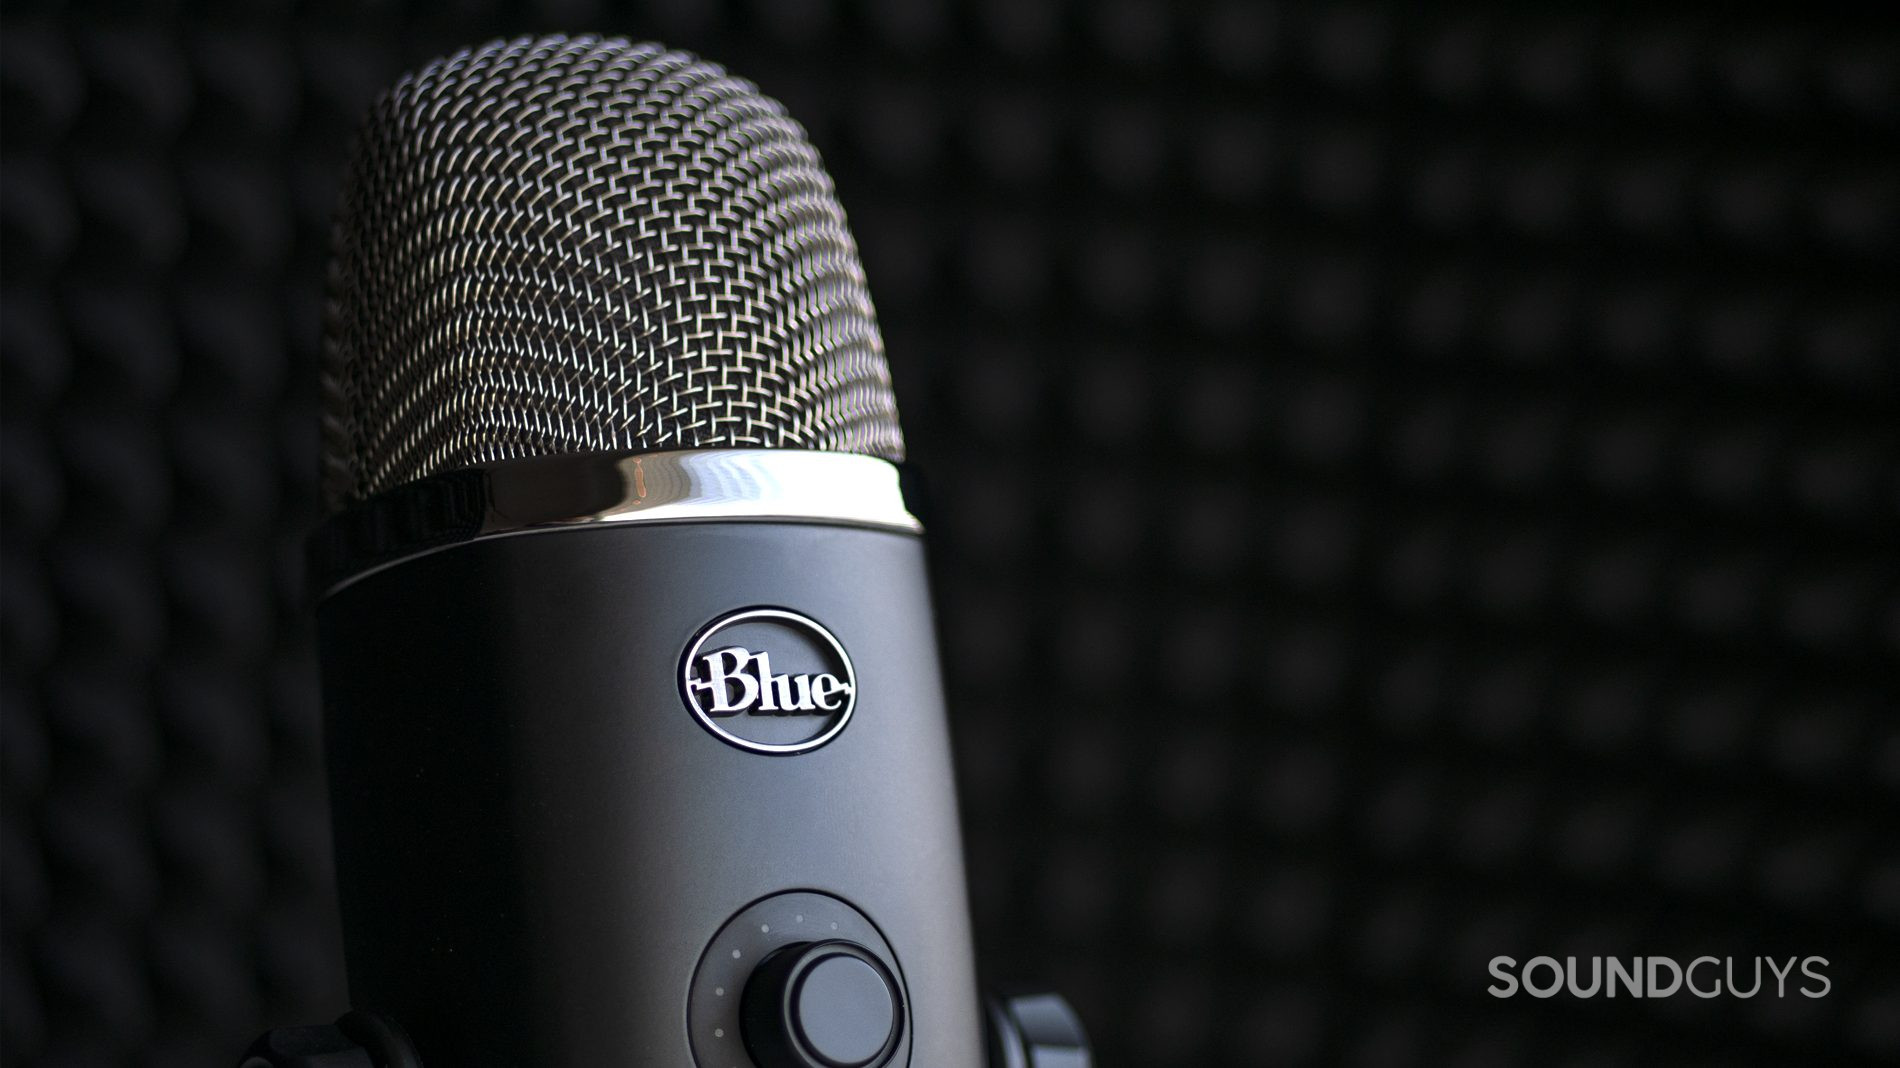
If you’re bound to the $100 price range, you may want to consider the Blue Yeti USB microphone, which has dropped in price due to the advent of the Blue Yeti X. The original Yeti remains one of the most versatile, and best-value picks out there: it provides the flexibility of four pickup patterns, an integrated gain knob and headphone jack, as well as a plug-and[lay design afforded by the USB build.
If portability and slim design aren’t a huge concern for you, the extra few bucks you have to throw down for the Blue Yeti may be worth it.
Next: Shure MV7 review
Frequently asked questions about the Blue Ember
Deciding which microphone is better depends on your intended use: these are two completely different transducer types; the Blue Ember XLR uses a condenser capsule, while the Shure SM58 uses a dynamic one. The Blue Ember XLR isn’t quite as durable or versatile as the venerable Shure microphone, but it has its advantages, too, namely raw sound quality. Blue’s microphone has a more accurate frequency response across the entire auditory spectrum. The Shure SM58 heavily attenuates low-frequency sounds, not because it’s a poor recording mechanism, rather it serves a purpose to combat the proximity effect during live usage (e.g. musical gigs). Anyone planning to perform live should get the Shure SM58, while those restricted to studio use should get the Blue Ember XLR with a phantom power-enabled interface.
Thank you for being part of our community. Read our Comment Policy before posting.